99-3000
3
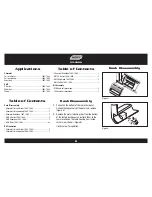
1.
Remove the A/C vents from the factory dash panel
by releasing the spring fastening clips securing
them to the panel.
2.
Mount the vents to the radio housing by inserting
the inner edge of the vent into the center inside
pivot hole and the outer edge of the vent into the
outer pivot hole.
3.
Using the same metal spring clips and mounting
procedures from the original truck panel to mount
the vents to the radio housing. (Figure A)
Continue to kit assembly
Kit Preparation
(Figure A)
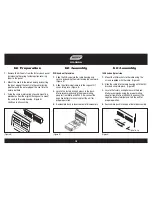
ISO head unit provision
1.
Mount the ISO brackets to the radio using the
screws supplied with the radio. (Figure A)
2.
Slide the radio into the radio housing until the ISO
brackets snap into place. (Figure B)
3.
Locate the factory wiring harness in the dash.
Metra recommends using the proper mating
adapter from Metra or AXXESS. Re-connect the
negative battery terminal and test the unit for
proper operation.
4.
Reassemble dash in reverse order of disassembly.
Kit Assembly
(Figure A)
DIN head unit provision
1.
Slide the DIN cage into the radio housing and
secure by bending the metal locking tabs outward.
(Figure A)
2.
Slide the aftermarket radio into the cage until it
snaps into place. (Figure B)
3.
Locate the factory wiring harness in the dash.
Metra recommends using the proper mating
adapter from Metra or AXXESS. Re-connect the
negative battery terminal and test the unit for
proper operation.
4.
Reassemble dash in reverse order of disassembly.
Kit Assembly
(Figure A)
RIGHT SIDE CLIP
right side clip


