background image


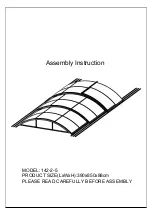
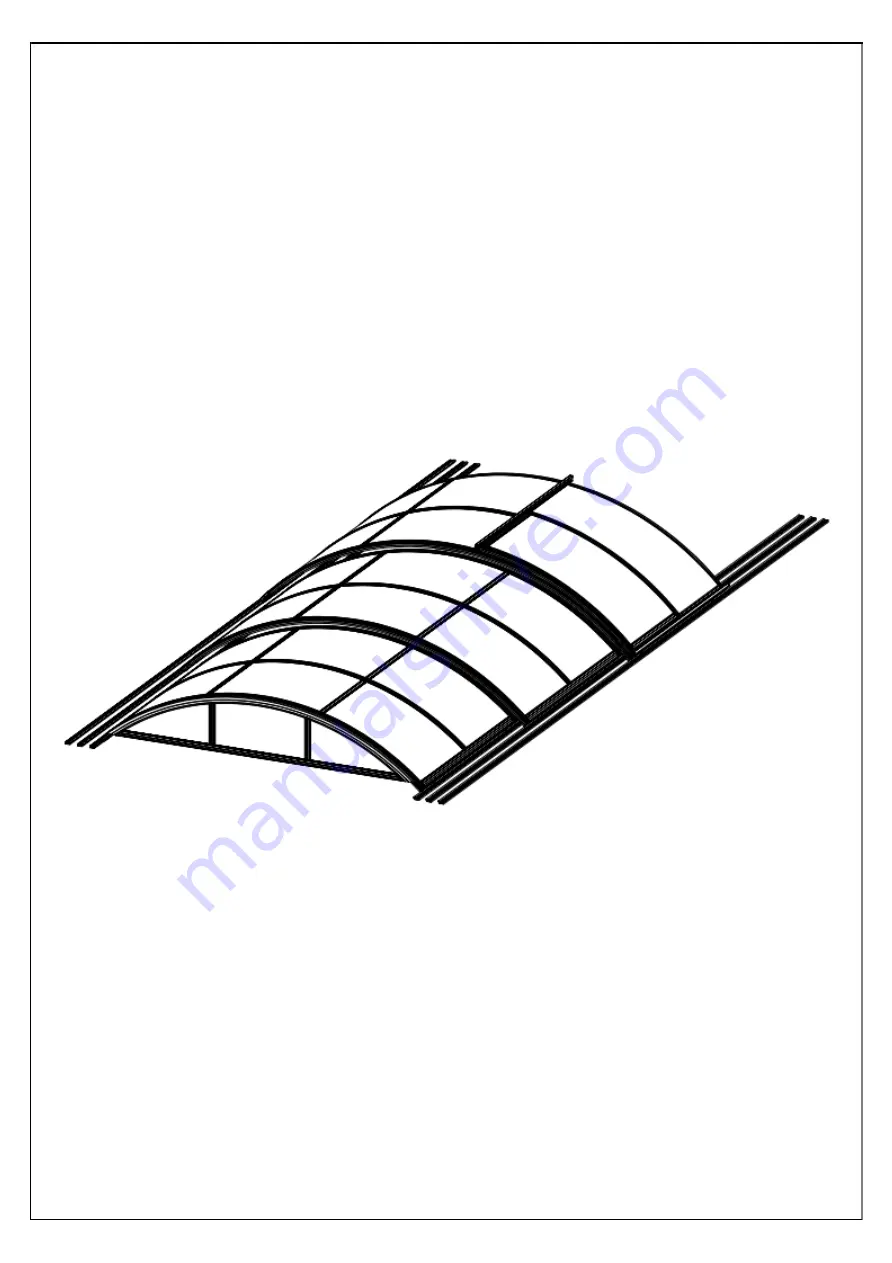
Assembly Instruction 

MODEL:


142-2-5 

PRODUCT SIZE(LxWxH):390x850x88cm 
PLEASE READ CAREFULLY BEFORE ASSEMBLY 

Содержание 142-2-5

Страница 1: ...Assembly Instruction MODEL 142 2 5 PRODUCT SIZE LxWxH 390x850x88cm PLEASE READ CAREFULLY BEFORE ASSEMBLY...

Страница 2: ...y 3 DO NOT climb or stand on the roof Heavy articles should not be leaned against the greenhouse 4 Keep the roof and gutter clear of snow dirt leaves Allowing snow to build up on the roof may damage t...

Страница 3: ...1 01 L02A 01 L02B 02 L02A 02 L02B 03 L02A 03 L02B 01 L02G 01 L02H 4 J01 J02 106 60 J03 HL 9M 1 2 18 8 HL2 S01 M6X35 2 18 26 18 104 146 8 L04A L05A 12 2 M01 M02 Z01 M6X60 Z02 M4 2X16 Z03 M4 2X25 Z04 6...

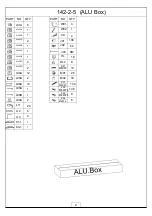
Страница 4: ...142 2 5 PC Box PART NO Y1 QTY 4 6 6 1 4 Y2 Y3 Y9 PC BOX Y10 3...

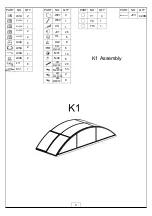
Страница 5: ...QTY PART NO J03 QTY 2 1 Y1 4 1 1 4 29M L01A 01 L02A 1 Y9 01 L02B 01 L02G 01 L02H 1 2 1 Y10 J01 HL 26 2 6 8 L04A HL2 4 2 S01 M6X35 L05A L08A L09A L11 6 M01 M02 1 2 14 6 K1 Assembly Z01 M6X60 Z02 M4 2X...

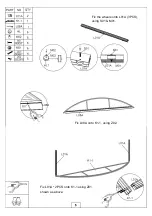
Страница 6: ...Fix the wheels onto L01A 3PCS using S01 M01 Fix L08A onto K1 1 using Z02 Fix L01A 2PCS onto K1 1 using Z01 shown as above 5...

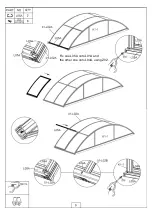
Страница 7: ...4A using Z02 2 Fix L04A onto K1 1 as shown using Z02 Attention Y1 must be placed into the channel of L04A L01A at the same time Make sure all the panels are in the right position before fixing Z02 tig...

Страница 8: ...me time Make sure all the panels are in the right position before fixing Z02 Fix L04A onto 01 L02B as shown using Z02 Insert L11 into L04A as shown and fix it with L04A using Z02 Slide Rubber J03 into...

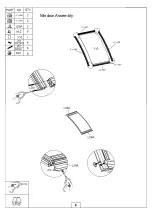
Страница 9: ...Window Assembly 8...

Страница 10: ...Fix one L05A onto L01A and the other one onto L04A using Z02...

Страница 11: ...L05A using Z04 Widen the holes into Dia 14mm using a reamer and a power screwdriver Fix CX onto 01 L02A 10MM away from the bottom using Z03 Fix the handle W02 onto window profile 01 L02G using Z02 Co...

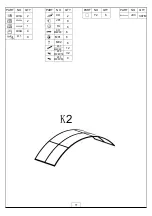
Страница 12: ...PART NO QTY PART NO CX J01 HL QTY PART NO Y2 QTY 6 PART NO J03 QTY L01A 2 2 1 4 2 8 3 97M 02 L02A 02 L02B L04A L11 6 6 S01 M6X35 M01 M02 8 6 6 Z01 M6X60 Z02 M4 2X16 Z03 12 32 4 M4 2X25 K2 11...

Страница 13: ...Fix the wheels onto L01A 3PCS using S01 M01 Fix L01A 2PCS onto 02 L02A using Z01 12...

Страница 14: ...sing Z02 2 Fix L04A onto 02 L02A as shown using Z02 Attention Y2 must be placed into the channel of L04A and L01A at the same time Make sure all the panels are in the right position before fixing Z02...

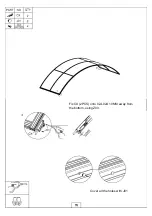
Страница 15: ...into the channel of L04A L01A at the same time Make sure all the panels are in the right position before fixing Z02 Insert L11 into L04A as shown and fix it with L04A using Z02 Fix 02 L02A with L01A a...

Страница 16: ...Fix CX 2PCS onto 02 L02A 10MM away from the bottom using Z03 Cover all the holes with J01 15...

Страница 17: ...PART NO QTY PART NO CX J01 HL QTY PART NO Y3 QTY 6 L01A 2 1 1 4 1 04 L02A 12 04 L02B 6 6 S01 M6X35 L04A L08B L11 M01 M02 1 8 6 6 Z01 M6X60 Z02 M4X16 Z03 K3 1 12 37 2 1 M4 2X25 K3 16...

Страница 18: ...Fix the wheels onto L01A 3PCS using S01 M01 Fix L08B onto K3 1 using Z02 Fix L01A 2PCS onto K3 1 using Z01 17...

Страница 19: ...using Z02 2 Fix L04A onto K3 1 as shown using Z02 Attention Y3 must be placed into the channel of L04A and L01A at the same time Make sure all the panels are in the right position before fixing Z02 t...

Страница 20: ...placed into the channel of L04A L01A at the same time Make sure all the panels are in the right position before fixing Z02 Insert L11 into L04A as shown and fix it with L04A using Z02 Fix 03 L02A wit...

Страница 21: ...Fix CX onto 03 L02A 10MM away from the bottom using Z03 Widen the holes into Dia 14mm using a reamer and a power screwdriver Cover all the holes with J01 20...

Страница 22: ...PART NO QTY L06A L12 12 6 4 L13 J01 J02 60 60 Z01 M6X60 Z02 60 24 M4 2X16 21...

Страница 23: ...NO 1 2 3 MM 3906 9355 3654 9252 3402 9156 A MM B MM Small differences in the measurement are allowed in the actual installation 22...

Страница 24: ...s through the holes on one L06A and then drill holes Dia 6MM on the ground 3 Tap J02 into the holes and fix the first L06A onto the ground through the holes using Z01 4 Make sure The second L06A inner...

Страница 25: ...ly 2 Make pencil marks on the ground through the holes on L06A and then drill holes Dia 6MM on the ground 3 Tap J02 into the holes and fix the L06A NO 2 onto the ground through the holes using Z01 Fix...

Страница 26: ...ust move smoothly before fixing the screws tight Drill 4 oval holes 14 24mm on L06A corresponded to the 4 latches CX This will help you lock up the swimming pool cover when you close it Cover all the...

Отзывы: