background image

RedLab 1024LS User's Guide 

Installing the RedLab 1024LS 

10 


Unpacking the RedLab 1024LS 

As with any electronic device, you should take care while handling to avoid damage from static 
electricity. Before removing the RedLab 1024LS from its packaging, ground yourself using a wrist strap or by 
simply touching the computer chassis or other grounded object to eliminate any stored static charge. 

If your RedLab 1024LS  is damaged, notify Measurement Computing Corporation immediately by phone, fax, 
or e-mail. For international customers, contact your local distributor where you purchased the RedLab 1024LS. 

ƒ


Phone: +49 (0) 89/8901660  

ƒ


Fax: +49 (0) 89/89016628 

ƒ


E-Mail: [email protected] 

Installing the software 

Refer to the 

Quick Start Guide

 for instructions on installing


the software 

Guide 

(available on our RedLab CD 

(root directory). 

Installing the hardware 

Be sure you are using the latest system software


Before you connect the RedLab 1024LS, make sure that you are using the latest versions of the USB drivers. 

Before installing the RedLab 1024LS, download and install the latest Microsoft Windows updates. In particular, 
when using Windows XP, make sure you have XP Hotfix KB822603 installed. This update is intended to 
address a serious error in Usbport.sys when you operate a USB device. You can run Windows Update or 
download the update from 

www.microsoft.com/downloads/details.aspx?familyid=733dd867-56a0-4956-b7fe-

e85b688b7f86&displaylang=en

. For more information, refer to the Microsoft Knowledge Base article 

"

Availability


of


the


Windows


XP


SP1


USB


1

.

1


and


2

.

0


update.

" This article is available at 

support.microsoft.com/?kbid=822603

To connect the RedLab 1024LS to your system, turn your computer on, and connect the USB cable to a USB 
port on your computer or to an external USB hub that is connected to your computer. The USB cable provides 
power and communication to the RedLab 1024LS. 

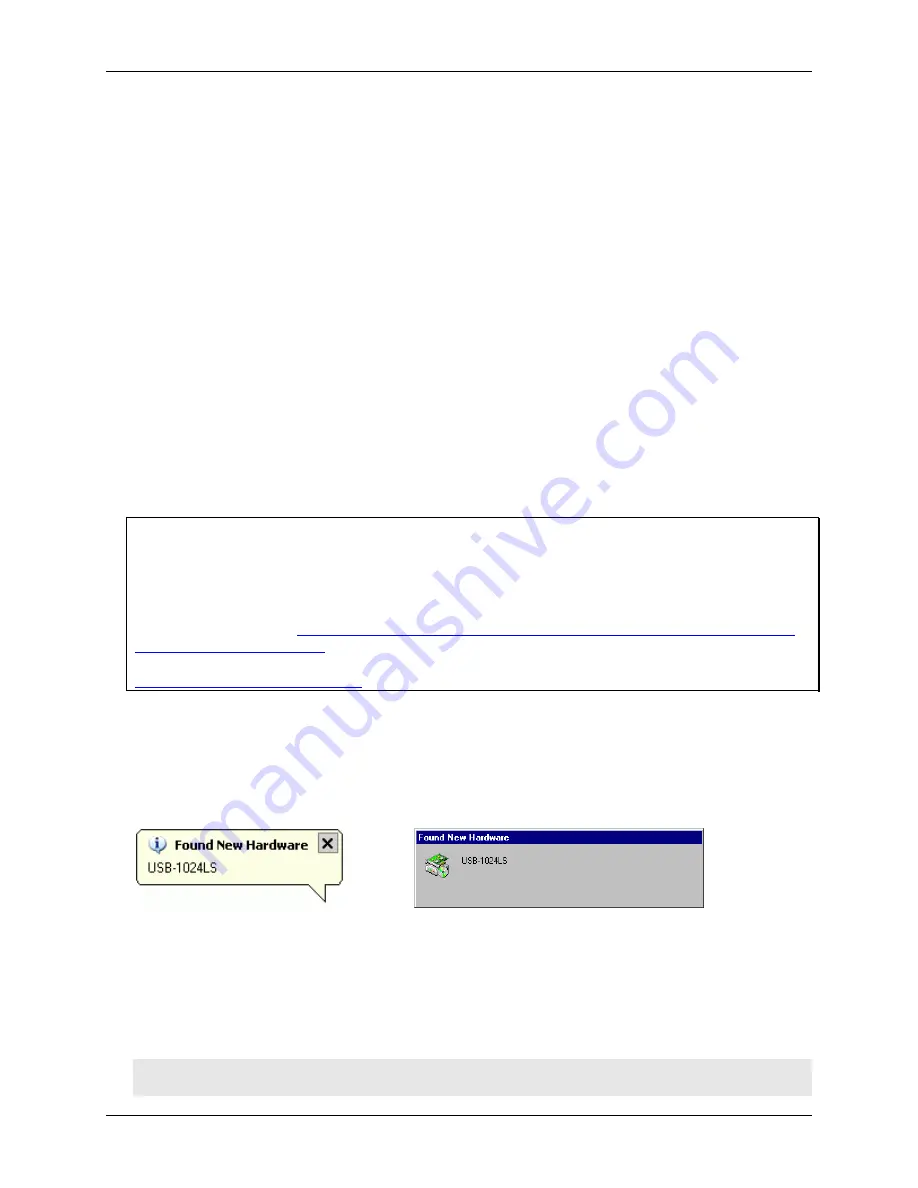
When you connect the RedLab 1024LS for the first time, a 

Found New Hardware

 popup balloon (Windows 

XP) or dialog (other Windows version) displays as the RedLab 1024LS  is detected by your computer. 


Another 

Found


New Hardware 

balloon or dialog opens after the first closes that identifies the RedLab 1024LS 

as a USB Human Interface Device. This balloon or dialog indicates that your RedLab 1024LS is installed and 
ready to use. 

When the balloon or dialog closes, the LED on the RedLab 1024LS should flash and then remain lit. This 
indicates that communication is established between the RedLab 1024LS and your computer. 

Caution!


Do not disconnect 

any

 device from the USB bus while the computer is communicating with the 

RedLab 1024LS, or you may lose data and/or your ability to communicate with the RedLab 1024LS. 

Содержание RedLab 1024LS

Страница 1: ......

Страница 2: ...RedLab 1024LS USB based Digital I O Module User s Guide Document Revision 1 4 E January 2008 Copyright 2008 Meilhaus Electronic...

Страница 3: ...irm Meilhaus Electronic GmbH feels obliged to point out that they cannot be take on neither any warranty apart from the claims for warranty as agreed nor legal responsibility or liability for conseque...

Страница 4: ...s with your RedLab 1024LS shipment 9 Hardware 9 Additional documentation 9 Unpacking the RedLab 1024LS 10 Installing the software 10 Installing the hardware 10 Chapter 3 Functional Details 12 External...

Страница 5: ...ld text is used for the names of objects on the screen such as buttons text boxes and check boxes For example 1 Insert the disk or CD and click the OK button italic text Italic text is used for the na...

Страница 6: ...atibility with both USB 1 1 and USB 2 0 ports The RedLab 1024LS features 24 bits of digital I O and one 32 bit external event counter The device is powered by the 5 volt USB supply No external power i...

Страница 7: ...1 Compliant Interface 32 bit Event Counter 1 channel 8 8 Port B Port A 4 82C55 DIO 1 4 Port C LO Port C HI Figure 2 RedLab 1024LS functional block diagram Software features For information on the fea...

Страница 8: ...osition DIP switches to set or interrupts to configure You can connect the RedLab 1024LS before or after you install the software and without powering down your computer first When you connect an HID...

Страница 9: ...h Additional documentation In addition to this hardware user s guide you should also receive the Quick Start Guide available on our RedLab CD root directory This booklet supplies a brief description o...

Страница 10: ...sys when you operate a USB device You can run Windows Update or download the update from www microsoft com downloads details aspx familyid 733dd867 56a0 4956 b7fe e85b688b7f86 displaylang en For more...

Страница 11: ...off If the LED is illuminated but then turns off the computer has lost communication with the RedLab 1024LS To restore communication disconnect the USB cable from the computer and then reconnect it T...

Страница 12: ...may be less than 5 V No external power supply is required LED The LED on the front of the housing indicates the communication status of the RedLab 1024LS It uses up to 5 mA of current and cannot be di...

Страница 13: ...bers Screw terminal pins 1 20 The screw terminals on the top edge of the RedLab 1024LS pins 1 to 20 provide the following connections Eight digital I O connections Port C0 to Port C7 One counter conne...

Страница 14: ...A7 Port B0 to B7 Port C0 to C7 Connect up to 24 digital I O lines to the screw terminal containing pins 1 to 8 Port C0 to Port C7 pins 21 to 28 Port A0 to Port A7 and pins 32 to 39 Port B0 to Port B7...

Страница 15: ...running applications with the RedLab 1024LS each DIO bit can draw up to 2 5 mA The maximum amount of 5V current available for external use over and above that required by the RedLab 1024LS is the dif...

Страница 16: ...tions Refer to the pinout diagram on page 3 14 for the location of the GND terminal pins Counter terminal Pin 20 CTR is the input to the 32 bit external event counter Refer to the pinout diagram on pa...

Страница 17: ...nput mode Counter Table 2 Counter specifications Counter type Event counter Number of channels 1 Input source CTR screw terminal Input type TTL rising edge triggered Resolution 32 bits Schmidt trigger...

Страница 18: ...ble 4 General specifications Parameter Conditions Specification 25 C 30 ppm max USB controller clock error 0 to 70 C 50 ppm max Device type USB 1 1 low speed Device compatibility USB 1 1 USB 2 0 Envir...

Страница 19: ...gnal Name Pin Signal Name 1 Port C0 21 Port A0 2 Port C1 22 Port A1 3 Port C2 23 Port A2 4 Port C3 24 Port A3 5 Port C4 25 Port A4 6 Port C5 26 Port A5 7 Port C6 27 Port A6 8 Port C7 28 Port A7 9 GND...

Страница 20: ...Meilhaus Electronic GmbH Fischerstrasse 2 D 82178 Puchheim Germany Phone 49 0 89 89 01 66 0 Fax 49 0 89 89 01 66 77 E Mail sales meilhaus com http www meilhaus com...

Отзывы: