


i.
Auto Config.:
Automatically do the auto adjustment while the main channel’s input is from
VGA/component.
Sub
a.
Input Source:
Select a video/graphic input of the sub-channel.
b.
Visible:
Display the sub-channel or not.
c.
Border:
Display the sub-channel’s border.
d.
Label:
Display the sub-channel’s label. Users can define the
content of the label.
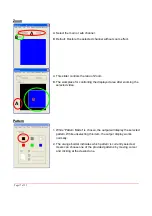
e.
Layer:
This will make the sub-channel overlays the main channel.
f.
Pause:
Freeze the display of the sub channel.
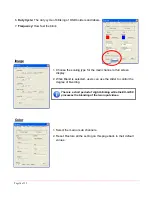
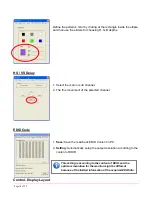
Control- Setting Dialog
Border
Select main or sub channel for further setting.
“Clear All” Button: Clear all OSD items.
“Apply” Button: Apply the setting.
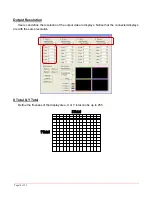
1.
Border Color:
Setup border’s color
by clicking on “Color setting”.
2.
Border Width:
Input border’s width.
3.
Border Type:
The placement of border has three types: Option Inside means the added border is
fully inside the video. Option Outside means the added border is completely outside the video and
this added border can overlay the other video input. Option Middle simply adds the border half
inside the video and half outside the video.
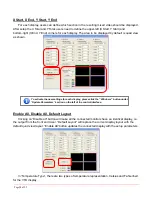
4.
Text Color:
Select the color of the label by clicking on “Color
Setting” button.
5.
Text Auto:
While selecting “Text Auto”, the label on the screen for
each channel will display its corresponding input channel type.
While unselecting “Text Auto”, users can input the desired string to
be displayed.
Only 15 English characters can be displayed at most.
Page 1
5 of 25


