3
2
Mo
ist
ur
e Se
nsi
ng
Irr
iga
tio
n K
it
How the Watering Sensors work
3
Water connection
4
Simple installation
6
Correct Watering Sensor Setting
8
Required quantity of Watering Sensors
9
Use of distribution drippers
10
Tips and troubleshooting
11
Accessories 12–13
CONTENTS
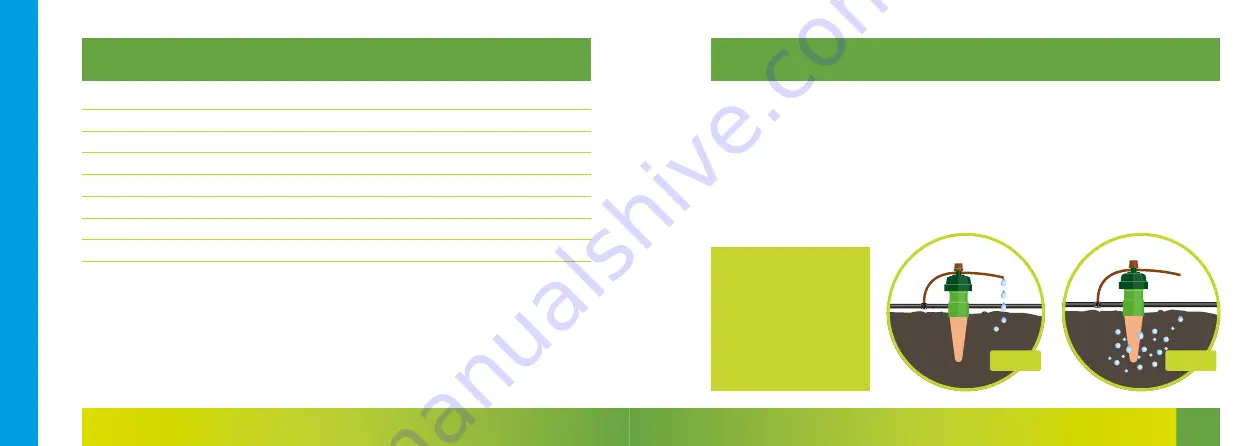
HOW THE WATERING SENSORS WORK
The Moisture Sensing Irrigation
Kit is a fully automatic plant
watering system which func-
tions without the need for a
timer. Each Watering Sensor is
both a sensor and a dripper and
reacts to the soil moisture con-
tent. If the soil becomes dry,
the pressure in the Watering
Sensor goes down, causing a
valve to open and watering to
begin. When the soil is suffi-
ciently moist again, the release
of water is automatically
stopped.
Each Watering Sen-
sor reacts completely inde-
pendently.
Therefore the plants
are watered individually, ac-
cording to whether or not they
are thirsty. At least 1 Watering
Sensor should be installed in
each plant or pot and then con-
nected to the shared feeding
tube. A correctly installed sys-
tem need not be readjusted for
the whole season.
WARRANTY
This Product is covered by a
2-year warranty from the
date of purchase. Should you
not be entirely satisfied with
a product, please send us the
faulty part together with
proof of purchase.
Dry soil
Wet soil
Содержание Moisture Sensing Irrigation Kit
Страница 1: ...INSTRUCTIONS EN Moisture Sensing Irrigation Kit...
Страница 8: ......


