


Maxtor OneTouch IV
78
Step 5:
Delete the original, unencrypted versions of the files and folders from your
computer.
Note:
Your encrypted files and folders will not be completely secure unless you delete the
original, unencrypted versions from your computer.
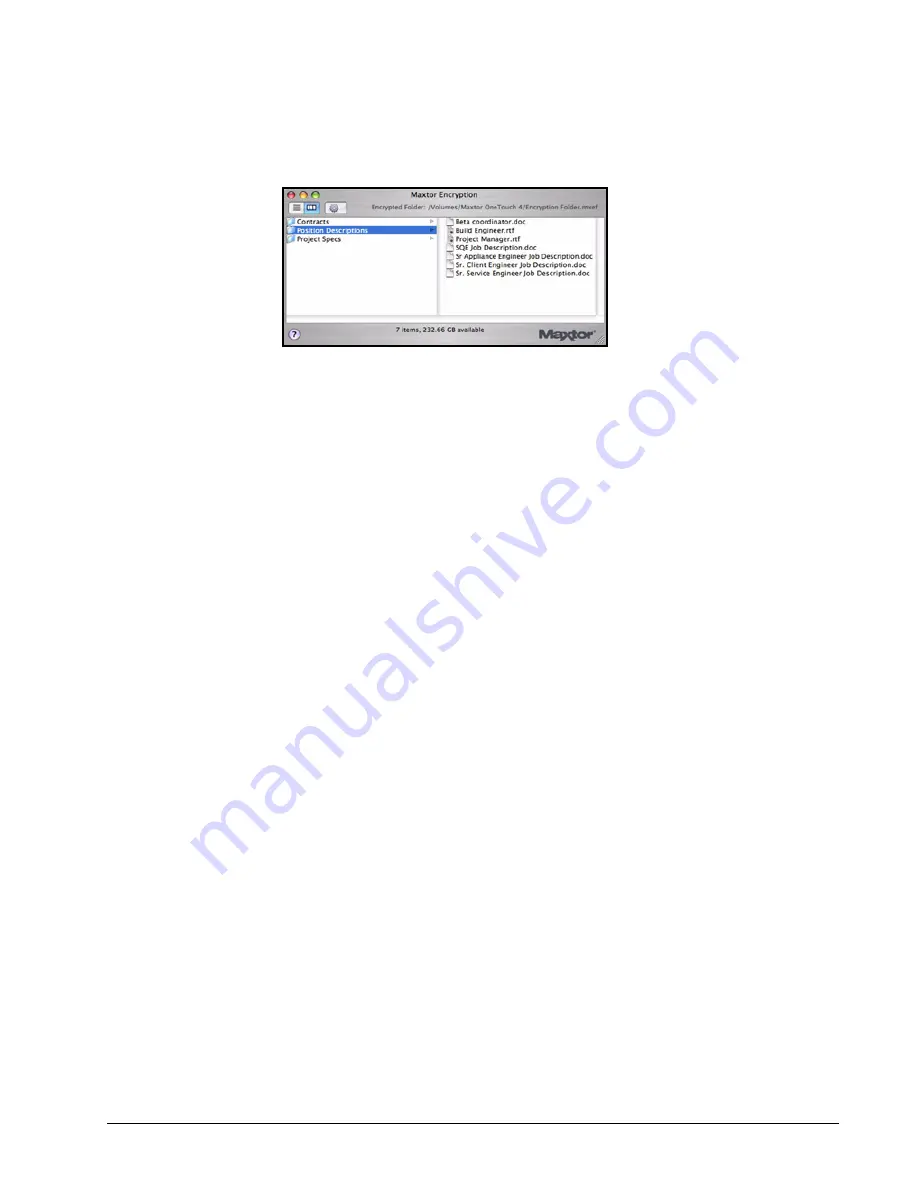
Managing the Encrypted Folder
You can move files and folders from your encrypted folder to another location on your
computer or delete them from your encrypted folder.
To manage the files and folders in your encrypted folder,
Step 1:
In the
Security
view, click
Open Encrypted Folder:
Figure 28: Maxtor Encryption Window Populated


