19
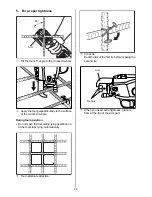
If the window is dirty and the pipe po-
sition can not be confirmed
Open the window and wipe off the dirt on the in-
side of the window with a soft cloth, etc. Close
the window again after cleaning to ensure that
foreign objects will not be able to enter the ma-
chine.
6
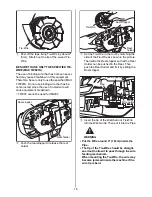
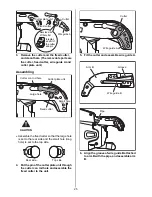
Release the release stopper, and confirm
that the release lever has returned to its orig-
inal position and that the feeding gears are
clamping the Tie-Wire. This completes the
Tie-Wire mounting operation.
7
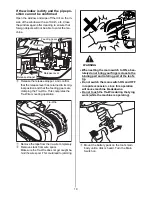
Remove the tape from the tie-wire completely.
8
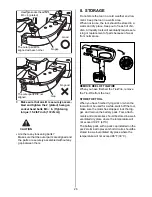
Remove slack from wire spool.
Make sure the Tie-Wire does not get caught be-
hind the wire spool .This could lead to jamming.
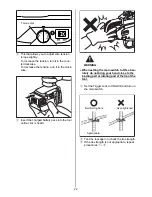
•
When setting the main switch to ON, abso-
lutely do not bring your fingers close to the
binding part and rotating part of the tool's
tip.
•
Do not switch the main switch ON and OFF
in rapid succession, since this operation
will cause machine breakdowns.
•
Do not touch the Tie-Wire during the tying
work (while the machine is operating).
9
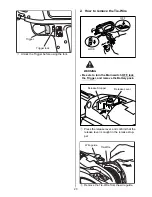
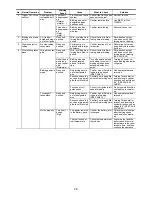
Mount the battery pack on the tool's main
body until a click is heard. Turn the Main
Switch on.
Feeding gears
Release stopper
Release lever
Tie-Wire
Tie-Wire
WARNING


