⚫
Press and hold down the
M
button to save and exit when done.
Notes:
➢
To ensure the accuracy of the position, aiming
the bull’s
-eye again and repeat the
operations until the bull
’
s-eye is hit.
➢
In the zeroing interface, the reticle moves one pixel with a short pressing
M
or
C
button
to the corresponding direction while ten pixels movement with a long-pressing. The
scale plate on the top and left of the screen shows the reticle movement distance. The
digit of scale plate changes by 1.71cm with each one-pixel movement. The number in
the scale plate changes by 1.71cm at a distance of 100 meters with each pixel movement
or changes by 0.62 inches at a distance of 100 yards.
➢
Short press the
P + M + C
buttons at the same time to switch units (cm/m, inch/yard).
➢
In the zeroing interface, there is a white dot that represents the original position of the
reticle before calibration implement.
➢
After zeroing, the center of all reticle will be changed accordingly.
7.4.2 Defective pixels calibration
➢
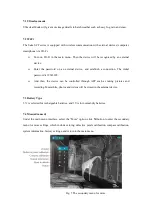
Select the
‘
Defective Pixels Calibration
’
option by
P
or
C
button. Then, short press the
M
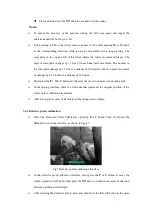
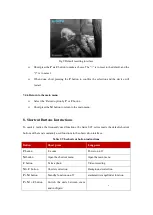
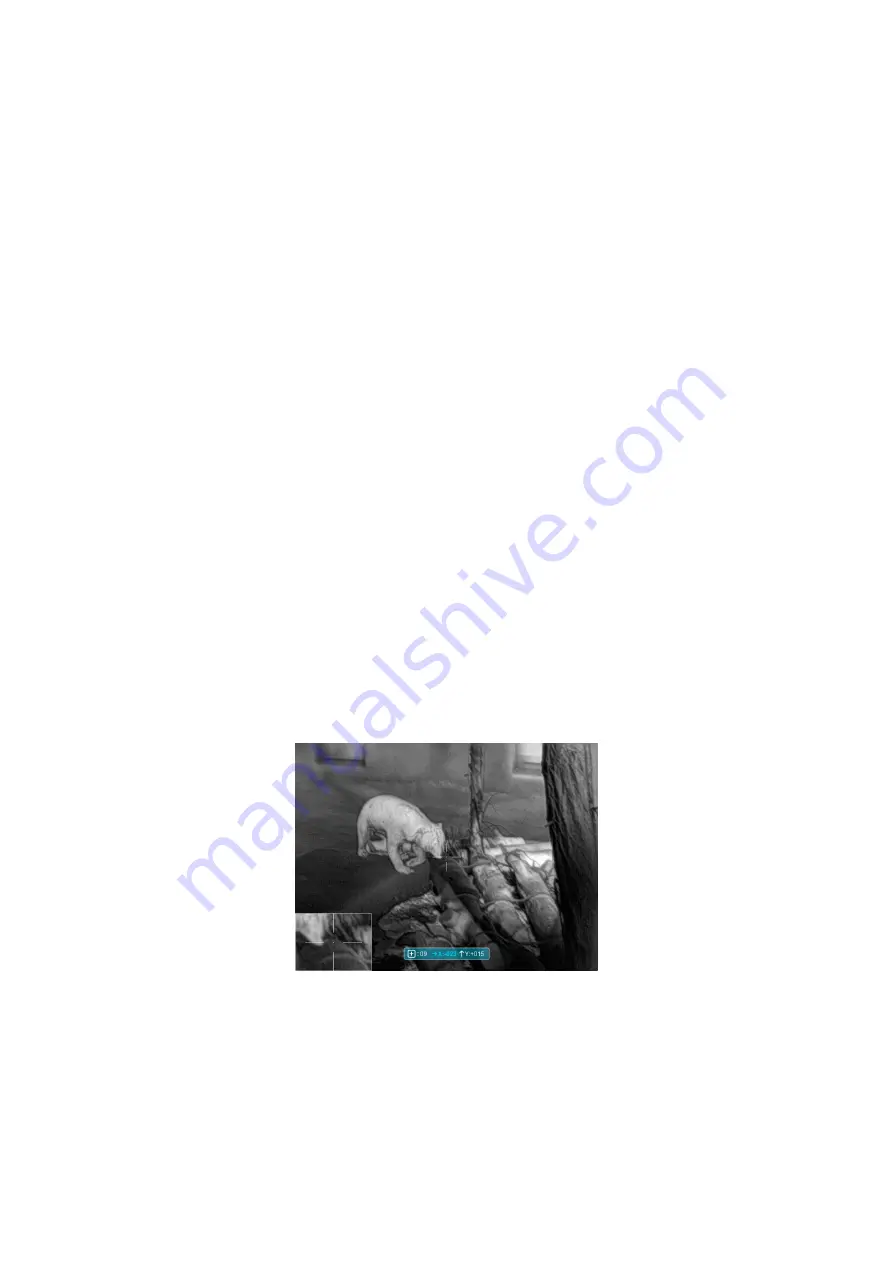
button to enter the interface, as shown in figure 7.
Fig.7 Defective pixels calibration interface
➢
In the defective pixel calibration interface, short press the
P
or
C
button to move the
reticle up/down or left/right. Short press the
M
button to switch the movement direction
between up/down and left/right.
➢
After selecting the defective pixels, press and hold down the
P
and
C
button at the same

