Installing your Matrox Orion HD board 21
3. If there is a metal plate at the back of the selected slot, remove it. Keep the screw
from the top of the plate to anchor your board once it is installed.
4. Position your Matrox Orion HD board in the selected slot, and then press the
board firmly but carefully into the connector of the slot.
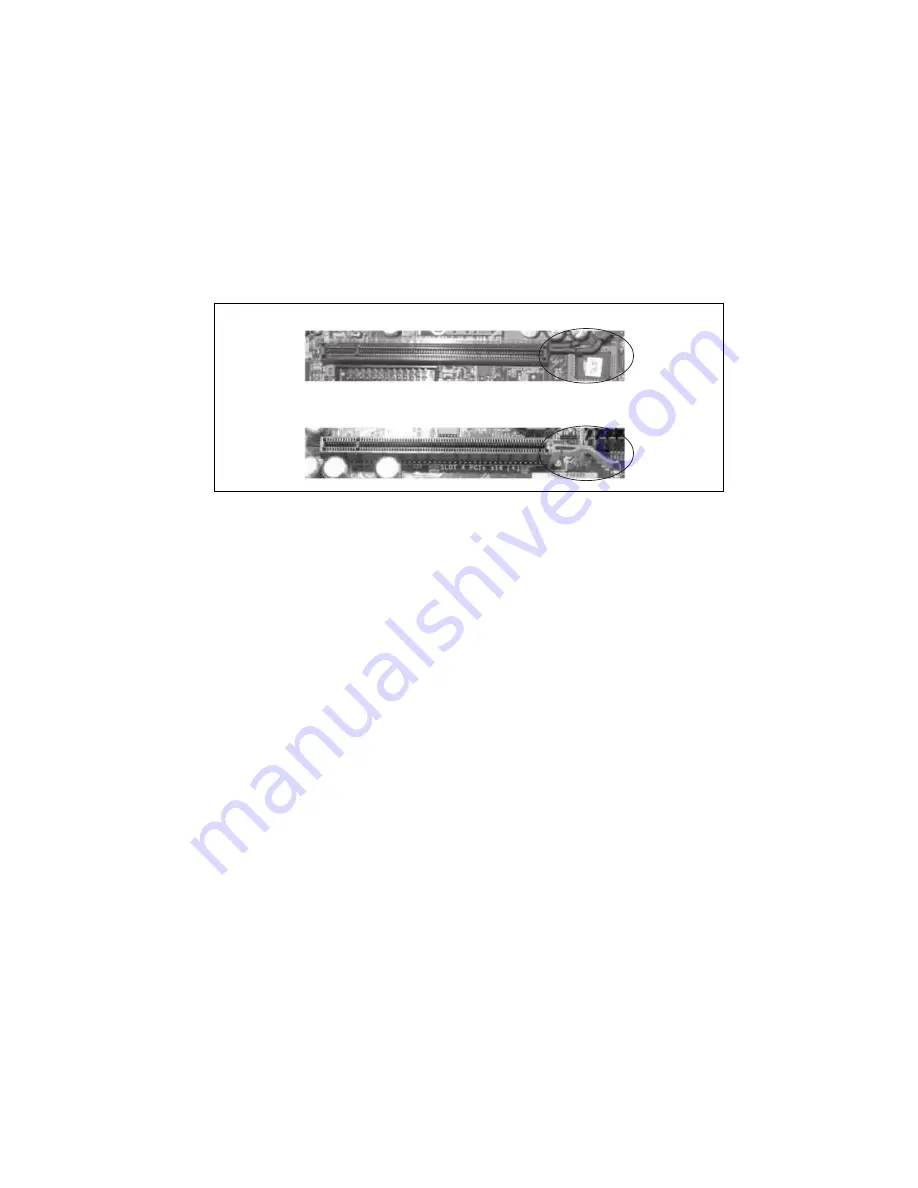
Important
When installing your Matrox Orion HD board in a x16 PCIe slot, special care
must be taken to avoid damaging the board. Some x16 PCIe slots have a connector
with a retainer. Matrox Orion HD
must not
come into contact with the latch of
this retainer.
Note that the same is true when removing the board. Alternatively, you can remove
the latch from the retainer.
5. Anchor the board using the screw that you removed in step 3.
6. Replace the cover of your computer.
Important
7. Temporarily attach a DVI-D digital display device to the multi-format
input/output connector on your Matrox Orion HD board; you must attach it via
DVI-I connector 1/5 of the Matrox KX20 to 4 DVI-I cable adapter. For more
information on connecting the device, see the
Connecting DVI-D and RGB display
sub-section of the
section, later in this chapter.
Until the Matrox Orion HD driver is installed, a DVI-D digitial display device
must be temporarily attached so that you can access and view the desktop using
the Matrox Orion HD board.
8. Attach your video sources to your Matrox Orion HD board. See the
and/or
Connecting video sources of other supported formats
sub-section(s) later in this chapter for more information.
x16 PCIe solder-side latch
x16 PCIe component-side latch
Содержание orion HD
Страница 1: ...Matrox Orion HD Installation and Hardware Reference Manual no Y11184 101 0101 July 26 2012...
Страница 6: ......
Страница 18: ...18 Chapter 1 Introduction...
Страница 30: ...30 Chapter 2 Hardware installation...
Страница 34: ...34 Chapter 3 Using multiple Matrox Orion HD boards...
Страница 42: ...42 Appendix A Glossary...
Страница 56: ...56 Appendix B Technical information...
Страница 68: ......


