


13
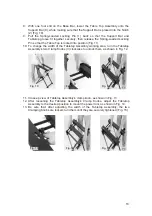
8. With one foot still on the Base Bar, lower the Table Top Assembly onto the
Support Bar (8), while making sure that the Support Bar is placed into the Notch
(2) (Fig. 10).
9. Pull the Spring-Loaded Locking Pin (1) back so that the Support Bar and
Tabletop groove fit together securely, then release the Spring-Loaded Locking
Pin so that the Table Top is locked into position (Fig. 11).
10.
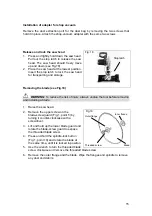
To change the width of the Tabletop Assembly working area,
turn the Tabletop
Assembly’s
two Clamp Knobs (3) clockwise
to unlock them, as shown in Fig. 12.
11.
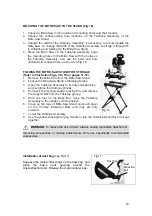
Close-up view of Tabletop
Assembly’s clamp knob, as shown in Fig. 13.
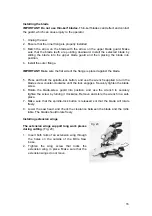
12. After loosening the Tabletop Assembly’s Clamp Knobs, adjust the Tabletop
Assembly to the desired position to mount the power tool, as shown in Fig. 14.
13. Be sure that, after adjusting the width of the Tabletop Assembly, the two
Clamping Knobs are locked: turn them until they are securely tightened (Fig. 15).
Fig. 10
Fig. 11
Fig. 12
Fig. 13
Fig. 14
Fig. 15
Содержание 55-6863-0
Страница 28: ...28 ...


