- 15 -
1. Follow steps in the “Cooking
Preparation” section of this manual.
2. Connect power cord. The LED display
shows “00:00” indicating that it is in
standby state.
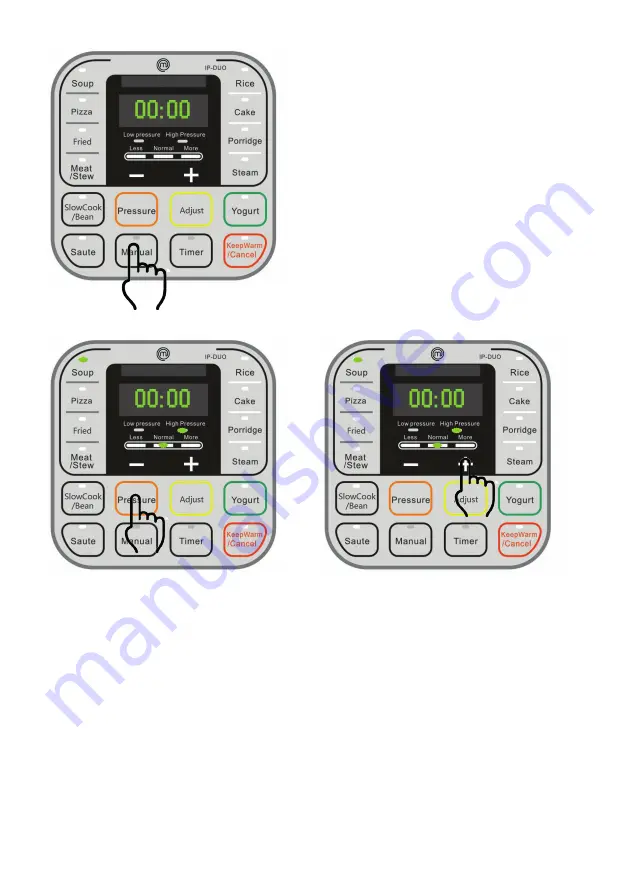
3. Select a cooking function, e.g., “Soup”.
Once a function key is pressed, its
indicator lights up and twinkling.
• Within 5 seconds after pressing a
function key, you can still select any
other function keys and adjust cooking
duration.
4.
Select cooking time.
•
You may use the “Adjust” key (except the “Slow Cook/Bean” and “Yogurt”
functions) to adjust cooking duration. Press the “Adjust” key repeatedly to
change between “Normal” - “Less” and “More” modes which will light up on
the display.
•
If necessary, change the cooking time with “+“ and “-“ . Press and hold the
“+“ or “-“ key for faster changes.
•
The built-in cooking time is suitable for general purpose food. Please use the
cooking timetable in the recipe book to determine the appropriate cooking
time based on the specific food, the quantity of food and your texture
preference.
5.
Select cooking pressure.
•
All functions except “Pizza“, “Fried”, “Cake”, “Slow Cook/Bean”, “Yogurt”
“Sauté” can adjust high pressure, from defaults low pressure.


