Installation & Operation Manual | MI-HORIZON3D
©
MASTERIMAGE 3D, Inc.
62
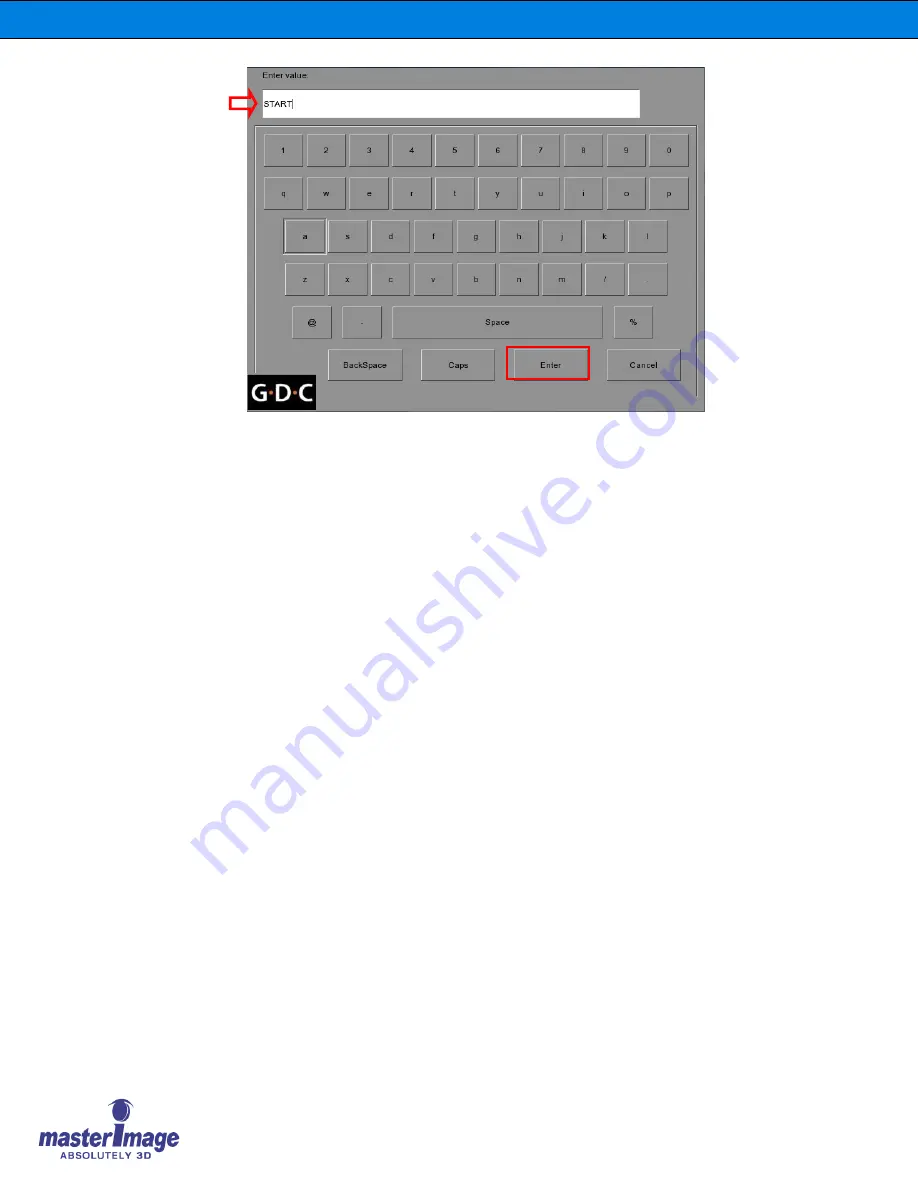
11. Click the
Enter
button to save this change, then go back and make entries for the
remaining four macros that are required.
Event Name STOP
Enter Value STOP
Event Name 2D POSITION
Enter Value PFD DOWN
Event Name 3D POSITION
Enter Value PFD UP
Event Name UP/DOWN STOP
Enter Value PFD STOP
12. Once all macros have been created, return to the
Actions
tab of the
Automation
screen to create the events that are needed to communicate. This is done by clicking
the
Add
button.
13. For each event, choose the device that was defined in the first step,
MasterImage
,
and then select the required event action from the dropdown list, for example:
Start
.
14. Follow the same steps to create the rest of the event actions for
Stop
,
3D
Position
,
2D Position
and
Up/Down Stop
.
Содержание MI-HORIZON3D
Страница 6: ...Installation Operation Manual MI HORIZON3D MASTERIMAGE 3D Inc 6 14 Appendix D Dimensional Drawings 655...
Страница 13: ...Installation Operation Manual MI HORIZON3D MASTERIMAGE 3D Inc 13 5 2 Actuator Control Box 5 3 Floor Stand...
Страница 54: ...Installation Operation Manual MI HORIZON3D MASTERIMAGE 3D Inc 54...
Страница 65: ...Installation Operation Manual MI HORIZON3D MASTERIMAGE 3D Inc 65 14 Appendix D Dimensional Drawings...
Страница 66: ...Installation Operation Manual MI HORIZON3D MASTERIMAGE 3D Inc 66 Optical Head Assembly...


