


Martin Engineering M4082-01/22
4
CleanScrape
®
Small Cleaner
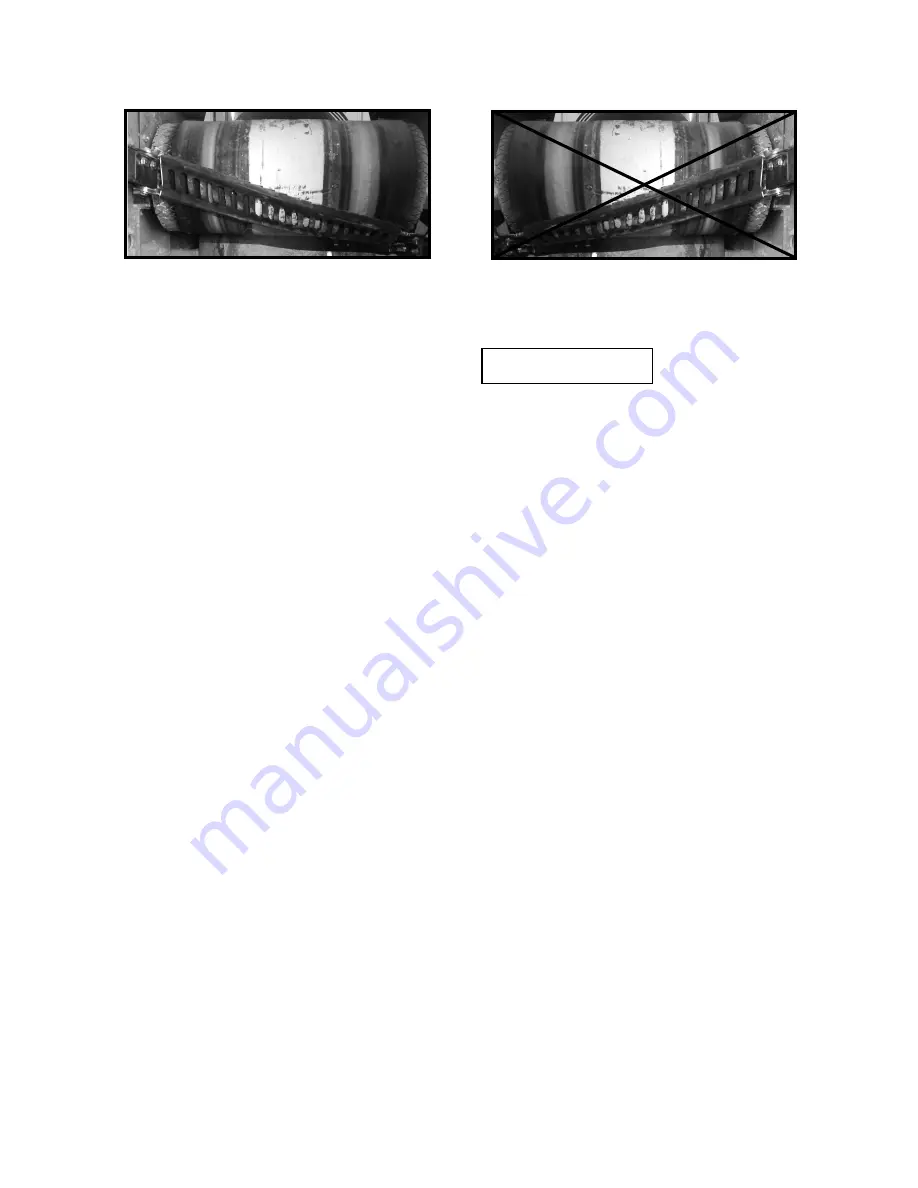
Figure 1. Belt Cleaner Mounting Orientation
IMPORTANT
The CleanScrape
®
carbide scrapers are molded into the
rubber body of the cleaner at a slight angle creating a serrated
cleaning edge. For effective cleaning, the cleaner can only be
mounted in orientation shown.
6. Inspect belt cleaner mounting area for possible obstructions that could
interfere with proper mounting. Refer to following guidelines:
a. Ensure cleaner does not lie in path of material unloading from
conveyor belt.
b. The top side of cleaner should be no less than the 2 o’clock position.
Material could strike the back of the cleaner causing wear which will
lead to premature failure.
c. The ideal installation angle is 17°–18°. Installation angles of 15°–21°
are acceptable. Higher angles lead to increased wear on the blade.
d. Belt width must not exceed a ratio of 3:1 to the head pulley diameter.
For example, the maximum belt width for a conveyor with a 300 mm
(12 in.) head pulley is 900 mm (36 in.).
e. Chute walls must be strong enough to not flex as tension is applied to
cleaner. If chute wall flexes inadequate tension may be applied to
cleaner resulting in poor cleaning performance. Additional chute wall
structure support may be added to prevent chute wall from flexing.
f. The distance between the cleaner and the chute wall should be
minimized. Martin Engineering recommends keeping the distance to
150mm (6 in.) maximum per side (see Figure 4). Excess cable could
result in vibration that could damage the belt or the cleaner. If
necessary, build a sub-wall to support the tensioners in the proper
position. Consult Martin Engineering for installation assistance if
parameters fall outside of this range.
g. For typical installations, start with the bottom rope in the 6 o’clock
position. The exact positioning of the top rope is a result of the
installation angle.
h. For belts with low product flow, lower the top rope until cleaner is out
of material path. Cleaner angle must be 15° or greater.
Correct Mounting Position
Incorrect Mounting Position
Before Installation


