6. Clearing the Operation Info
6.1. Actions
• Displays the accumulated operating time of the unit, the number of times the power was switched on,
and the number of occurrences of each protection.
6.2. Operations
Remove all input/output terminals and the AC plug.
Connect the AC plug again and place the product in standby mode.
While holding down buttons "
DIMMER
" and "
INTERNET RADIO
" simultaneously, press the power
button to turn on the power.
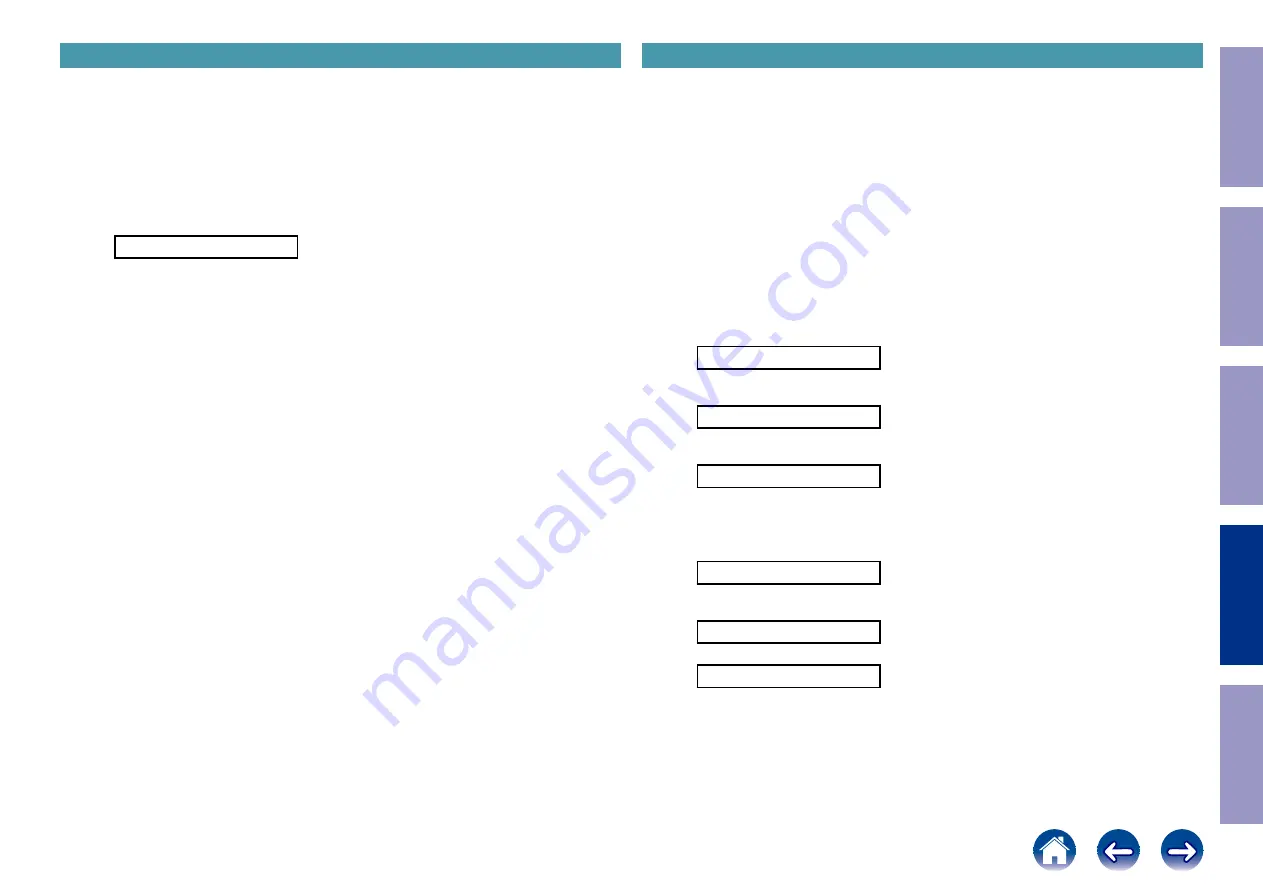
PRODUCT MODE
When "
PRODUCT MODE
" appears on the display, release the button and press the button "
power
"
→ "
ZONE2 ON/OFF
" to place the product in standby mode.
7. Log Capture feature
7.1. Actions
• Acquires the Network Module log.
• The log is deleted when the Network Module is deleted.
If an error occurs, it is acquired without turning off the power of this unit.
• The log can be copied to a writable USB flash drive.
It can also be sent to a server if this unit is connected to the Internet.
• The log is stored in the root folder of the USB flash drive with the name "
logs-<friendlyname>-
<number>.tar.gz
".
<
friendlyname
> indicates the friendly name and <
number
> indicates the sequence number.
Previous logs on the USB flash drive are not overwritten. The log is encrypted.
7.2. Starting up
While the power is on, hold down buttons "
DIMMER
" and "
SOUND MODE
" for at least 3 seconds.
7.2.1. If the USB flash drive is connected after starting the unit
(1) The log is written to the USB flash drive and "
Storing Logs...
" is displayed.
The log is also sent to the server.
Storing Logs...
(2) When a log package is saved to a USB flash drive, "
USB SUCCESS
" appears in the display for 5
seconds, regardless of whether the upload to the server was successful.
USB SUCCESS
(3) When saving of the log package fails, "
USB FAILED
" appears in the display for 5 seconds, regardless
of whether the upload to the server was successful.
USB FAILED
7.2.2. When the USB flash drive is not connected after startup, and this
unit is connected to the Internet.
(1) The log is sent to the server and the display shows "
Storing Logs...
" for 5 seconds.
Storing Logs...
(2) When the log package is uploaded, the ticket numbers "
UPLOAD No:XXXXX
" and "
Push ENTER
"
are displayed until RC or the "
Enter
" or "
Back
" button of this machine is pressed.
XXXXX Push ENTER
(3) If the log package upload fails, "
FAILED
" is displayed for 5 seconds.
FAILED
Before Servicing
This Unit
Electrical
Mechanical
Repair Information
Updating
121


