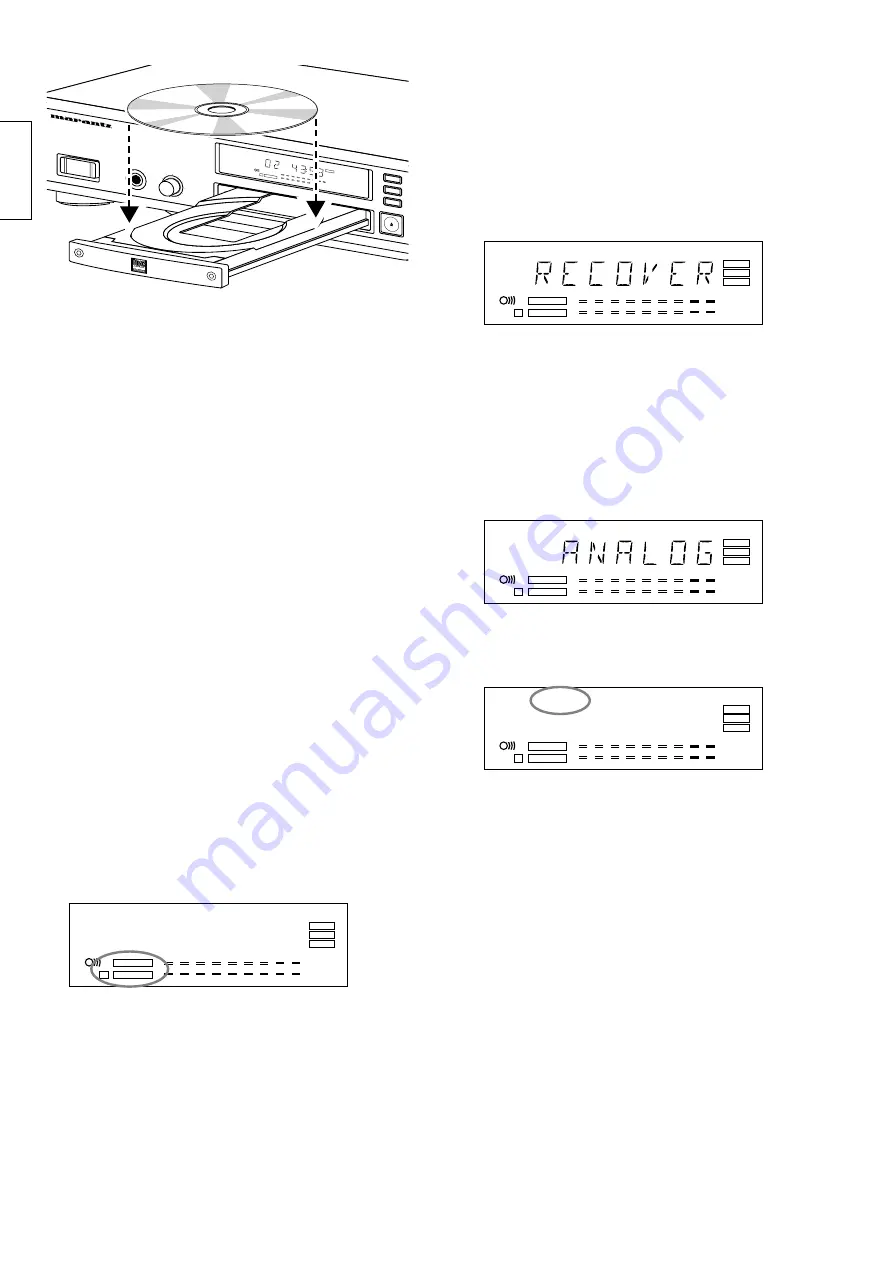
Note:
- Check to ensure that the recording side of the disc is clean (See
Disc Maintenance).
- If you insert a blank disc or non-finalized CD-R or CD-RW in the
drawer, the recorder will calibrate the disc for optimum recording.
During this process, the display will first show
OPC
and then the
recording time used and the last track number.
Removing discs
1
Press the OPEN/CLOSE button
(6)
on the front of the appliance
to open the disc drawer.
2
Remove the disc from the drawer.
3
Gently press the front of the drawer or press the OPEN/CLOSE
button
(6)
to close the drawer.
RECORDING
The numbers between parentheses refer to the fold-out illus-
tration.
General Comments
Make sure the display indicator ‘CD-RECORDABLE’ or ‘CD-
REWRITABLE’ is on; the recording procedure is the same for both
types of disc.
If the disc already contains recordings, the CD Recorder will auto-
matically search for the end of the last track so that recording can
be started from there.
Recordings can only be made if there are at least seven seconds of
recording time left on the disc. You can check this by pressing the
Display button
(18)
, after which the remaining recording time will be
shown.
A maximum total of 99 tracks can be recorded on a disc.
Attention!
Never switch the CD Recorder off when recording;
this can damage the disc.
If a power failure occurs during recording, the CD
Recorder will attempt to repair the disc as soon as the
power is restored; during this procedure, the display
will indicate
RREECCOOVVEERR
. If recover is unsuccessful,
discard that disc because it may no longer read/record.
Manually recording an analog source
Preparing to begin recording
➜
➜
Make sure the disc is free of scratches and/or dust particles.
1
Press the INPUT button
(19)
until
ANALOG
appears on the dis-
play.
2
By pressing AUTO/MANUAL
(17)
, you can select manual or
automatic track marking. If ”automatic” is selected, ‘AUTO
TRACK’ will appear on the display.
➜
➜
With
automatic increments
, a new track number will be auto-
matically added after a silence (< -50dB) on the original of at
least three seconds; track numbers cannot be added manually.
➜
➜
With
manual increments
, you can add track numbers at any
time during recording by pressing REC
(7)
or TRACK INCR
(37)
(on the remote control); the minimum track length is four
seconds. Track numbers cannot be added after recording.
Attention!
If the original has pauses lasting less than three sec-
onds, the track numbers should be increased manual-
ly. If you are recording from LP’s, it is recommended
that you always select manual operation of the track
numbering.
To start recording
1
Press the REC
(7)
button to enter the Record-Pause mode. The
display indicator will start to flash ‘RECORD’
PROG
REPEAT 1
PAUSE
ANALOG
DIG
ERASE
CD SYNC
TOTAL
AUTO
TRACK
TRACK
REM
TIME
L
R
-50
-40
-30
-20
-10
-6
-3
0
OVER
RECORDABLE
REWRITABLE
RECORD
FINALIZE
CD
PROG
REPEAT 1
PAUSE
ANALOG
DIG
ERASE
CD SYNC
TOTAL
AUTO
TRACK
TRACK
REM
TIME
L
R
-50
-40
-30
-20
-10
-6
-3
0
OVER
RECORDABLE
REWRITABLE
RECORD
FINALIZE
CD
PROG
REPEAT 1
PAUSE
ANALOG
DIG
ERASE
CD SYNC
TOTAL
AUTO
TRACK
TRACK
REM
TIME
L
R
-50
-40
-30
-20
-10
-6
-3
0
OVER
RECORDABLE
REWRITABLE
RECORD
FINALIZE
CD
PROG
REPEAT 1
PAUSE
ANALOG
DIG
ERASE
CD SYNC
TOTAL
AUTO
TRACK
TRACK
REM
TIME
L
R
-50
-40
-30
-20
-10
-6
-3
0
OVER
RECORDABLE
REWRITABLE
RECORD
FINALIZE
CD
CD RECORD
ER
POWER O
N/OFF
PHONES
LEVEL
0
10
DISPLAY
INPUT
AUTO / M
AN
OPEN / C
LOSE
PAUSE
DIG
COPY
CD SYNC
TOTAL
AUTO TRA
CK
REM
TIME
L
R
-50
-40
-30
-20
-10
-6
-3
0
0VER
REWRITABL
E
RECORD
CD
Recordable
8
English
Содержание CDR-630
Страница 1: ...OWNER S MANUAL MARANTZ CDR630 MODEL...
Страница 13: ...English 15 NOTAS...


