background image

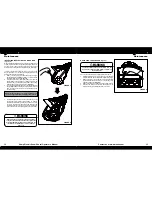
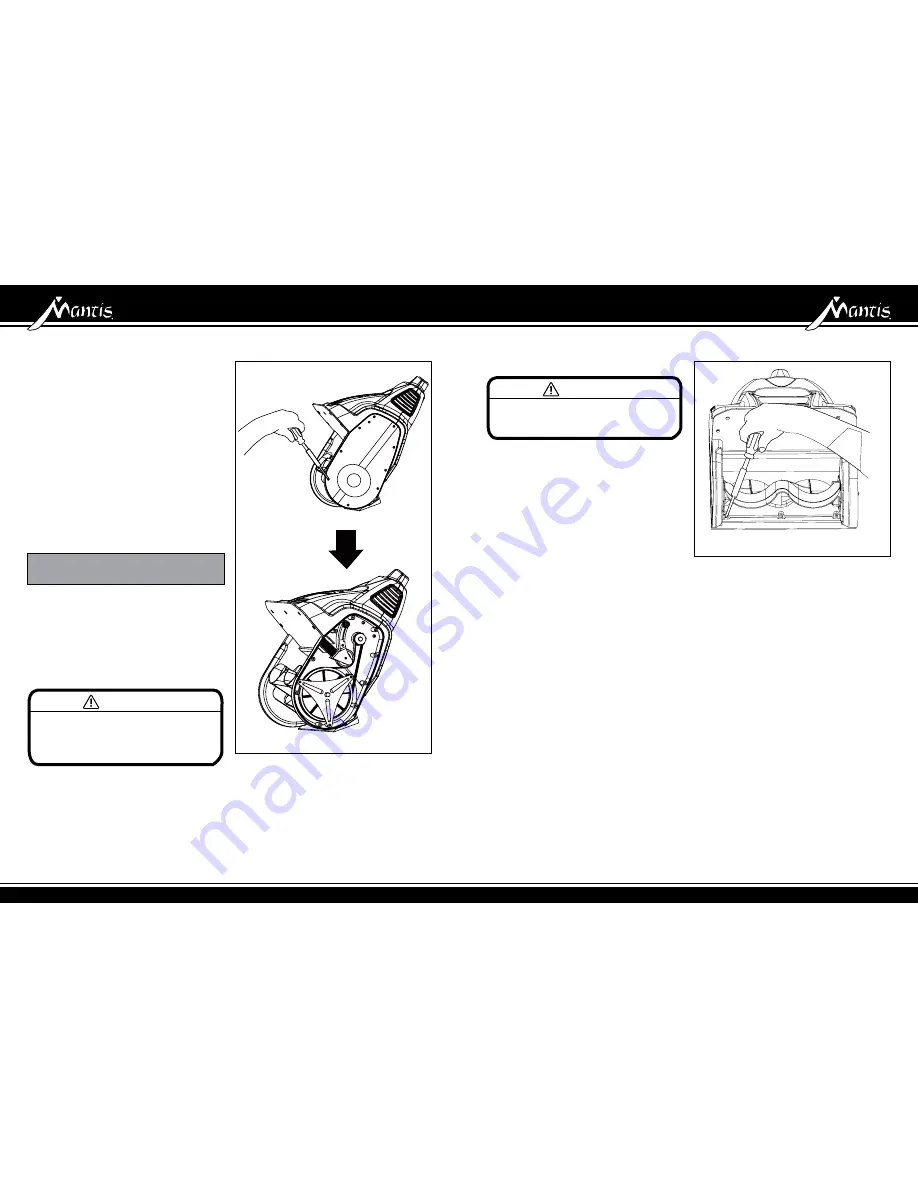
INSPECTING/REPLACING THE DRIvE BELT 

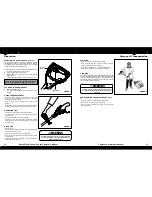
(Figure 7-8)

When servicing the Snow Shovel, use only the manufacturer's 

original replacement parts. Inspect the drive belt for wear once 

per year or every 50 hours of operation, whichever comes 

first. If the drive belt needs to be replaced, follow these steps.

In order to avoid serious personal injury, turn off the Snow 

Shovel and allow it to cool down. Unplug the Snow Shovel 

before performing any maintenance.
1.  Remove the ten (10) screws from the belt cover using a 

phillips screwdriver 

(Figure 7)

. Remove 3 screws for the 

impellar bracket shown in 

(Figure 8)

.

2.  Pull the belt tensioner (idler arm) away from the drive 

pulley. Remove the damaged or broken belt from the 

impeller pulley and the drive pulley inside the housing. 

Discard the belt in the proper manner 

(Figure 8)

 .

3.  Loop the new belt around the drive pulley and the impeller 

pulley 

(Figure 8)

. Pull the belt tensioner (idler arm) away 

from the drive pulley in order to install the belt around 

the drive pulley.

4.  Reinstall the belt cover with the ten (10) screws. Reinstall 

the impellar pulley bracket three screws. In order to 

facilitate the installation, position the narrow part of the 

cover into the recess of the housing and install the two 

top screws and then push the rest of the cover down into 

recess and over the rotor shaft. Tighten all ten (10) screws.

REPLACING THE SCRAPER 

(Figure 9)

Use only the manufacturer's original replacement parts.
1.  Place the Snow Shovel on the ground or on a work bench. 

Position the Snow Shovel so that the impeller is facing up.

2.  Remove the three (3) screws that are located beneath 

the impeller that secure the scraper to the housing using 

a phillips screwdriver. 

(Figure 8)

3.  Remove the scraper, and discard it in the proper manner.

4.  Snap the new scraper into position, and attach it to the 

Snow Shovel by reinstalling the three (3) screws.

Maintenance

Maintenance

12                      8 Amp Electric Snow Shovel Operator’s Manual

Contact us at www.mantis.com 

13

When fitting the belt back into the main housing, 

verify that the belt is positioned to the right of the 

Drive Belt Retainer. If the belt is positioned to the 

left of the Drive Belt Retainer, serious damage 

may occur.

In order to avoid serious personal injury, turn the 

Snow Shovel off and unplug it before performing 

any maintenance.

FIGURE 7

FIGURE 9

FIGURE 8

NOTE: verify that the washer is still in place on the 

impeller pulley shaft before reinstalling the belt cover.

WARNING

WARNING

Содержание 811127

Страница 1: ...OPERATOR PARTS MANUAL 8 Amp Electric Snow Shovel 811127 ...

Страница 2: ...e also rely on your good sense and care to achieve accident free operation For best protection study the manuals thoroughly Learn the proper operation of all controls Observe all safety precautions Follow all instructions and warnings completely Do not remove or defeat any safety features Make sure those who operate this machine are as well informed and careful in its use as you are Mantis designs...

Страница 3: ...peradjustment Safety Rules Warnings Safety Rules Warnings 4 8 Amp Electric Snow Shovel Operator s Manual Contact us at www mantis com 5 Attention This symbol points out our important safety instructions When you see this symbol heed it s warning Stay alert Improper use or care of this machine or failure to wear proper protection can result in serious injury Read and understand the rules for safe o...

Страница 4: ...se of a product that may have been improperly assembled could result in serious personal injury If any parts are damaged or missing do not oper ate this product until the parts are replaced Fail ure to heed this warning could result in serious personal injury Do not connect to power supply until assembly is complete Failure to comply could result in acciden tal starting and possible serious person...

Страница 5: ...ing this Snow Shovel use only a CSA listed extension cord that is approved for outdoor use such as Type SJTW 16AWG and that has a lower temperature rating of 40 F 40 C Inspect the extension cord and the power cord on a regular basis Look for deterioration cuts or cracks in the insulation Inspect the connections for damage Repair or replace the extension cord or the power cord if any damage is foun...

Страница 6: ... out button will pop out and the Snow Shovel will stop USING THE SNOW SHOVEL Start the Snow Shovel by following the Starting instructions The depth and weight of the snow will determine the forward speed Push the Snow Shovel forward so that it rides on the scraper Verify that the power cord is attached to the cord retainer The power cord should trail to the side of the operator OPERATING TIPS Clea...

Страница 7: ...stallation position the narrow part of the cover into the recess of the housing and install the two top screws and then push the rest of the cover down into recessandovertherotorshaft Tightenallten 10 screws REPLACING THE SCRAPER Figure 9 Use only the manufacturer s original replacement parts 1 Place the Snow Shovel on the ground or on a work bench Position the Snow Shovel so that the impeller is ...

Страница 8: ...llor shaft from the left hand side spring spacer washer spacer washer screw and washer 1 4 7 10 2 5 8 11 3 6 9 12 Replace the pulley support plate and the 3 retaining screws Place the lower spring into position and slide the side cover up using slight pressure to hold the spring in place Be sure to route the belt correctly as shown Replace and tighten the impellor shaft washer and nut Replace and ...

Страница 9: ...1198 3390298 3220298 3330298 3220998 3290499 3290198 3220236 3330198 3220898 3220598 3111298A 3320198 31105627 32206302A 3290173 3412098A 3225599 32261198 Part No 3411298 3411798 31102627 3330498 3220475 3410998 5 31103627 31104627 3411275 33206623 3410835 4 32210625 33205623 Description Pigtail cable Cord guard Screw Wire clip Switch assy Left upper handle Right upper handle Protect pacer Knob Au...

Страница 10: ...e paid MANTIS assumes no responsibility in the event that the product was not assembled or used in compliancewithanyassembly care safety oroperatinginstructionscontainedintheOwner sManualor accompanyingtheproduct Thislimitedwarrantydoesnotcoverdamagesordefectsduetonormalwear and tear lack of reasonable and proper maintenance failure to follow operating instructions or owner s manual misuse lack of...

Отзывы: