


3
HARDWARE
1. With your computer on, plug the
camera into a USB port on the
PC/notebook/netbook.
2. Use the clip on the camera base to
position the camera as desired.
NOTE:
You may prefer to wait until
you are adjusting the focus ring
during the software installation so
you can view the camera image.
(See the procedures below in
Software Installation.)
3. Press the snapshot button to
capture and file still images.
(Refer to the Capture section in
Software Installation.)
To protect your camera:
• Avoid dropping, jostling or otherwise
mishandling it, as this can affect its performance.
• Do not place it in extremely hot, cold or dusty environments. A soft cotton cloth
is recommended for cleaning the lens and/or any other optical components
• Prevent camera contact with sharp items (even fingernails) or coarse or wet
materials.
SOFTWARE INSTALLATION
1. With the camera connected to your computer through a USB port, insert the
included software CD in the CD-ROM drive. The installation procedure will
launch and run automatically, displaying a series of screens and easy-to-follow
procedural prompts.
2. Follow the on-screen instructions presented by the InstallShield Wizard.
NOTE:
The steps and screen images represent Windows XP and may vary slightly from
those for Windows Vista and 7. Refer to your operating system user manual as
needed.
3. When you’re finished with the InstallShield Wizard, go to Start on your desktop,
then Programs. Select “Webcam/Webcam VideoCap” to display the initial menu
screen and active camera image (below).
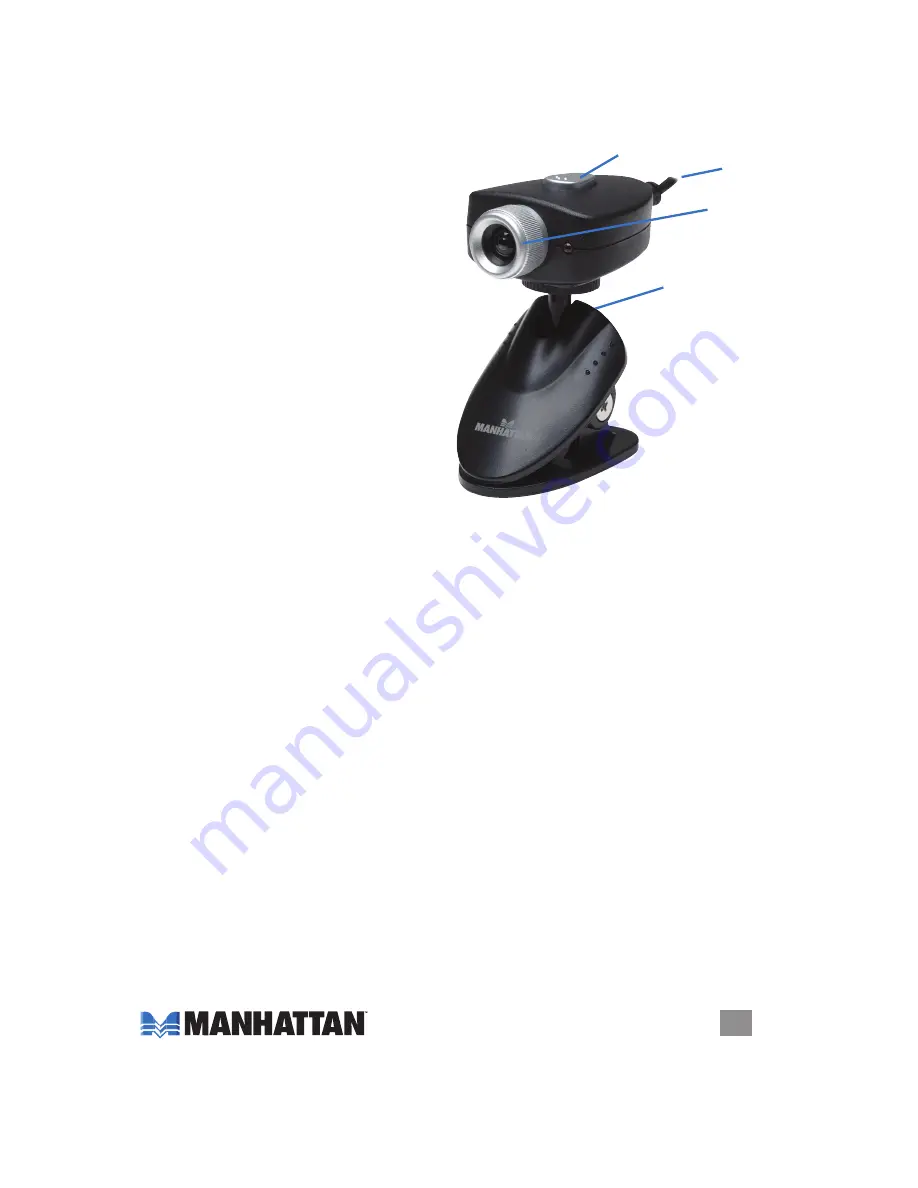
Base with clip
Focus
ring
Top-mount snapshot button
USB
cable


