6
TAke A ShOT
Press the release button
a start shooting
7
8
evAluATe yOur ShOT
eDiT yOur iMAGeS
1. Check exposure with the
Picker tool
2. Check exposure with the
Over-exposure and
Under-exposure alarms
1. Browse through your images
2. Roll the User Dial back and forward
to browse through your images
9
10
SeT uP SOfTwAre
wOrkflOw
Capture One DB
Capture One DB software allows you to further optimize images
using highly advanced tools and quality to match any
photographer's daily workfow, whether tethered or untethered.
Download Capture One DB software:
www.phaseone.com
• Screen shots for MAC and Windows Capture One DB
license page
On Mac OS:
On Window OS:
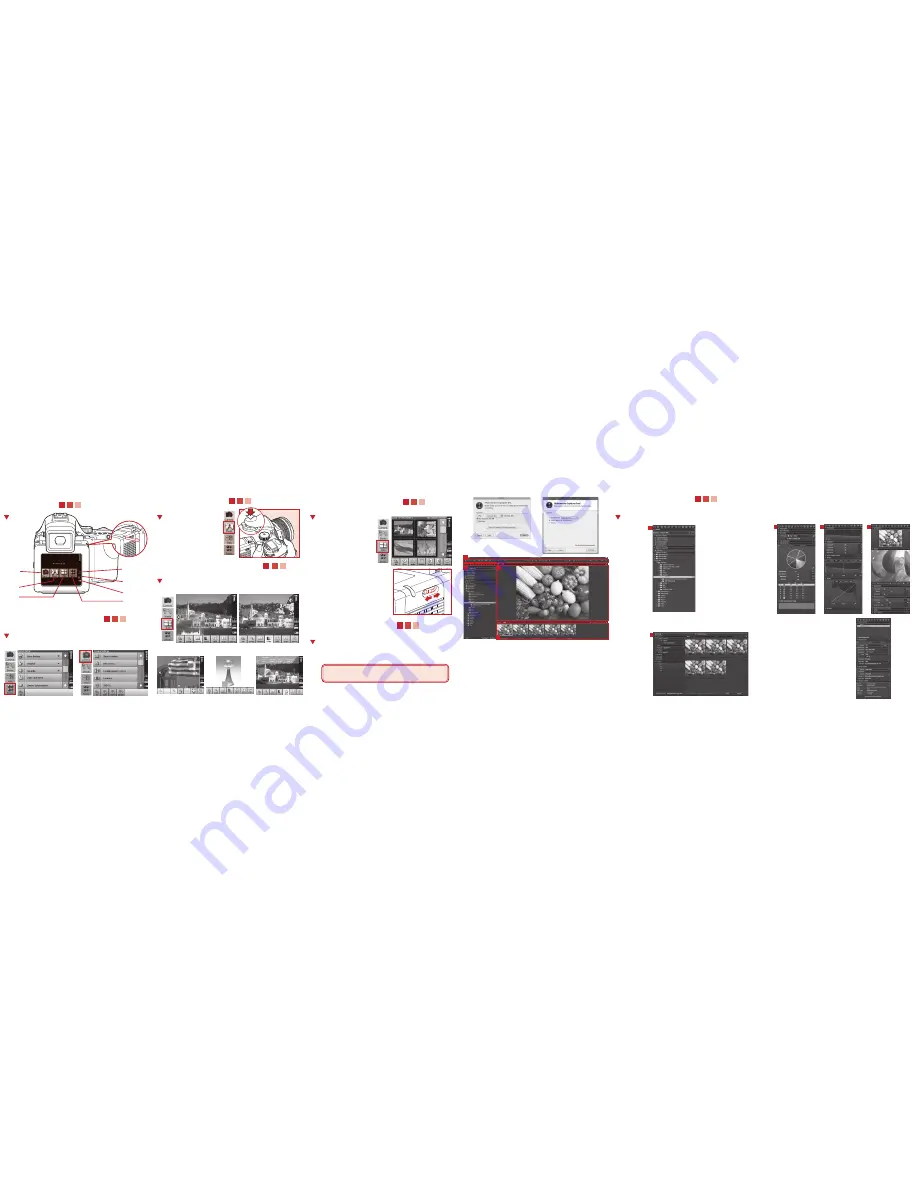
The user interface consists of four key sections:
i.
The Menu and Tool Bar
providing structured access to functions
found throughout the application.
ii.
The Browser
providing different views of images thumbnails,
different possibilities for rating, naming sorting and more.
iii.
The Viewer
providing a high quality rendition on the selected image,
all changes made to the image will instantly show.
iv.
The Tool Tabs
giving you access to all the core tools you need to
edit your images, such as color balance, exposure, sharpness etc.
1. Browse or Import Images
i. To import raw images into Capture One from anywhere
on your computer, select the library tool tab.
i
ii. When importing raw images from a Compact Flash
card, Capture One will open the import window
automatically.
3. Process
Select the output tab, defining format,
resolution and naming conventions.
After this hit 'Process' and your
modified images will be saved.
2. Adjustment
Adjust images by using
i. White balance, Color edit etc in Color tab.
ii. Exposure controls, Level adjustment in Exposure tab.
iii. Sharpness and details effects in Focus tab.
5. View information
i
iv
iii
ii
ii
i
ii
iii
4. Set grey balance
3. Check focus
P Av
Tv
M
X
CF
C1
C2
C3
22
25
2.25
0.7
0.8
ft
m
Camera
Settings
Shoot
View
Edit View
Set-up Menu
Remaining
Battery Power
Number of
remaining shots
Number of
images in the
current folder or
on the disk
Stylus
4
Screen AnD Menu
BuTTOnS
5
SeT uP DiGiTAl BAck
1. Select your interface language
2. Set the Date and Time
3. View and define camera settings


