4. INSTALLATION & SETUP
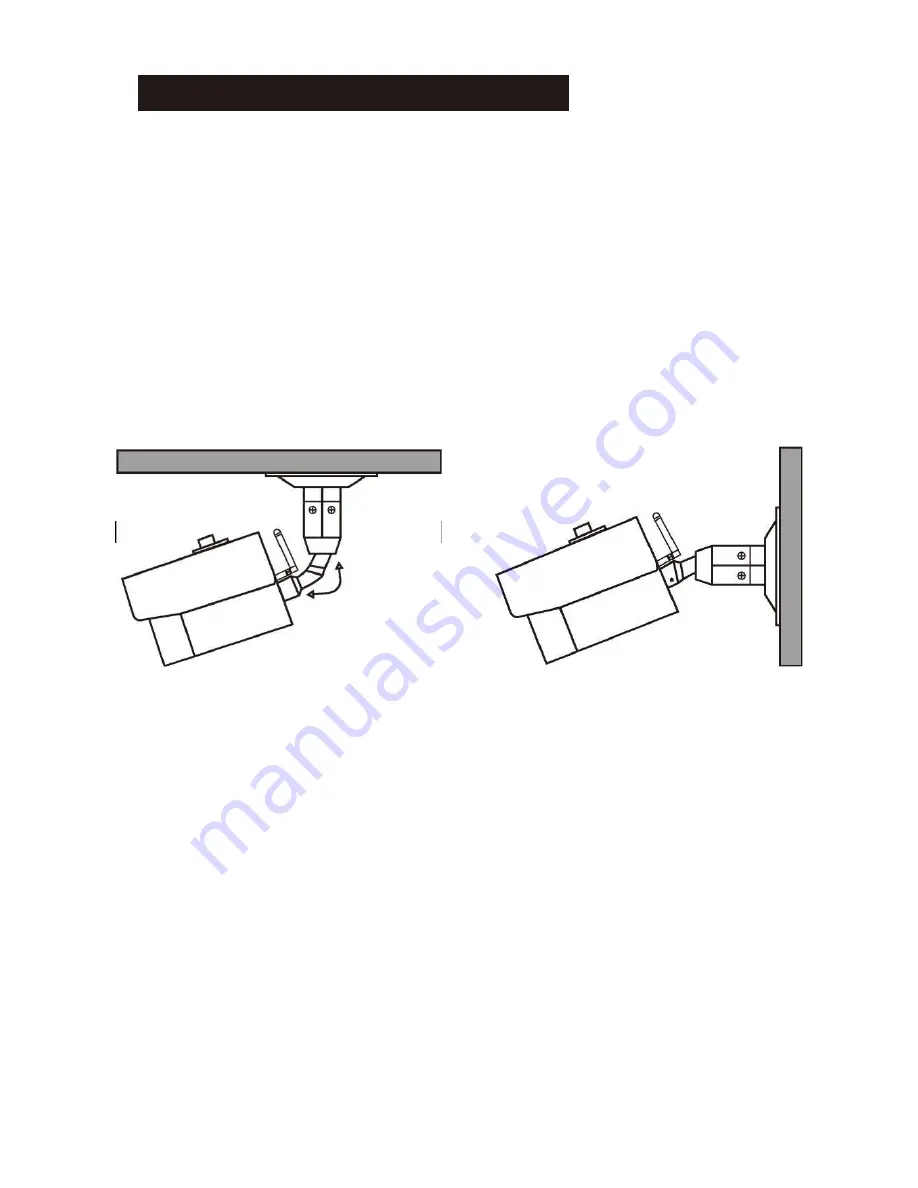
1. Select a suitable position on the wall or ceiling to install the camera and
map out the holes for the bracket.
2. Drill a hole in the middle of the area on the wall or ceiling where the camera
is to be mounted, to allow the power and video cable to be fed through.
Alternatively, the cable can be surface mounted by taking the cabling out
through the side of the bracket.
3. Screw the bracket base to the wall or ceiling using the Wall Plugs and
screws supplied.
4. To change the bracket position during installation, the different screws on
the bracket can be adjusted as shown in the diagram.
5. Connect the power adaptor to the camera and plug into the main power
supply. The RED Power LED will light up. The Camera is now ready to
use.
3


