INSTRUCTION MANUAL
Cordless Rebar Tying Tool
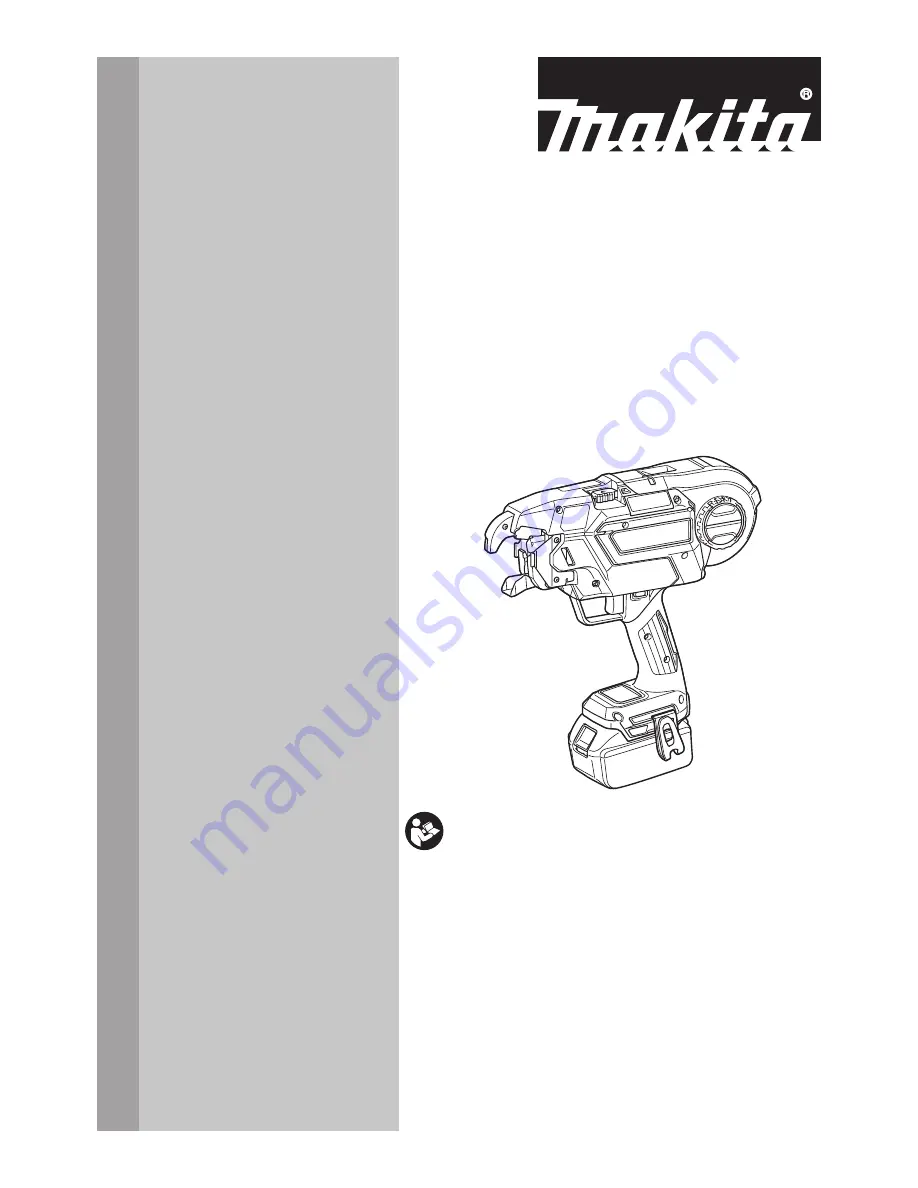
DTR180
ENG
LISH: O
rig
in
al
structi
on
s
Read before use.
Страница 1: ...INSTRUCTION MANUAL Cordless Rebar Tying Tool DTR180 ENGLISH Original instructions Read before use...
Страница 2: ...charger Battery cartridge D C 14 4 V Model BL1415N BL1430 BL1430B BL1440 BL1450 BL1460B D C 18 V Model BL1815N BL1820 BL1820B BL1830 BL1830B BL1840 BL1840B BL1850 BL1850B BL1860B Charger DC18RC DC18RD...
Страница 3: ...erator that are based on an estima tion of exposure in the actual conditions of use taking account of all parts of the operating cycle such as the times when the tool is switched off and when it is ru...
Страница 4: ...ury within a fraction of a second 9 Always wear protective goggles to protect your eyes from injury when using power tools The goggles must comply with ANSI Z87 1 in the USA EN 166 in Europe or AS NZS...
Страница 5: ...rk 5 Wear clothes that have close fitting hemlines and sleeves Do not work with a towel or other object wrapped around your neck Otherwise they may get caught in the rotating part and cause an acciden...
Страница 6: ...material 2 Avoid storing battery cartridge in a con tainer with other metal objects such as nails coins etc 3 Do not expose battery cartridge to water or rain A battery short can cause a large current...
Страница 7: ...ool causing injury to you or someone around you CAUTION Do not install the battery cartridge forcibly If the cartridge does not slide in easily it is not being inserted correctly Indicating the remain...
Страница 8: ...rarily When adjustment has completed the tool stops auto matically When you press the power button again the power turns off and the tying mode lamp goes out 1 2 1 Tying mode lamp 2 Power button NOTE...
Страница 9: ...s again Remaining battery notification When the battery voltage drops below the required level the tool will stop operating an error tone will sound and the number 4 will appear on the display panel T...
Страница 10: ...eased and may be twisted 5 Make the tip of the wire straight and pass the wire through the guide 1 1 Guide NOTE If the tip of the wire is bent when it is passed through the guide the wire may become j...
Страница 11: ...ath of the wire 3 Wire NOTICE When the lock lever is released and when the left and right gears mesh with each other the grooves in the gears form a space This space becomes the path for the wire Make...
Страница 12: ...e the curl guide open 2 Turn the power on If the tool will not operate and if the value 2 is shown on the display panel the state of the tool is normal Turn the power off and close the curl guide If t...
Страница 13: ...mp Single actuation mode 1 Push the arm securely against the tying point Push the tool vertically against the rebars and press the arm against the point where the rebars cross at a 45 degree angle 45...
Страница 14: ...s the wire will get stuck on the hook which may lead to incorrect tying Keep pressing the tool against the rebars until the wire tying process is completed Do not move to the next tying point until th...
Страница 15: ...hen wire has been used up normally approximately 20 cm of the wire remains wound on the reel In this state replace the wire reel with a new one If it is difficult to remove the wire reel from the tool...
Страница 16: ...included in the tool package 1 3 4 2 1 Bolt A 2 Bolt B 3 Contact plate cover 4 Wire guide B NOTICE Do not forcibly remove any bolts that cannot be removed using the hex wrench 2 Pull the contact plate...
Страница 17: ...4 Cutter A 5 Link arm A NOTICE Face the projection of cutter B down ward and install the cutter as shown in the figure 3 Align the pipe of the tool with the groove inside the wire guide B and assembl...
Страница 18: ...18 ENGLISH 7 After assembling confirm that the contact plate can move as shown in the figure 1 1 Contact plate NOTE If the contact plate is caught press it as shown in the figure...
Страница 19: ...e the curl guide 3 The tool does not perform the tying process in continuous actuation mode The contact plate is caught Release the contact plate from being caught 4 The tool does not start The tool s...
Страница 20: ...www makita com Makita Europe N V Makita Corporation 3 11 8 Sumiyoshi cho Anjo Aichi 446 8502 Japan Jan Baptist Vinkstraat 2 3070 Kortenberg Belgium 885636 220 EN 20180411...