OFFICIAL USE
for ASC & Sales Shop
32 / 41
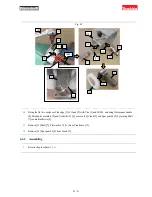
Fig. 64
3
Supporting Latch [1] with 1R026 etc., tap [3] Spring pin 3-22 [2] with 1R268 and remove [5] Latch [1] from
Door [4].
Fig. 65
4
Pinching [3] Headed pin 3 [2] with Long nose pliers [1], remove [5] Urethane washer [4]. Pull out [6] Headed
pin 3 [2] and remove [9] Plate [8] from Door [7].
6-4-2
Assembling
1
Reverse the procedure of (
6-4-1
).
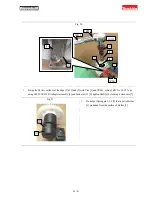
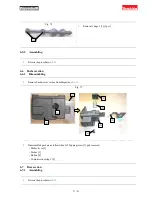
Fig. 66
2
Assemble by aligning the number side of Door [1] to
the number side of Plate [2].
[1]
[2]
1R026
1R268
[2]
[1]
[4]
[1]
[5]
[2]
[3]
[9]
[8]
[7]
[4]
[3]
[2]
[1]
[2]
[4]
[5]
[6]
[3]

