Majestic TM153 Скачать руководство пользователя страница 24

22

Connecting the PC as a monitor

TV/AV

I/II LIST

SLEEP Q.VIEW

MENU

PC/ *

PSM

SSM

ARC/ *

REVEAL

TEXT

MIX

SIZE

HOLD

INDEX

UPDATE

TIME

MENU

Picture

Ș

Sound

Ș

H/V Position

Ș

Auto
Reset

1024 x 768   60Hz

Position : 

ƇƉ

Next : 

ȖȘ

Exit : TV/AV

Picture

Contrast

60

Brightness

80

Temperature

9300K

Clock

50

Phase

34

Position : 

ƇƉ

Back : MENU

Adjust : 

ȖȘ

Exit : TV/AV

25

This function is possible only when the set is in PC mode.
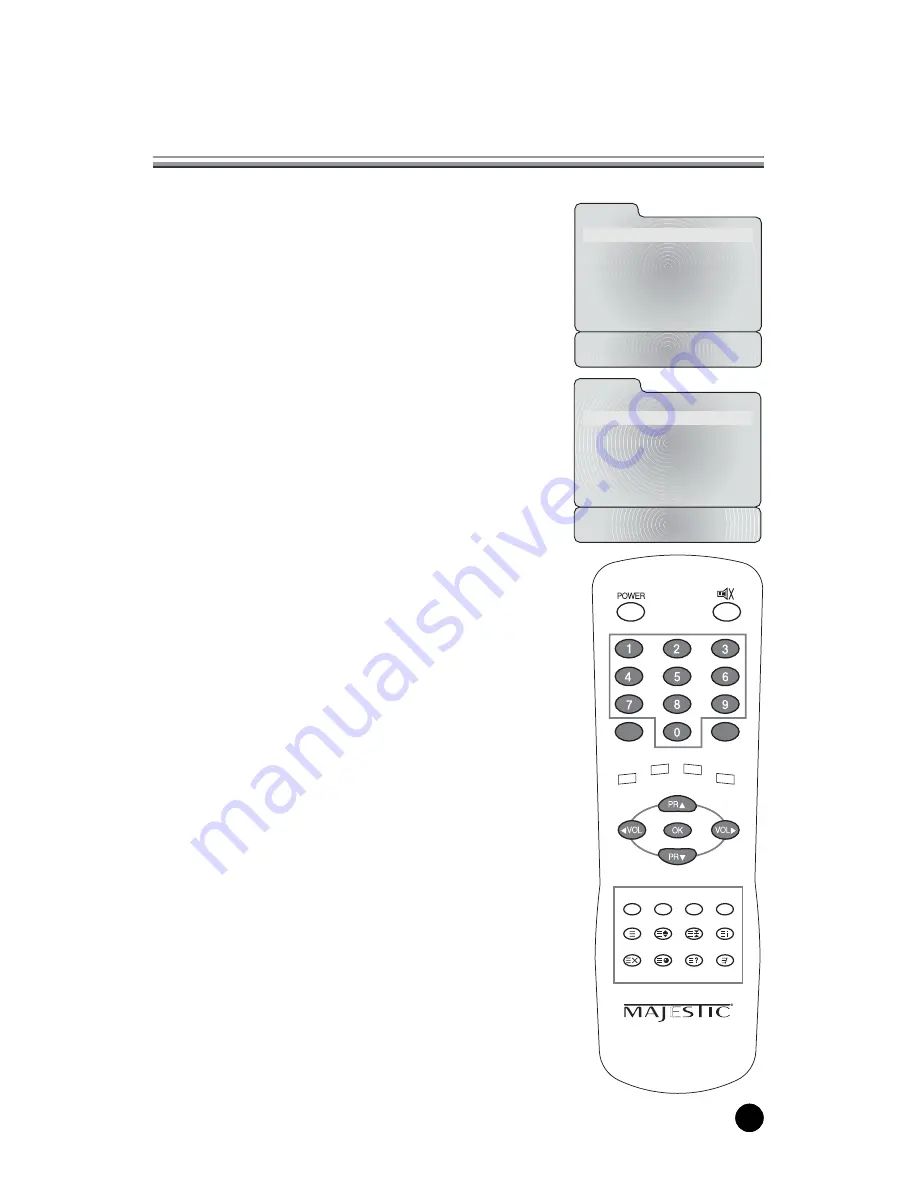
Use the 

TV/AV

button on remote controller.

Picture adjustment

You can adjust picture Contrast, Brightness, Temperature,
Clock, Phase as you prefer.

1. Press the 

TV/AV

button to select the PC mode.

2. Press the 

MENU

button.

3. Select the  

Picture

.

4. Press the 

PR

xy

button to select the desired

picture item.

5. Press the 

VOL

Ïq

button to make appropriate

adjustments.

6. Press the 

TV/AV

button to exit menu.

Contrast

This function is to adjust 

picture

to light/dark.

Brightness

This function is to adjust 

brightness

of picture.

Temperature

Temperature is a measure of the warmth of the image
color.

Clock

This function is to minimize any vertical bars or stripes
visible on the screen background. And the horizontal
screen size will also change.

Note

: This mediation range is different according to 

the supported resolution. 

Phase

This function allows you to remove any horizontal
noise and clear or sharpen the image of characters.

Содержание TM153

Страница 1: ...Owner s Manual Model TM153 15 TFT LCD TV MONITOR...

Страница 2: ...nect the AC DC adaptor and its power cord c Connect the power cord to an AC mains In the event of thunderstorms or power cuts please pull out the mains plug of the AC DC adaptor and the aerial plug Do...

Страница 3: ...TV to direct vibration moisture dust or heat Also ensure that the TV is placed in a position that allows a free flow of air Do not cover the ventilation openings on the back cover You can install the...

Страница 4: ...13 Programme Edit 14 Picture Control 15 Manual picture control 15 Auto picture control 15 Sound Control 16 17 Other functions 18 19 Clock 18 Blue Back 19 Auto Sleep 19 Childlock 19 Radio 19 Radio Cont...

Страница 5: ...with Product 1 AC DC adaptor 3 Remote controller 5 Owner s manual 6 PC IN cable 7 PC Audio IN cable 4 Batteries type AAA 2 AC Cord TV AV I II LIST SLEEP Q VIEW MENU PC PSM SSM ARC REVEAL TEXT MIX SIZ...

Страница 6: ...IN Connect the audio cable from the PC to the PC Audio IN of the set CONTROLLER OF PANEL 1 MENU Displays a menu 2 xPR y Programme Up Down Selects a programme or a menu item 3 POWER STANDBY INDICATOR...

Страница 7: ...Selects TV COMPONENT VIDEO S VIDEO RADIO Only when the set is Radio On or PC mode Clears the menu from the screen 5 MENU Displays a main menu 6 LIST Displays the programme list menu 7 I II Selects th...

Страница 8: ...ing remote controller Make sure there are no objects between the remote controller and its sensor Don t place the remote control near a heater or in damp place Strong impact to the remote control may...

Страница 9: ...e Programme selection You can select a Programme number with the PRxy button or NUMBER buttons Volume adjustment Press the VOL q button to adjust the sound level Quick view Press the Q VIEW button to...

Страница 10: ...EXT MIX SIZE HOLD INDEX UPDATE TIME 1 Press the MENU button to display main menu 2 Press the PRx y button to select menus Picture Sound Special Setup 3 Adjust each menu with the VOL q button 4 Press t...

Страница 11: ...utton 2 Select the Setup menu 3 Select the Auto Programme menu 4 Press the PRxy button to select System 5 Select a TV system with the VOL q button BG Germany Asia M East Africa Australia I UK Hong Kon...

Страница 12: ...a TV system with the VOL q button BG Germany Asia M East Africa Australia I UK Hong Kong South Africa DK CIS China East Europe M USA Korea Philippines 10 Press the PRxy button to select Search menu Wh...

Страница 13: ...ton 3 Move the programme to desired programme number with the PRxy or VOL q button 4 Press the YELLOW button again to release this function Skipping a programme number 1 Select a programme number to b...

Страница 14: ...low Dynamic Standard Mild Game User Dynamic Vivid Picture Appearance Standard Standard Picture Appearance Mild Softer Picture Appearance Game External Video Game Picture Setup User Manual Picture Setu...

Страница 15: ...band by pressing the VOL q button c Make appropriate sound level with the PRxy button d Press the MENU button to return to preceding menu 7 Press the PRxy button to the Balance menu 8 Select the Balan...

Страница 16: ...not be changed SSM Sound Status Memory 1 Press the SSM button 2 Press the SSM button repeatedly to select Each press of the button changes the screen display as below Flat Music Movie Speech User Choo...

Страница 17: ...Off Time 6 Set the TV off time with the numeric buttons and the PRxy button Then press the VOL q button Select On or Off with PRxy button When the setting is off the TV set will be switched off to sta...

Страница 18: ...TV AV button to return to normal TV viewing Childlock Childlock menu is necessary in order to disable the buttons on the side panel of the set Especially it is useful to prevent unauthorized viewing...

Страница 19: ...he VOL q button to delete the station 8 Press the PRxy button to select Auto Programme 9 Press the VOL q button repeatedly to automatically scans and tunes to the next available station 10 Press the P...

Страница 20: ...he BLUE button you can progress from block to block 2 Use the YELLOW button to proceed to the next group with automatic overflow to the next block 3 With the GREEN button you can proceed to the next e...

Страница 21: ...this button again Return to index page TEXT MIX Functions MENU SIZE HOLD INDEX Displays the TV picture on the screen while waiting for the new Teletext page The display will appear at the top left ha...

Страница 22: ...na Input source 4 Press the PLAY button on the VCR COMPONENT INPUT 1 Connect the Video outputs Y Cb Cr on a DVD to the COMPONENT input on the TV 2 Use the TV AV button to select COMPONENT mode 3 Press...

Страница 23: ...MONO R inputs on the TV 3 Select S VIDEO mode by pressing the TV AV button repeatedly 4 Press the PLAY button on the VCR The VCR playback picture appears on the screen Headphone jack Insert the headp...

Страница 24: ...ton to select the PC mode 2 Press the MENU button 3 Select the Picture 4 Press the PRxy button to select the desired picture item 5 Press the VOL q button to make appropriate adjustments 6 Press the T...

Страница 25: ...ce menu with the VOL q button and adjust the balance of speaker 9 Select the AVL Automatic Volume Leveler menu ON or OFF 10 Select the Surround menu ON or OFF 11 Select the Sound Mode with PRxy button...

Страница 26: ...Press the TV AV button to exit menu Auto This function is for the automatic adjustment of the screen position clock and clock phase The displayed image will disappear for a few seconds while the Auto...

Страница 27: ...ble D sub jack from the monitor output socket of the PC to the PC DTV input socket of the set 2 Connect the PC Audio IN cable from the PC to the PC AUDIO IN of the set 3 Press the TV AV or PC button t...

Страница 28: ...SC M Television programme VHF 2 12 UHF 21 69 Cable S1 S41 LCD Panel 15 1 TFT LCD panel Resolution XGA 1024 X 768 Power consumption 45W External antenna impedance 75 Audio output 1 0W 1 0W Speaker outp...

Страница 29: ...ecurely inserted Make sure COLOR and CONTRAST settings Is the unit receiving interference from other devices Transmission antennas of radio broadcasting stations and transmission antennas of amateur r...

Страница 30: ......

Отзывы: