4
Assembly Instructions
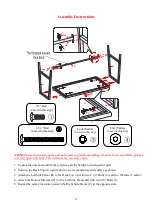
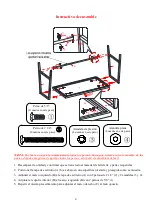
NOTE: Please do not fully tighten all bolts until you finish assembling all parts. Once assembled, go back
and fully tighten all bolts. This will make the assembly easier.
1.
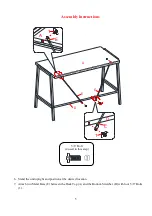
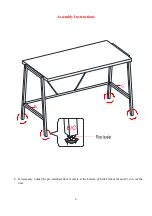
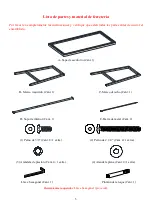
Unpack the unit and confirm that you have all the hardware and required parts.
2.
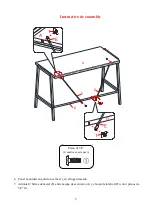
Position the Desk Top (A) upside down on a level and protected surface as shown.
3.
Attach the Left Side Frame (B) to the Desk Top (A) with two 2 1/4” Bolts (2) and two Washers (3 and 4).
4.
Attach the Bottom Stretcher (D) to the Left Side Frame (B) with two 5/8” Bolts (1).
5.
Repeat the same procedure to attach the Right Side Frame (C) at the opposite side.
B/C
B/C
1
1
D
D
Lock Washer
(4 used in this step)
③
5/8” Bolt
(4 used in this step)
①
Flat Washer
(4 used in this step)
④
2 1/4” Bolt
(4 used in this step)
②

