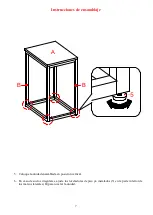
Mainstays MS18-03-1011-01 Скачать руководство пользователя страница 10


FABRICANTE: Whalen Furniture Manufacturing 
CATALOGO: Mesa lateral 
MODELO # MS18-03-1011-01 
HECHO EN CHINA


NOTA ESPECIAL 


Lea atentamente toda la hoja de instrucciones antes de comenzar el montaje. Antes de 
deshacerse  del  empaque  compruebe  que  no  ha  olvidado  nada  en  su  interior

.  Quite 

cualquier  grapa  o  accesorio  fijado  al  cartón  antes  de  tirarlo.  Una  vez  apartadas  las 
piezas,  sepárelas  en  grupos  como  se  indica  en  la  lista.  Cerci

órese  de  que  tiene  todas 

las  piezas  antes  de  comenzar  el  ensamblaje.  No  se  recomienda  utilizar  herramientas 
muy potentes para ensamblar este mueble. 

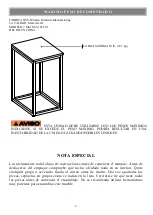
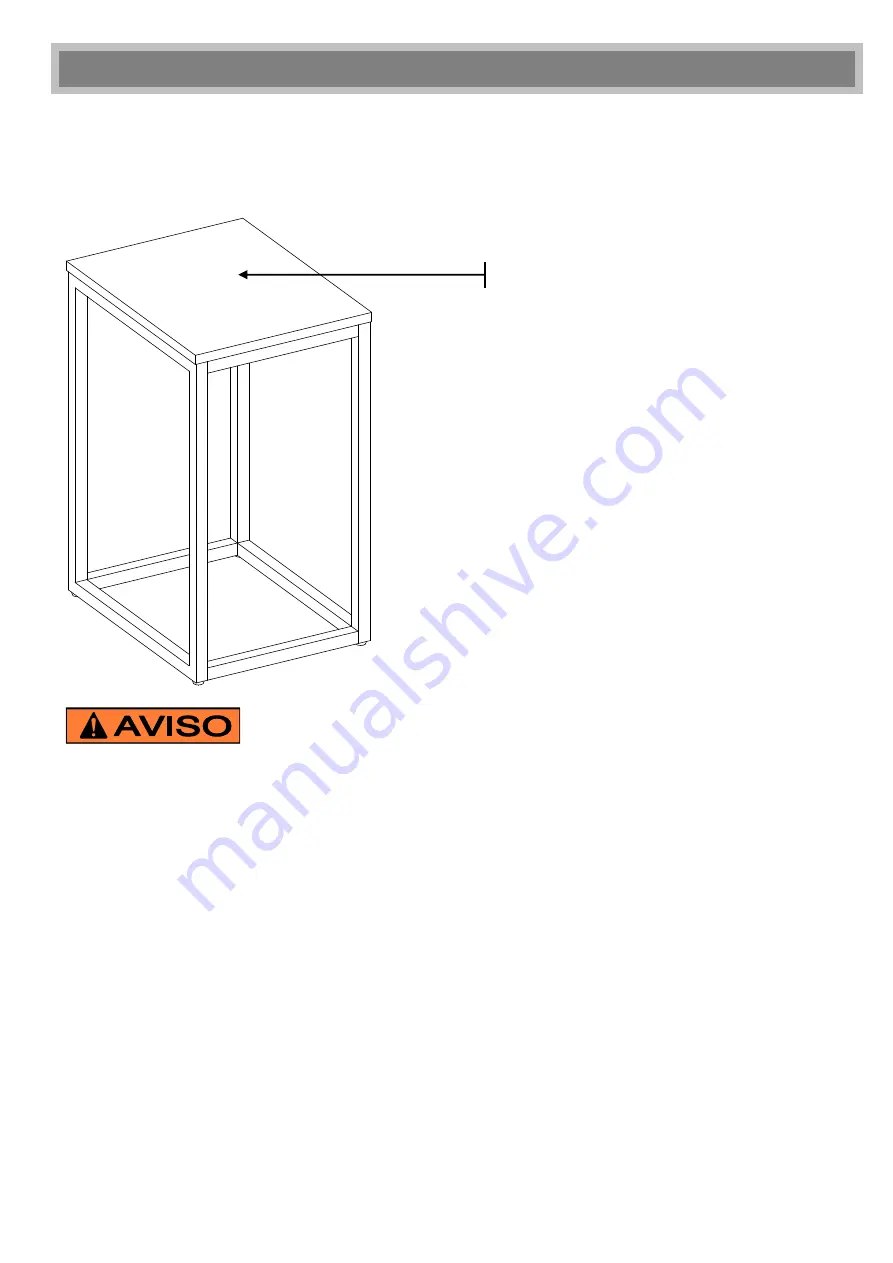
M Á X I M O   P E S O   R E C O M E N D A D O  

CARGA MÁXIMA 50 lb. (22.7 kg) 

ESTA  UNIDAD  DEBE  UTILIZARSE  CON  LOS  PESOS  MÁXIMOS 

INDICADOS.  SI  SE  EXCEDE  EL  PESO  MÁXIMO,  PODRÍA  RESULTAR  EN  UNA 
INESTABILIDAD DE LA UNIDAD CAUSANDO POSIBLES LESIONES

Содержание MS18-03-1011-01

Страница 1: ...ssing DO NOT return this item to the store where it was purchased Please call our customer service number and have your instructions and parts list ready to provide the model name part name or factory...

Страница 2: ...the carton before discarding Remove all parts from carton and separate into groups as indicated on part list Please ensure all parts are included prior to assembly Use of power tools to complete assem...

Страница 3: ...e beginning assembly A Table Top Qty 1 B Side Frame Qty 2 C Top Stretcher Qty 2 D Bottom Stretcher Qty 2 1 1 4 x 5 8 Bolt Qty 8 1 extra 2 Lock Washer Qty 8 1 extra 3 Flat Washer Qty 8 1 extra 4 M4 x 3...

Страница 4: ...nit on a carpeted floor or the empty carton to avoid any scratch 2 Attach the Stretchers C and D between the Side Frames B with eight 5 8 Bolts 1 and eight Washers 2 and 3 as shown 1 2 3 1 2 3 B B D D...

Страница 5: ...5 Assembly Instructions 3 Using the pilot holes as a guide align and attach the previous assembly to the Table Top A with eight 32 mm Screws 4 M4 x 32 mm Screw 8 used in this step B B C C A 4...

Страница 6: ...6 Assembly Instructions 4 Screw four Floor Levelers 5 into the threaded sockets on the Side Frames B B B 5 Floor Leveler 4 used in this step...

Страница 7: ...7 Assembly Instructions 5 Stand the assembled unit upright 6 In case of uneven floors adjust the installed Floor Levelers 5 at the bottom of the Side Frames B to level the unit B B A...

Страница 8: ...is best to keep your furniture in a climate controlled environment Extreme temperature and humidity changes can cause fading warping shrinking and splitting of wood It is advised to keep furniture aw...

Страница 9: ...nto donde lo adquiri Por favor llame a nuestro n mero de servicio al cliente y tienen sus instrucciones y lista de piezas listo para proporcionar el nombre del modelo el nombre o el n mero de parte de...

Страница 10: ...pa o accesorio fijado al cart n antes de tirarlo Una vez apartadas las piezas sep relas en grupos como se indica en la lista Cerci rese de que tiene todas las piezas antes de comenzar el ensamblaje No...

Страница 11: ...ienzo del montaje A Superficie de mesa Cant 1 B Marco lateral Cant 2 C Bastidor superior Cant 2 D Bastidor inferior Cant 2 1 Pernos de 1 4 x 5 8 Cant 8 1 extra 2 Arandela de sujeci n Cant 8 1 extra 3...

Страница 12: ...uelo alfombrado o en la caja de cart n vac a para evitar rayaduras 2 Conecte los bastidores C y D entre los marcos laterales B con ocho pernos de 5 8 1 y ocho arandelas 2 y 3 como se muestra Arandela...

Страница 13: ...ciones de ensamblaje 3 Usar los agujeros piloto como una gu a alinee y conecte el montaje anterior a la superficie de mesa A con ocho tornillos de 32 mm 4 Tornillo M4 x 32 mm 8 usados en este paso B B...

Страница 14: ...6 Instrucciones de ensamblaje 4 Atornille cuatro niveladores de piso 5 en los insertos roscados en los marcos laterales B B B 5 Nivelador de piso 4 usados en este paso...

Страница 15: ...ensamblaje 5 Coloque la unidad ensamblada en posici n vertical 6 En caso de suelos irregulares ajuste los niveladores de piso ya instalados 5 en la parte inferior de los marcos laterales B para nivel...

Страница 16: ...bios de humedad pueden causar cambios como partes pandeadas molduras que se contraigan o que la madera se parta Es recomendable mantener la unidad lejos del sol directo ya que puede da ar el terminado...

Отзывы: