Page 2
Install the water supplies (Fig. 1) and drain piping (Fig. 2)
according to roughing-in information.
INSTALLING LAVATORIES
Cut out the template where indicated for the countertop opening.
Cut along the inside of the cutting line. (Fig. 3)
Position the template on the countertop to ensure clearance
between the lavatory, faucet, and backsplash. (Fig.4)
Verify cabinet clearance beneath the countertop.
Trace around the template on the countertop with pencil. (Fig. 4)
Mark the faucet hole centerline on the countertop. (Fig. 4)
PREPARATION
NOTE:
You may required different, more specialized tools to install this
lavatory to countertop materials other than wood or wood composites.
Water Supply
Drain Pipe
Fig. 1
Fig. 2
Fig. 4
Fig. 3
INSTALL THE LAVATORY
Cut out the opening carefully following the pencil line traced from
the template. (Fig. 5)
Fig. 5
NOTE:
The screw and anchors should be used on countertops, with a
minimum 1" (25mm) thickness (not provided). For thinner countertops,
use appropriate anchors and fasteners (not provided).
Mark and pre-drill the wood screw holes at the locations shown
on the template.
Waterproof any exposed areas of wood.
For Wood Countertops
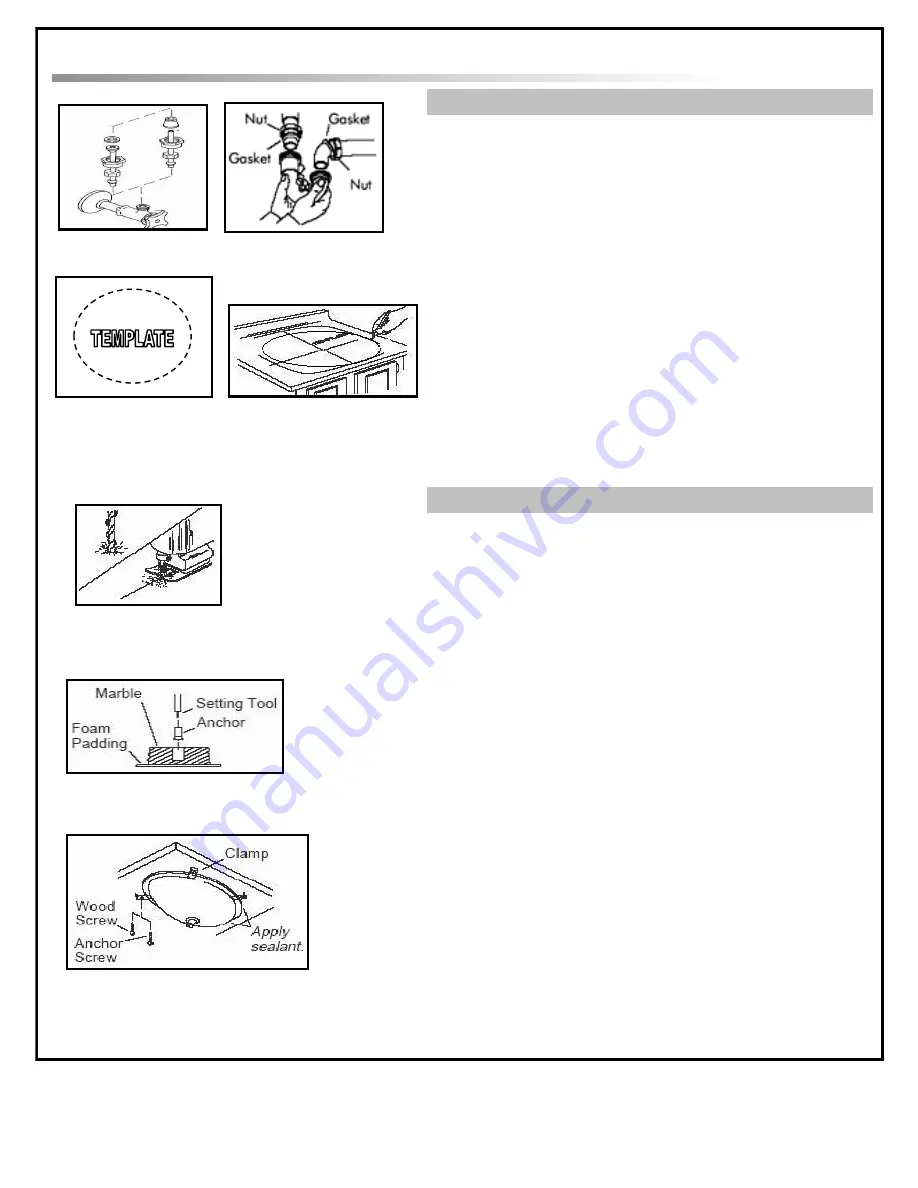
For Marbles/Stone Countertops
Position the countertop upside down on the foam padding to
protect the surface. Mark and drill 3/8" holes 5/8" (16mm) deep at the
locations shown on the template
Use a setting tool and hammer to secure the anchors.
For All Undercounter Installations
If the countertop has not been installed, install it at this time.
Drill the faucet holes according to the faucet installation
instructions.
Install the faucet to the countertop according to the faucet
manufacturer's instructions.


