


62
EN
62
EN
SPECIAL PLAYBACK
Step by Step Playback
1) During playback, press [PAUSE
F
].
Playback will be paused and sound will be muted.
2) Press [
G
] repeatedly.
Playback will advance one frame (or step) at a time
when you press
[
G
]
with the sound muted.
To play back step by step backward:
Press
[
H
]
repeatedly.
Every time you press the button, the playback will go
backward by one frame.
• Press and hold
[
H
]
/
[
G
]
to reverse/ advance
continuously.
3) Press [PLAY
B
] to return to the normal playback.
Note
• Only step by step forward playback is available for
playing back video CD.
Note
• Forward/reverse speed will be indicated with icons
as follows.
forward (approx. speed)
1/16x:
1/8x:
1/3x:
reverse (approx. speed)
1/16x:
1/8x:
1/4x:
• Only slow forward is available when playing back
video CD.
Slow Forward
/
Slow Reverse Playback
1) During playback, press [PAUSE
F
]. Then press
[
D
] or [
E
].
Every time you press
[
D
]
or
[
E
]
, approximate speed
will be changed as follows. (The sound will remain
muted.)
1/8
x
pause
1/1
6x
1/8
x
1/1
6x
1/3
x
1/4
x
g
h
g
h
g
h
g
h
g
h
g
h
2) Press [PLAY
B
] to return to the normal playback.
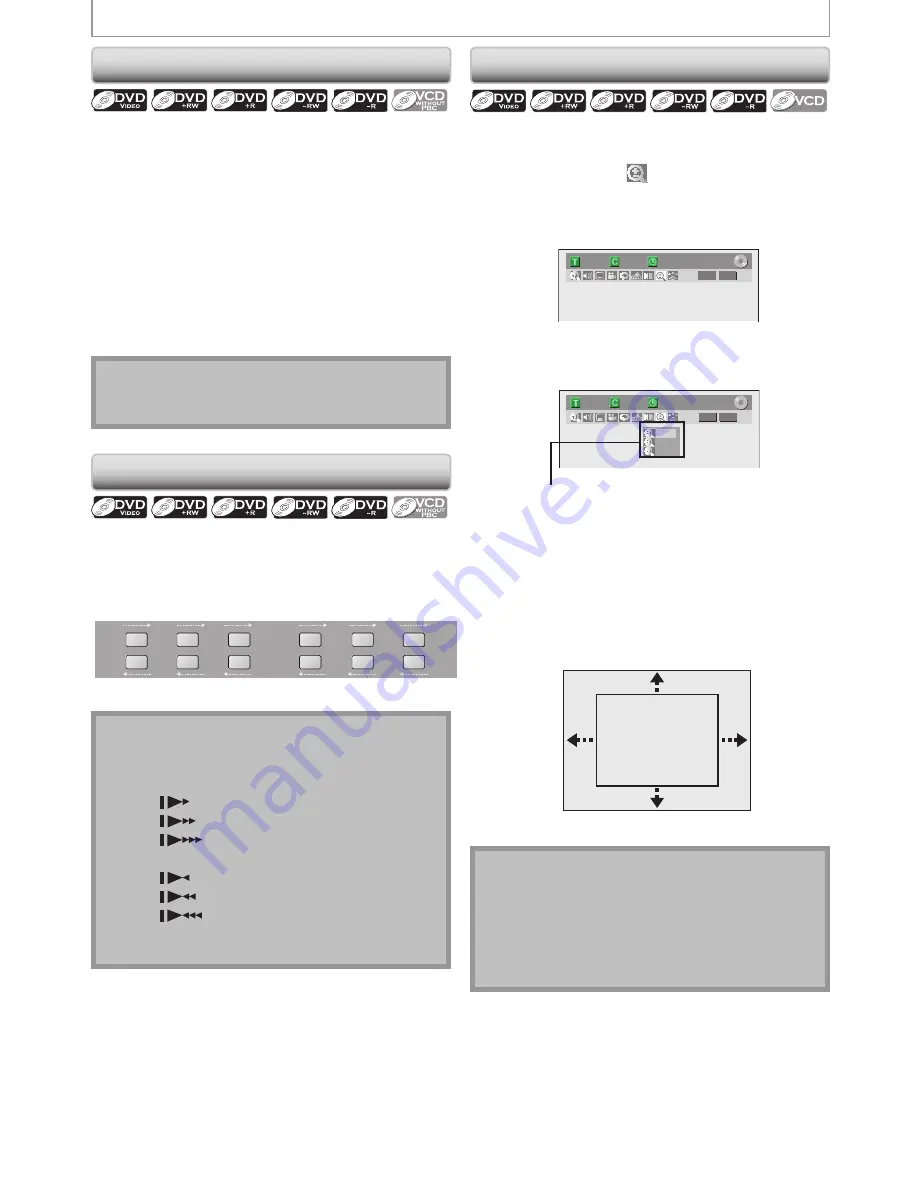
Zoom
Note
• When selecting a smaller factor than the current one,
the zoom area will not be displayed.
• To exit the zoom menu, press
[DISPLAY]
again at
step 1.
• To cancel the zoom function, select “x1.0” using
[
K
/
L
]
, then press
[OK]
.
1) During playback, press [DISPLAY].
2) Use [
{
/
B
] to select
, then press [OK] within 1
second or wait for 1 second to display the selection
menu.
e.g.) DVD-video
1/ 5
1/ 5
DVD
0:01:00 / 1:23:45
Video
3) Use [
K
/
L
] to select a desired zoom factor to zoom,
then press [OK].
1/ 5
1/ 5
DVD
× 1.2
× 1.5
× 2.0
0:01:00 / 1:23:45
Video
Zoom menu will appear.
There are four options
(x1.0, x1.2, x1.5 and x2.0), these are displayed
excluding the current zoom rate.
Zoom area will be displayed.
4) Use [
K
/
L
/
{
/
B
] to select a desired zoom
position, then press [OK].
Zoom playback will start.
E9M81UD_ZV457MG9.indd 62
2008/05/15 14:31:37


