6
Inserting and Ejecting a CD
Push a CD into the CD Slot, label side up, and the
CD will begin to play.
Press the “EJECT” button (21) to stop CD play
and eject the CD from the slot.
Select Tracks
Press the “TRACK DOWN” or “TRACK UP” button
(16) for less than a second to move to the previ-
ous or next track. The track number appears in
the Display Area.
Fast Forward and Fast Reverse
Press the “TRACK DOWN” or “TRACK UP” button
(16) for more than one second to fast forward or
fast reverse. CD play starts from when you
release the button.
Pause Disc Play
Press the “PAUSE” button (15) to pause CD play.
Press it again to resume play.
Mode Button
Press the “MODE” button (14) while in CD Mode
to change to Radio, Auxiliary or CD Changer
Mode.
Repeat the Same Track
Press the “REPEAT” button (9) to continuously
repeat the same track. Press it again to stop
Repeat.
Play All Tracks in Random Order
Press the “SHUFFLE” button (10) to play all
tracks on the current CD in random order. Press
it again to stop playing in random order.
Intro Scan
Press the “INTRO” button (8) to play the first ten
seconds of each track. Press it again to stop Intro
Scan and listen to the track.
CD Player Operation
Notes on CD-Rs and CD-RWs
• The unit cannot play a CD-RW that is not finalized
(please refer to the manual of your CD-R/CD-RW
recorder or CD-R/CD-RW software for more
information on the finalizing process).
• This unit will not play MP3 music or WMA music
recorded on any CD-R or CD-RW disc.
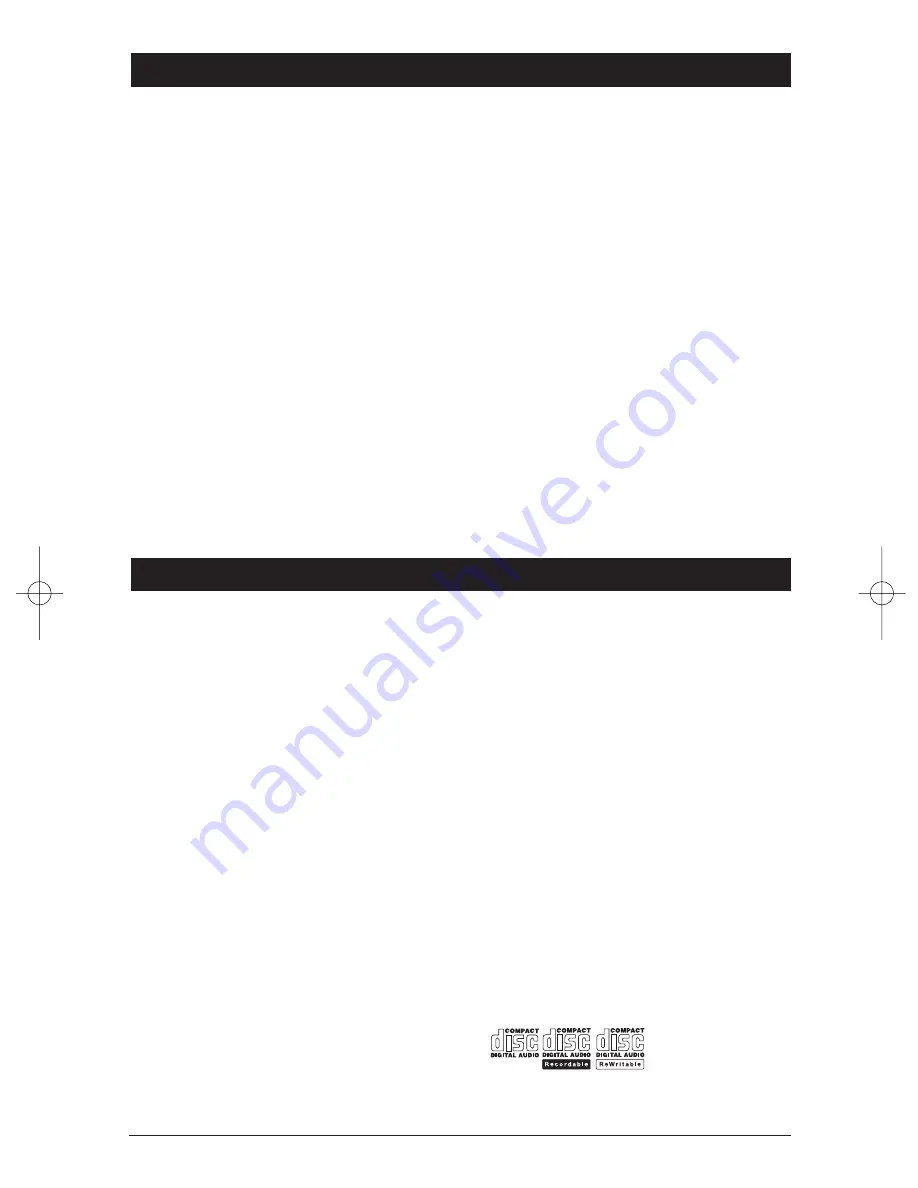
• Be sure to only use discs with the following labels
in this unit:
General Operations
Power
Press the “POWER” button (1) to turn the unit
On/Off.
Audio Beep
Press and hold the Audio Control knob (4) for 3
seconds. Either BEEP OFF or BEEP ON will appear
in the display. Rotate the Audio Control knob for
the desired mode:
BEEP OFF = No beeps when buttons are pushed.
BEEP ALL = Beeps when any button is pushed.
Mute
Press the “MUTE” button (15) to mute audio
level. Press again to release this function.
Setting the Clock
Press the “DISP” button (18) so the clock is dis-
played. Press the button again and hold for 3 sec-
onds until the time flashes, then release. Then
press the “TRACK DOWN” button (16) to adjust
the minutes, or press the “TRACK UP” button to
adjust the hours.
Auxiliary Input Jack (Front Panel)
Plug an audio device into this jack (3). This
allows you to listen to an auxiliary audio source
(MP3 player, portable cassette player, etc).
Connect the proper cable (not supplied with this
unit). Press the “MODE” button (14) to access
the auxiliary audio device in Auxiliary Input Mode.
Auxiliary Input Mode
Press the “MODE” button (14) to access the aux-
iliary audio device in Auxiliary Input Mode. “AUX”
will be displayed.
External CD Changer Input Mode
Press the “MODE” button (14) to access an
External CD Changer Input Mode, “CDC” will be
displayed (only available if an external CD chang-
er is plugged into 6-Pin DIN connector).
M3200CD-UM (A&D).qxp 4/26/06 14:27 Page 6


