


15
6. Cleaning and calibrating the scanner
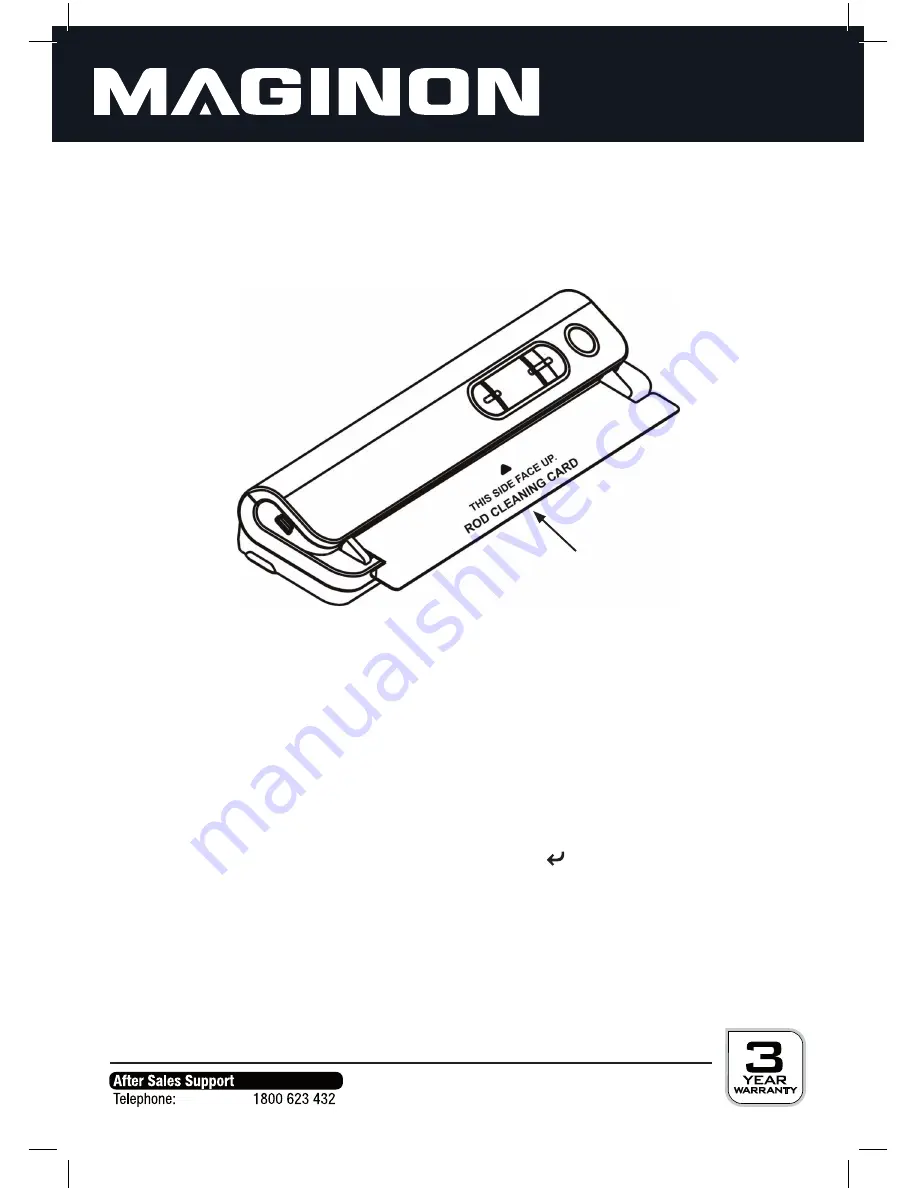
6.1. Cleaning the scanner lens
The scanner should be cleaned before or after use to ensure a high image quality at all times.
A cleaning card is enclosed with the scanner.
1. Insert the cleaning card like a normal paper document and leave the scanner to run for approx. six
seconds. Either side of the cleaning card can be used.
2. Switch off scanner after cleaning.
6.2. Calibrating the scanner
Recalibrate the scanner if you feel that, in particular photos are not (no longer) scanned in the right
colours. The calibration resets the colours of the scanner.
1. Remove the microSD/microSDHC card from the scanner, whilst the scanner is switched off.
2. Press and hold the
[ POWER ]
button to switch on scanner.
3. Press and hold the
[ JPG/PDF ]
button, then press the Enter
[ ]
button . Release both buttons to
enter into auto-calibration mode. A
“CAL“
symbol will be displayed on LCD screen.
4. Insert the supplied white balance calibration card in the scanner as indicated by the arrow.
5. The scanner will start scanning the calibration card. During scanning process, it will pause, the
power button will then illuminate in red. When the red LED turns off, the scanner will finish
scanning the white balance calibration card.
6. Press and hold the
[ POWER ]
button to power off the scanner and to complete calibration.
Cleaning card
Содержание HS 120
Страница 1: ......
Страница 2: ......
Страница 27: ......
Страница 28: ...supra Foto Elektronik Vertriebs GmbH Denisstr 28A 67663 Kaiserslautern Germany 35876 04 2013 2610 9701...


