C & D F l a s h l i g h t
ML Rev.1 8/03
421-000-391
8
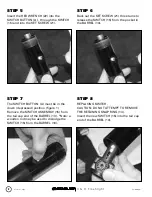
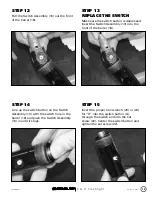
STEP 5
Insert the HEX WRENCH (22) into the
SWITCH BUTTON (A) , through the SWITCH
(15) and into the SET SCREW (21).
STEP 6
Back out the SET SCREW (21) three turns to
release the SWITCH (15) from the pocket in
the BARREL (13).
STEP 8
REPLACING SWITCH.
CAUTION: DO NOT ATTEMPT TO REMOVE
THE RETAINING SNAP RING (14).
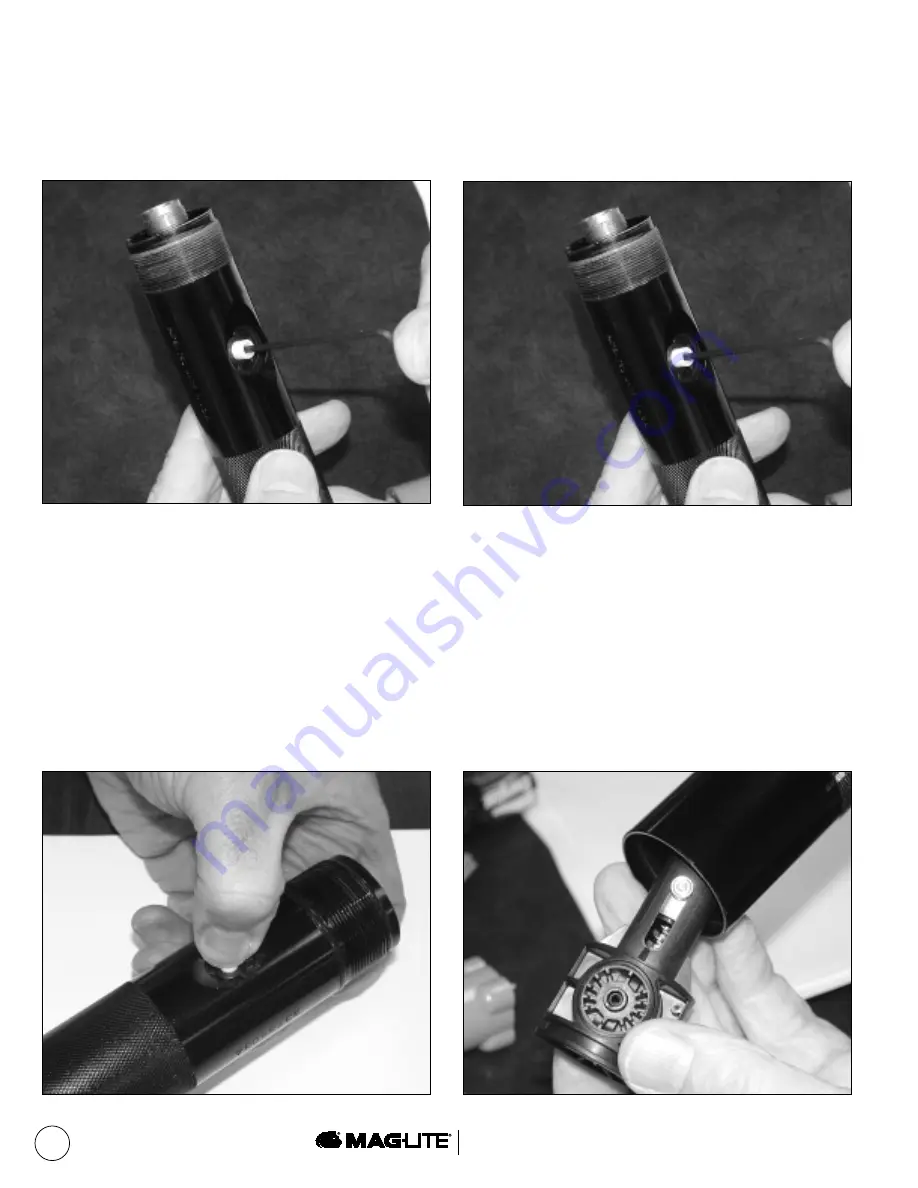
Insert the new SWITCH (15) into the tail cap
end of the BARREL (13).
STEP 7
The SWITCH BUTTON (A) must be in the
down (depressed) position (figure 1)
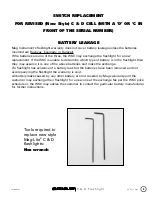
Remove the SWITCH ASSEMBLY (15) from
the tail cap end of the BARREL (13). *Note: a
wooden rod may be used to dislodge the
SWITCH (15) from the BARREL (13).


