1
403002-04-05-07-08-09-10_en_ma_201
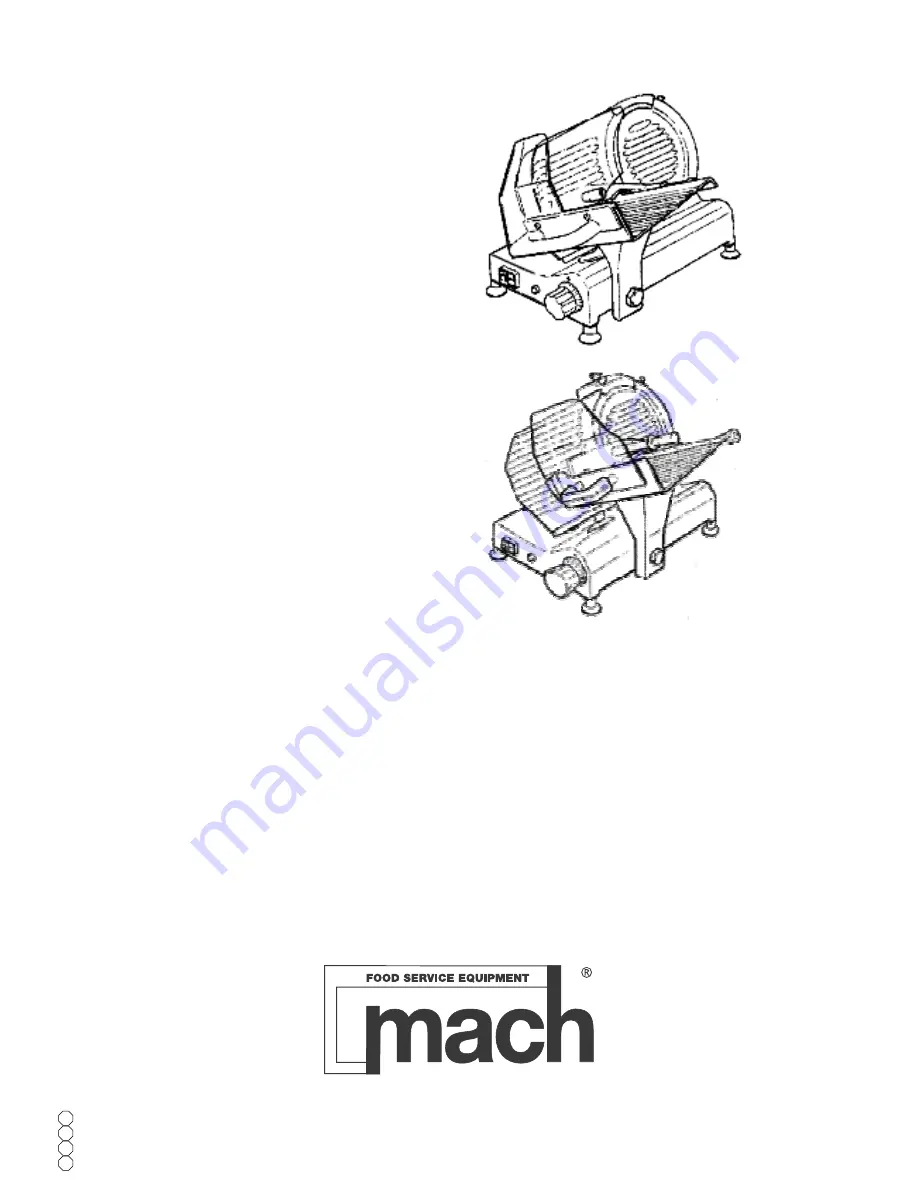
GRAVITY SLICERS
403.008
403.002
403.010
403.004
403.007
403.009
403.005
INSTALLATION USE AND
MAINTENANCE MANUAL
Страница 1: ...1 403002 04 05 07 08 09 10_en_ma_2011 GRAVITY SLICERS 403 008 403 002 403 010 403 004 403 007 403 009 403 005 INSTALLATION USE AND MAINTENANCE MANUAL...
Страница 2: ...ECHNICAL DATA 7 SUPPLIED LITERATURE AND ACCESSORIES 8 PRODUCTS THAT CAN BE SLICED 8 PRODUCTS THAT MUST NOT BE SLICED 8 MAIN COMPONENTS I 9 MAIN COMPONENTS 10 MACHINE COMMISSIONING AND FUNCTION TESTS 1...
Страница 3: ...r exclude the mechanical and electrical safety devices Do no use the machine with improvised connections or provisional or non insulated cables Check the power cable and gland plate on the machine bod...
Страница 4: ...norms currently applicable in the country of installation Unauthorized modifications and or repairs Use of non original accessories or spare parts Exceptional events PLATES CONFORMITY MARKS The machin...
Страница 5: ...l Lift the machine still wrapped in a transparent polyethylene sheet and extract it from the box Now check the box content and make sure it corresponds to what shown on the external label WARNING The...
Страница 6: ...preventing accidental restarts after an outage Some of the machine models have a user friendly and safe built in blade sharpener MECHANICAL AND ELECTRICAL SAFETY DEVICES The following mechanical safet...
Страница 7: ...300 300 300 300 280 260 0 15 0 15 0 16 0 16 0 16 0 16 0 16 160x140 210x160 240x190 260x190 260x220 285x230 325x260 A mm 255 280 290 340 340 410 415 B mm 345 415 440 65 465 530 580 C mm 360 405 425 480...
Страница 8: ...ions manual for installation use and maintenance PRODUCTS THAT CAN BE SLICED All types of cold cuts raw cooked smoked Meat without bone raw or cooked at a temperature not less than 3 C Cheese cuts obv...
Страница 9: ...5 ADJUSTABLE FOOT 6 CARRIAGE TRAY SUPPORT 7 BASE 8 PRODUCT TRAY 9 BLADE PLATE 10 PRODUCT GRIP 11 BLADE 12 PRODUCT GRIP HANDLE 13 MANUFACTURER IDENTIFICATION PLATE MACHINE DATA AND UE MARKS 14 PRODUCT...
Страница 10: ...ICKNESS CONTROL KNOB 5 ADJUSTABLE FOOT 6 CARRIAGE TRAY SUPPORT 7 BASE 8 PRODUCT TRAY 9 BLADE PLATE 10 PRODUCT GRIP 11 BLADE 12 PRODUCT GRIP HANDLE 13 MANUFACTURER IDENTIFICATION PLATE MACHINE DATA AND...
Страница 11: ...NECTION Install the machine near a EU compliant outlet derived from a system meeting the current norms The user is responsible for ascertaining that the electrical system is suitably dimensioned and f...
Страница 12: ...iption and conditions of use FUNCTIONING TEST AND BLADE ROTATION DIRECTION Start the machine and check whether the light is on make sure that the blade rotates in the direction indicated by the arrow...
Страница 13: ...inst the wall on the operator side Secure by means of the product grip by exerting a slight pressure Adjust the thickness gauge Start the blade by pressing on the green button Grip the handle affixed...
Страница 14: ...guard is blocked press on the rod knob to move it a little Extract the rod and remove the blade guard using for this operation only the side knobs Loosen and remove the two fixing screws with knurled...
Страница 15: ...ING Maintenance must always be carried out when the machine is disconnected from the mains and if no other position is specifically required with the thickness control knob on 0 not specifically The f...
Страница 16: ...wards the blade Snap into place by pressing on the lower wheel button 3 The lower wheel must remain inserted for a length equal to half of its diameter between the blade on which it rests and the adju...
Страница 17: ...and press the button 4 4 Allow the blade to rotate for about 30 to 40 seconds then use the switch 3 to stop it Brush a pencil lightly on the external side of the blade to check for a slight spud We a...
Страница 18: ...Carriage sliding guides product grip once a week Use only the oil provided otherwise use white Vaseline oil DO NOT USE VEGETAL OILS Spread a small quantity of oil on the bar and move the assembly 3 or...
Страница 19: ...9 10_en_ma_2011 ADJUSTING THE MOTOR BELT TENSION After a given period of service an unusual noise may occur because of the belt bedding In this case tighten the belt stretcher on the side of the motor...
Страница 20: ...chine stats but the white functioning light is not on Defective indicator Do not use the machine when the pilot lamp is not on Call technical assistance The machine starts but there are vibrations The...
Страница 21: ...als please note that disposal of the materials can only be carried out by duly authorized businesses In any case please comply to the current norms of your country WARNING In any case to remove the bl...
Страница 22: ...22 403002 04 05 07 08 09 10_en_ma_2011 ELECTRICAL DIAGRAM SIG 97 versions 403 002 7 8 9 Mod 403 008 6 3 F Mod 403 007 8 F Mod 403 009 8 F...