


31
All operations concerning the installation
(electrical and gas connections, adaptation
to type of gas, necessary adjustments, etc.)
must be carried out by qualified technicians,
observing all standards in force. For specific
instructions, read the part reserved for the
installation technician.
Gas burners (Fig. 1-3).
The ignition of the gas burner is carried out
by placing a small flame to the upper part
holes of the burner, pressing and rotating the
corresponding knob in an counter-clockwise
manner, until the maximum position has co-
incided with the marker. When the gas
burner has been turned on, adjust the flame
according to your needs. The minimum posi-
tion is found at the end of the counter-clock-
wise rotation direction.
In models with automatic ignition, operate
the knob as described above, pressing simul-
taneously, the corresponding push-button.
For models with automatic/simultaneous
(with one hand) ignition, proceed as de-
scribed above using the corresponding knob.
The electric spark between the ignition plug
and the burner provides the ignition of the
burner. After ignition, immediately release
the push-button and adjust the flame ac-
cording to your needs.
Operation Instructions
Installation Instructions
For models with a thermoelectric safety sys-
tem, the burner is ignited as described
above, keeping the knob fully pressed on the
maximum position for approximately 3/5
seconds. After releasing the knob, make sure
the burner is actually lit.
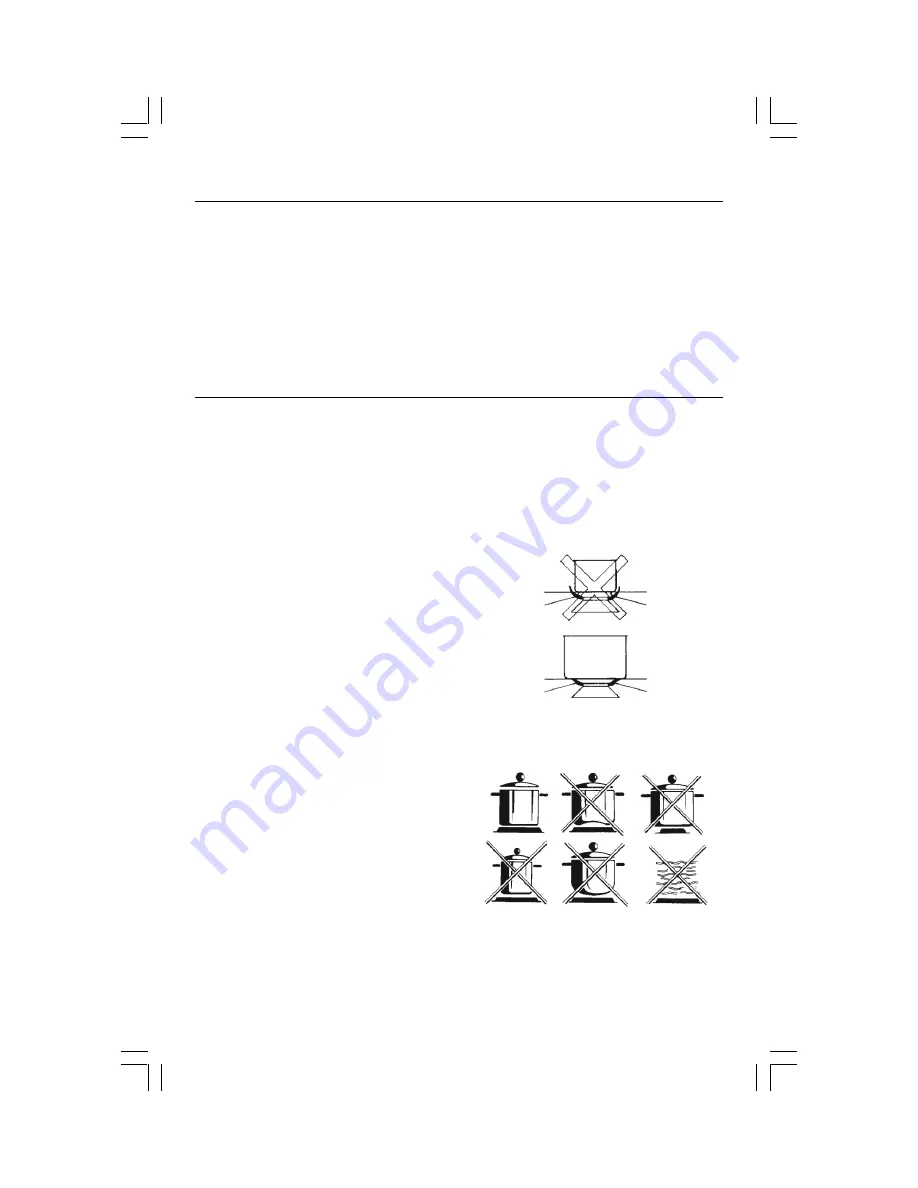
Notes:
• We recommend the use of pots and pans
with a diameter matching that of the
burner, thus preventing the flame from
escaping from the bottom part and sur-
rounding the pot.
• Do not leave any empty pots or pans on
the fire.
• Do not use any tools for grill-cooking on
crystal hobs. When cooking is finished, it
is also a good norm to close the main gas
pipe tap and/or cylinder.
Figure 1
Figure 2