If recording from the S/PDIF output, make sure the S/PDIF output format is
correct. Open the S/PDIF page of the control panel software. Under Digital
Output Format, choose "Consumer." Uncheck "Advanced" if it is checked
previously. Now click on the "Restore Defaults" button to set the default
S/PDIF outgoing status bits. This will disable copy protection and also set the
emphasis to "none," allowing the DAT to accept and record the audio
properly.
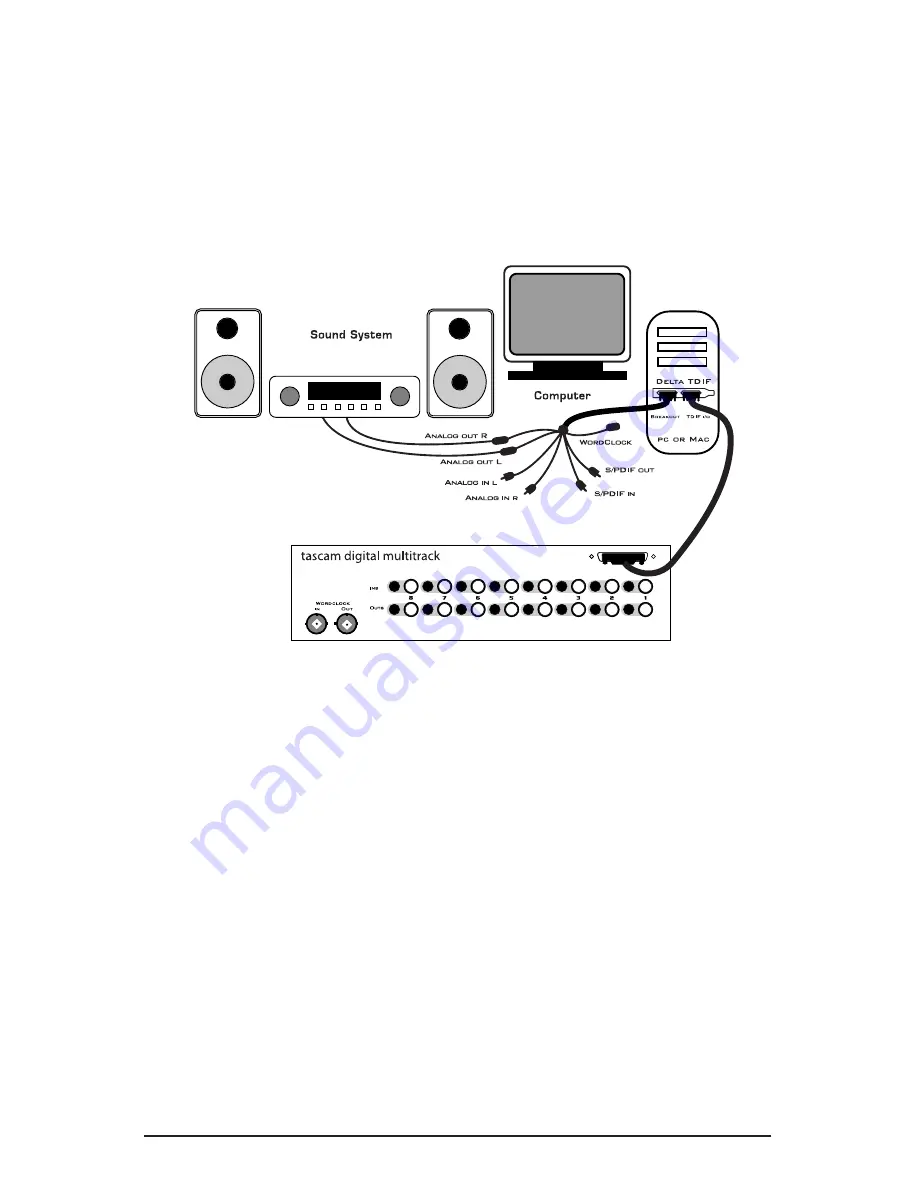
Transferring from Computer to Tascam TDIF,
monitoring with DAT
1. Connect the Delta TDIF’s 25-pin TDIF connector to the Tascam
multitrack’s TDIF connector using a TDIF cable.
2. Connect the Delta TDIF’s analog outputs to some type of amplified
sound system. The sound system should be equipped with speakers or
headphones. Set the line level switch in the Hardware Settings page for
the analog outputs to be compatible with that sound system’s inputs
(see section “Hardware Settings Page”).
3. Because you will be playing back at the recorded sample rate, you will
want to set the Delta TDIF’s master clock to use the internal crystal. Do
this by opening the Hardware Settings page of the Delta Control Panel
software and under Master Clock, selecting "Internal Xtal." Also, under
the Codec Sample Rate section you may uncheck "Rate Locked" if it is
previously checked. This allows for more flexible sample rate playback.
34


