


Fold
Fold
Fold
AP SETUP AND CONFIGURATION CONT.
2
Connecting Antennas, Ethernet and Power
Ethernet and Power
WiththeXAP-1240properlymounted,plugtheEthernetcableintothe
RJ-45connectorontheAccessPoint.
TheXAP-1240isPoEreadyandsupports802.3atPoE.APoEinjectoris
includedwiththedevice.Toapplypower,simplyconnecttheopposite
endoftheEthernetcabletowhichtheaccesspointisconnectedtothe
providedPoEinjectororotherPoEswitchorinjector.AnEthernetcable
lengthofupto300feetcanbeused.
n
n
Note:
nCategory-6nshieldedntwistednpairnisnrecommendednfornbestnn
resultsnandnstablendatantransmissionnatnthenhighestndatanrates.n
However,nCategory-5,nsupernCategory-5nornCategory-6nunshieldedn
twistednpairn(CAT5/CAT5e/CAT6nUTP)ncablencannalsonbenused.
PoE Injector Setup
X
Data In:
ConnectanEthernetcablefromyourrouterorswitchtothe
Data In
portoftheincludedPoEInjector
X
Data & PWR Out:
ConnectanEthernetcablefromthe
Data & PWR Out
portoftheincludedPoEInjectortothePoEPortoftheXAP-1240
X
AC Power:
ConnecttheincludedACCordtothePowerInputofthe
IncludedInjectorfirstandthentotheACoutlet.
Power
Source
From your
Router or Switch
Luxul AP
DATA IN
DATA &
PWR OUT
POE
Injector
PoEninjector
3
Preparing for Access
IP Addressing
IftheXAP-1240isconnectedtoanetworkwitha192.168.0.Xaddressscheme,
andyourcomputersharesasimilaraddressonthesamenetwork,youcanskip
tothenextstep,
Access and Setup
.
n
n
Note:
nnnIfnanotherndevicenonnyournnetworknsharesnthen192.168.0.10naddress,n
you’llnneedntontemporarilynreassignnornremoventhatndevicenwhilen
younconfigurenthenXAP-1240.
Ifyournetworkusesanaddressschemeotherthan192.168.0.X,you’llneed
tosetatemporarystaticIPaddressonthecomputeryou’reusingforconfig-
uration.Todoso,settheIPaddressofyourcomputertoanaddressinthe
192.168.0.Xrange,thensettheGateway/Routeraddressto192.168.0.10(the
defaultIPaddressoftheXAP-1240).
Onceyou’refinishedconfiguringtheAP,youcanreturnyourcomputer’sIP
configurationtonormal,typically“ObtainAutomatically/DHCP.”
n
n
Note:
nnnVisitn
http://luxul.com/ip-addressing
ntonlearnnmorenaboutn
changingnyourncomputer’snIPnaddressnandngettingnconnected.
4
Access and Setup
Getting Connected
X
Connecting Via an Ethernet Device:
UseEthernetcabletoconnectyour
computertothePoEswitchorPoEinjectortowhichtheXAP-1240is
connected.Ethernetisthepreferredmethodofconnection.
X
Connecting Via a Wireless Device:
Connectyourclientdevicetothe
XAP-1240defaultwirelessnetworknamedLuxul1240.Thewirelessnetwork
willruninOpenSecuritymode,sonopassphraseisrequireduntilWireless
Securityisconfigured.
Logging In
ToaccesstheAP’swebconfiguration,openyourwebbrowserandenterthe
AP’sdefault192.168.0.10IPaddressintheaddressfield.LogintotheAPusing
thedefaultusernameandpassword:
Default IP: 192.168.0.10
Username: admin
Password: admin
n
n
Note:
nnnIfnanotherndevicenonnyournnetworknsharesnthen192.168.0.10naddress,n
you’llnneedntontemporarilynreassignnornremoventhatndevicenwhilen
younconfigurenthenXAP-1240.
n
n
Note:
nnThenXAP-1240nisnnotnanrouternandnwillnneedntonbenconnectedntonan
networknwithnanrouterninnorderntondelivernInternetnaccess.
5
Hardware Operation
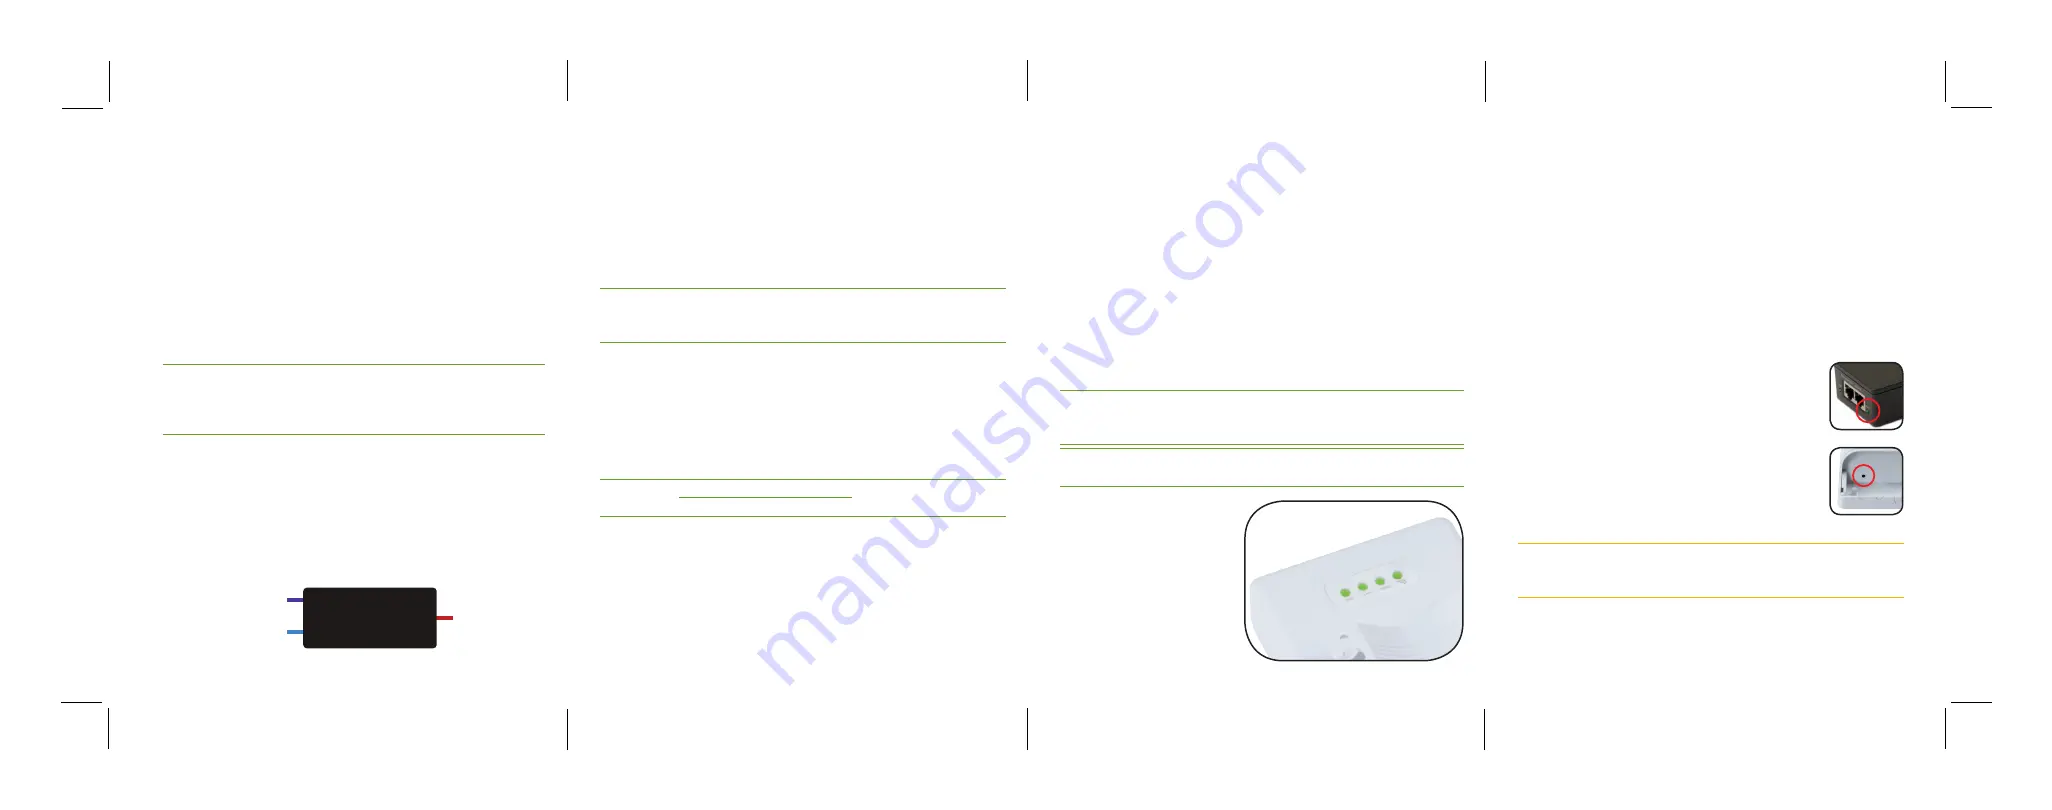
LED Indicators
TheLEDindicatorsarelocatedon
therearportionoftheenclosure,
nearthetopoftheAP.
PWR:
IfthePowerLEDisOn,theXAP-1240ispowered.IfthePowerLED
isOFF,theXAP-1240isnotreceivingpowerortheLEDhasbeenturned
offintheAP’ssoftwareinterface.ThePowerLEDblinkswhenthe
XAP-1240isbooting.
LAN:
IftheLEDisOn,thereisanactiveEthernetconnection.Ifthe
LEDisOff,thereisnoactiveEthernetconnection.Flashingindicates
Ethernetactivity.
WLAN:
IftheLEDisOn,thewirelessradioisactiveandwirelessaccessis
enabled.Offindicatesthewirelessradioisnotactiveandwirelessaccess
isdisabled.
Luxul Icon:
ThisLEDisforfutureorcustomcapabilities.
PoE Injector:
IfthePWRLEDisOn,PowerisConnected
totheinjector.IfthePWRLEDisOff,theinjectorisnot
receivingpower.
Reset Button:
TheResetbuttonislocatedonthebottom
paneloftheXAP-1240andisusedtorestorefactorydefault
settings.ToRestoreDefaultSettings,withtheXAP-1240
poweredon,pressandholdtheResetbuttonfor10
seconds,thenrelease.
n
c
CAUTION:
nnHoldingnthenResetnbuttonnfornmorenthannanfewnsecondsn
willnrestorenthenAPntonfactoryndefaultnandnremovenanyn
customnconfiguration.


