26
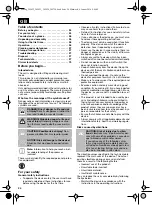
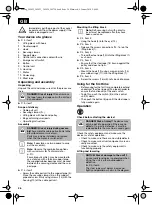
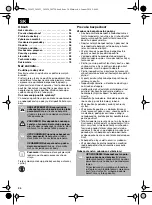
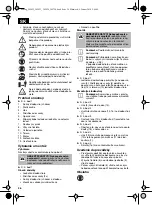
Your device at a glance
1.
Lifting block with hook
2.
Counterweight
3.
Hook
4.
Securing clamps
5.
Support pipe
6.
Control unit connection cable with wire
7.
Emergency off switch
8.
Button
9.
Control unit
10. Housing
11. Motor
12. Power plug
13. Steel rope
Unpacking and assembly
Unpacking
Unpack the unit and make sure all of the pieces are
there.
Scope of delivery
• Cable pull unit
• Securing clamps (2×)
• Lifting block with hook and pulley
• Bag containing small parts
• Operating instructions
Assembly
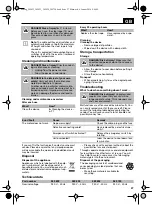
– Screw the cable pull unit to the support pipe (5):
Place the securing clamps (4) on the support
pipe and screw firmly using screws (14) with the
housing (10) of the cable pull unit.
Mounting the lifting block
– Hang the hook (3) into the eye (14).
– Release the screw connections (15, 16) on the
lifting block (1).
– Thread the steel rope (13) into the lifting block (1)
as shown.
– Ensure that the steel rope (18) lies up against the
pulley and does not jam.
– Mount the hook (19) using screw and nuts (15)
plus rubber rings (17) into the lifting block (1).
– Screw the screws (16) with nuts back into place.
Using for the first time
– Before using for the first time, completely extend
and retract the steel rope with no load in order to
ensure the functionality of the end switch.
– To do this, push the switch (8) on the control
unit (9) down.
– Then push the button (8) up until the steel rope is
fully wound again.
Operation
Check before starting the device!
Check the safety equipment and make sure the
device is safe for operation:
– Check to make sure there are no visible defects.
– Check to make sure all unit components are cor-
rectly mounted.
– Check to make sure the safety equipment is
functioning properly.
Lifting and lowering
Immediately pull the plug out of the socket
(separate unit from the power supply) if the
cable is damaged or cut.
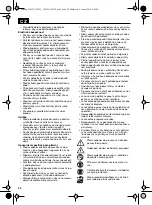
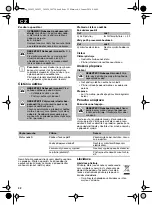
DANGER! Risk of injury!
Do not remove
the tape from steel rope coil with a knife or
a sharp object!
DANGER! Risk of injury during assem-
bly!
Assemble the cable pull unit only to the
prescribed arm or swivel arm.
Parts may only be installed and remove
when the the motor is switched off.
Note:
If possible, use two people to carry
out the assembly.
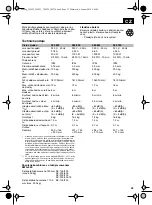
Note:
Observe the combination options
with swivel arms (
p. 27).
For cable pulls which may be mounted to
an extension with a thinner support pipe,
the supplied rubber bearings must be used
between the securing clamps and the sup-
port pipe.
Note:
Self-securing nuts with a plastic
insert must be replaced after they have
been used once.
DANGER! Risk of injury!
The device may
only be put into operation if there are no
defects. If a part is defective, it must be
replaced before the machine is used again.
NOTICE! Risk of damage to the unit!
If
an unusually loud noise is generated when
lifting, the unit is either overloaded or
defective.
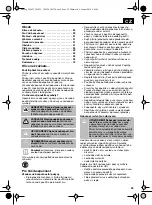
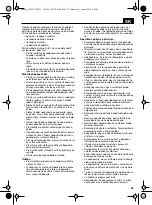
The steel rope must always be wound
tightly and parallel as shown in the diagram.
GB
Seilzug_389822_389823_389824_389720.book Seite 26 Mittwoch, 6. Januar 2016 9:46 09

