


Quick Operation Guide of -7200/7300FH/WH/ HV Series DVR
29
Using an Auxiliary Monitor
Certain features of the Live View are also available while in an Aux monitor. These features include:
•
Single Screen:
Switch to the single full screen by choosing channel number from the dropdown list.
•
Multi-screen:
Adjust the screen layout by choosing from the dropdown list.
•
Previous Screen:
Switch to the previous screen.
•
Next Screen:
Switch to the next screen.
•
Quick Set:
Set the video output mode to Standard, Bright, Gentle or Vivid.
•
Menu Output Mode
: Select the menu output mode to HDMI/VGA, Main CVBS or Auto.
•
Main Monitor:
Switch to the Main Output mode and the operation for the auxiliary output is disabled.
Note:
In the live view mode of the main output monitor, the menu operation is not available while Aux output
mode is enabled.
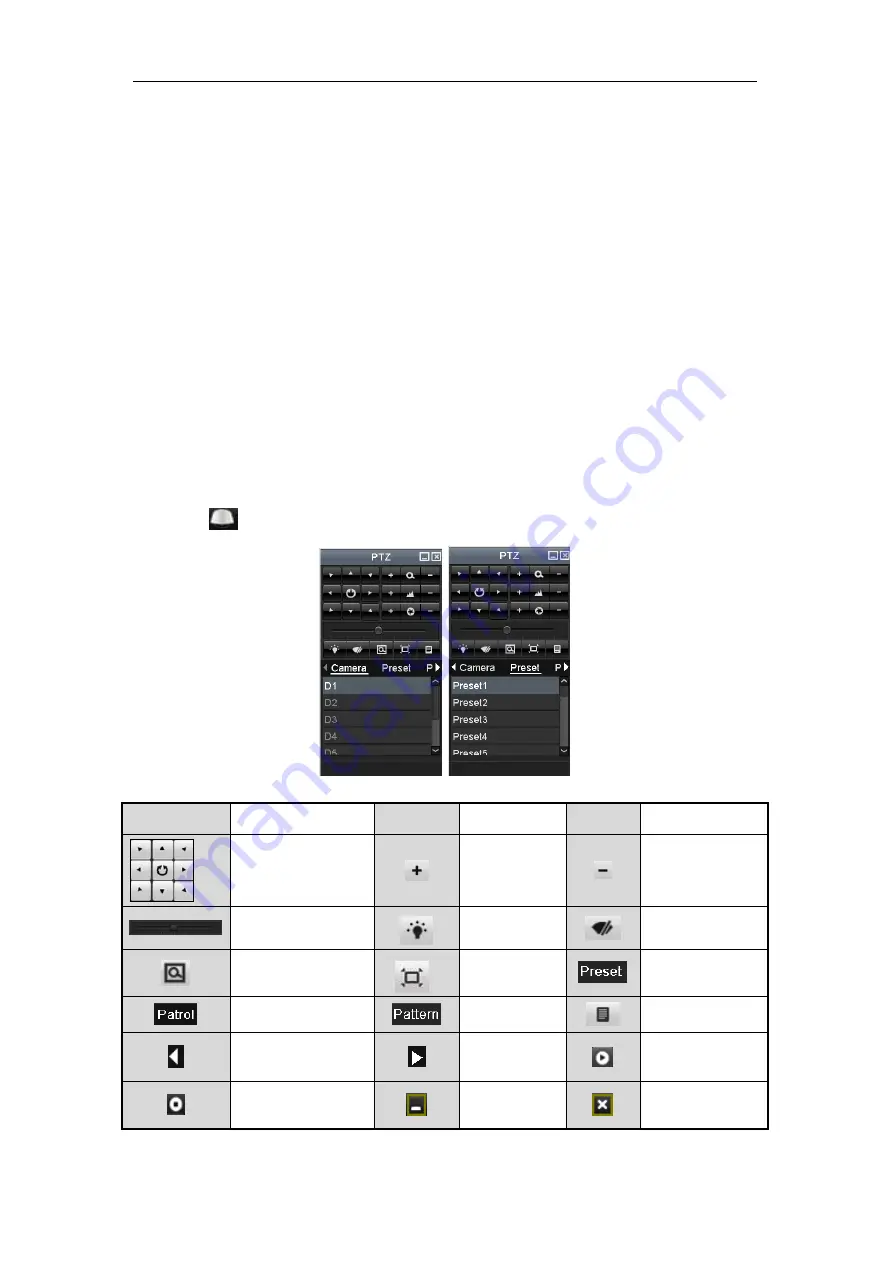
PTZ Control
Follow the procedure to set the parameters for PTZ. The configuring of the PTZ parameters should be done before
you set the PTZ camera.
Before you start, please check that the PTZ and the DVR are connected properly through RS-485 interface.
In the Live View mode, you can press the PTZ Control button on the IR remote control, or choose the PTZ
Control icon
to enter the PTZ toolbar.
Table 16
Description of the PTZ toolbar icons
Icon
Description
Icon
Description
Icon
Description
Direction button and
the auto-cycle button
Zoom+, Focus+,
Iris+
Zoom-, Focus-, Iris-
The speed of the PTZ
movement
Light on/off
Wiper on/off
3D-Zoom
Image
Centralization
Preset
Patrol
Pattern
Menu
Previous item
Next item
Start pattern/patrol
Stop the patrol or
pattern movement
Minimize
windows
Exit


