


User Manual of Network Video Recorder
107
7.
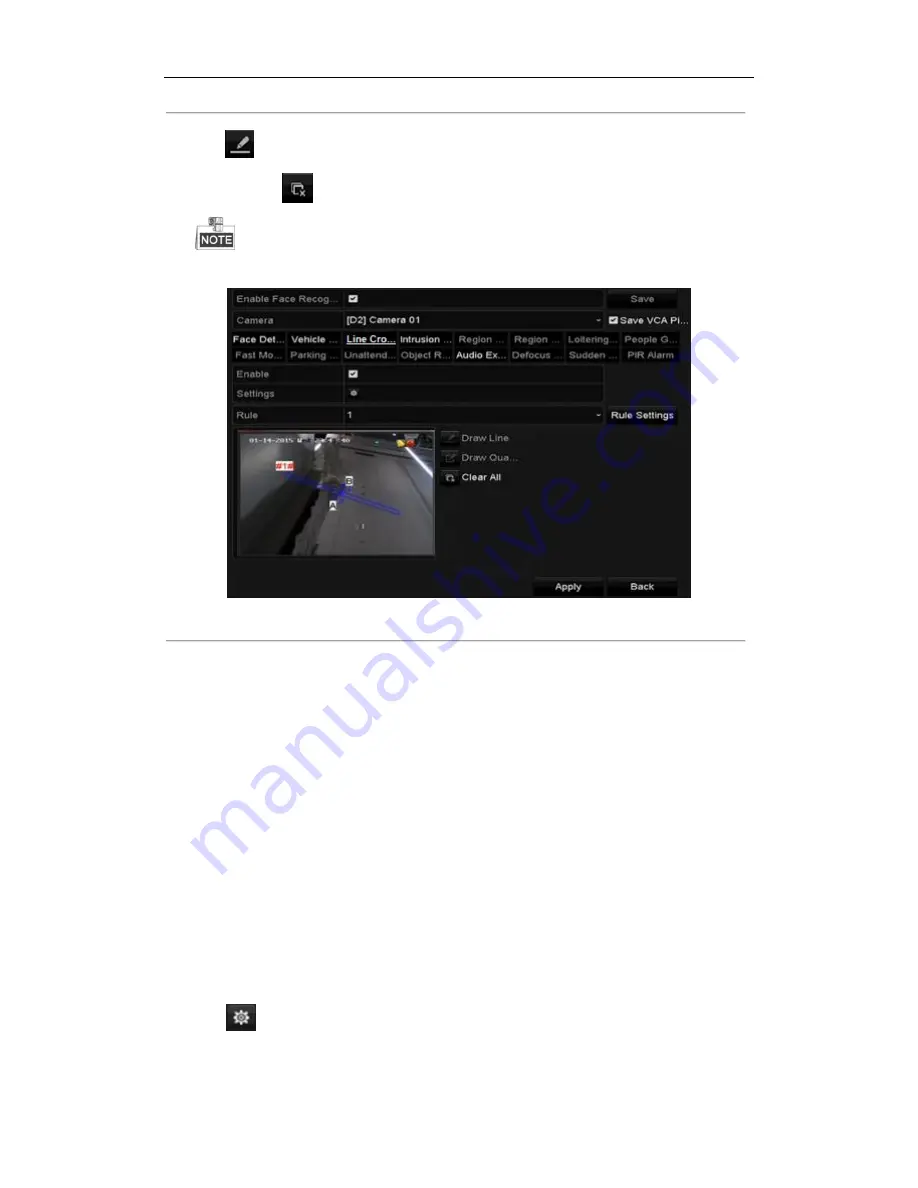
Click
and set two points in the preview window to draw a virtual line.
You can use the
to clear the existing virtual line and re-draw it.
Up to 4 rules can be configured.
Figure 9. 2
Draw Line for Line Crossing Detection
8.
Click
Apply
to activate the settings.
9.2
Intrusion Detection
Purpose:
Intrusion detection function detects people, vehicle or other objects which enter and loiter in a pre-defined
virtual region, and some certain actions can be taken when the alarm is triggered.
Steps:
1.
Enter the VCA settings interface.
Menu> Camera> VCA
2.
Select the camera to configure the VCA.
You can click the checkbox of
Save VCA Picture
to save the captured pictures of VCA detection.
3.
Select the VCA detection type to
Intrusion Detection
.
4.
Check the
Enable
checkbox to enable this function.
5.
Click
to configure the trigger channel, arming schedule and linkage actions for the line crossing
detection alarm.
6.
Click the
Rule Settings
button to set the intrusion detection rules. Set the following parameters.
Содержание LTN07256
Страница 1: ...Network Video Recorder User Manual...
Страница 14: ...User Manual of Network Video Recorder 13 Chapter 1 Introduction...
Страница 19: ...User Manual of Network Video Recorder 18 Chapter 2 Getting Started...
Страница 33: ...User Manual of Network Video Recorder 32 Chapter 3 Live View...
Страница 40: ...User Manual of Network Video Recorder 39 Chapter 4 PTZ Controls...
Страница 50: ...User Manual of Network Video Recorder 49 Chapter 5 Recording Settings...
Страница 70: ...User Manual of Network Video Recorder 69 Chapter 6 Playback...
Страница 83: ...User Manual of Network Video Recorder 82 Chapter 7 Backup...
Страница 94: ...User Manual of Network Video Recorder 93 Chapter 8 Alarm Settings...
Страница 106: ...User Manual of Network Video Recorder 105 Chapter 9 VCA Alarm...
Страница 111: ...User Manual of Network Video Recorder 110 Chapter 10 VCA Search...
Страница 113: ...User Manual of Network Video Recorder 112 Chapter 11 Network Settings...
Страница 130: ...User Manual of Network Video Recorder 129 Chapter 12 RAID...
Страница 138: ...User Manual of Network Video Recorder 137 Chapter 13 HDD Management...
Страница 150: ...User Manual of Network Video Recorder 149 Chapter 14 Camera Settings...
Страница 154: ...User Manual of Network Video Recorder 153 Chapter 15 NVR Management and Maintenance...
Страница 161: ...User Manual of Network Video Recorder 160 Chapter 16 Others...
Страница 169: ...User Manual of Network Video Recorder 168 Chapter 17 Video Wall Configuration and Operation...
Страница 183: ...User Manual of Network Video Recorder 182 Appendix...


