www.lorexcctv.com
SG21FD3044-161
Page 5
Version 1.01
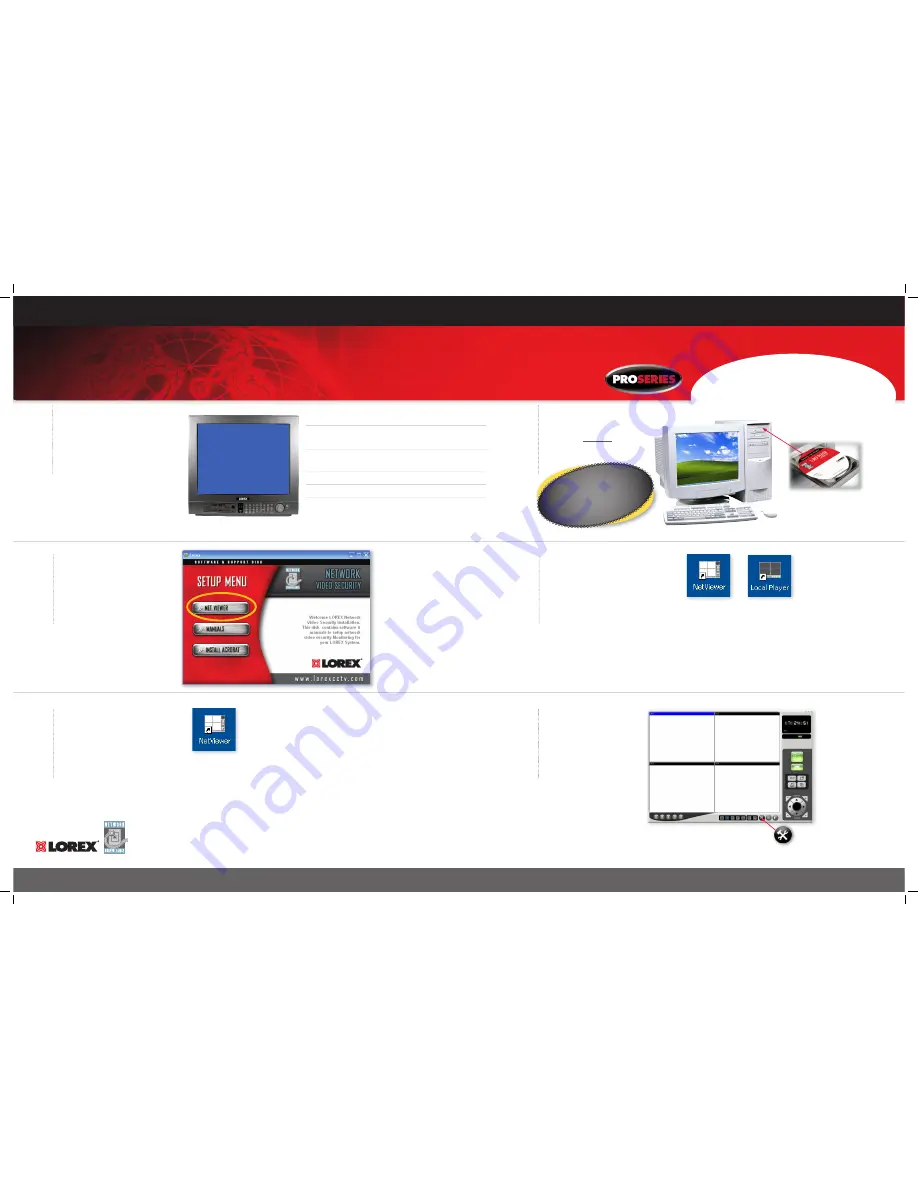
DDNS: Select “YES’
Domain Name: Enter the Domain Name sent to you in the registration
confirmation (Section 3-5).
User Name: Enter the User Name sent to your in the registration con-
firmation (Section 3-5).
User Password: Leave blank
Router: “Yes”
Scroll to return and press enter. Enter the DDNS set option and
verify that the DDNS STATUS is “OK”.
8
Install the Net Viewer
video CD software
into your Remote
Computer
10
Close the CD Menu
Screen. A Netviewer
icon and a Local Player
icon will appear on
your desktop
9
Select the Netviewer
option and follow the
dialog boxes to guide you
through installation
Information in this document is subject to change without notice. As our products are subject to continuous improvement, Lorex Technology and our subsidiaries reserve the right to modify product design, specifications and prices, without notice and without incurring any obligation. E&OE © 2006 LOREX. All rights reserved.
7
Set the DDNS Settings
11
Double-click the Netviewer
icon on your desktop to
run the program
12
Click the Set-up icon
DDNS
DDNS:
Y
DOMAIN NAME house
USER NAME
John Doe
USER PASSWORD
ROUTER
Y
RETURN
EXIT
DDNS STATUS OK
Use the UP, DOWN, LEFT, RIGHT and ENTER
keys located at the front of the monitor to set
DDNS Settings. Ensure the domain name
matches the name sent to you via email
(Note: Do not enter ‘strategicvista.net’ exten-
sion to the user name)
SET-UP ICON
COMPUTER NOT INCLUDED
40:00
STEP 3 SHOULD TAKE
APPROXIMATELY 40 - 60
MINUTES TO COMPLETE
STEP 3
SET UP INTERNET REMOTE SECURITY MONITORING
- CONTINUED
On your
Remote Computer


