


Using the On-Screen Display (OSD) Menu
1
To add presets:
1. Before entering the OSD menu, move the PTZ camera to the location where you would
like to add a preset location, then launch the OSD menu.
2. Use the on-screen arrow keys to navigate to
FUNCTION SETTING
and click
Enter
.
3. Select
PRESET
and click
Enter
.
4. Under
PRESET NO
, click the left / right arrow keys to select a number for your preset
location.
Note
The DVR can only call presets
1–80
while the OSD menu can call presets
1–300
.
5. Select
SETTING
and click
Enter
. The camera’s current position has now been set as
a preset.
Note
If you wish to test your preset, select the present number under
PRESET NO
. Select
CALL
then click
En-
ter
. The camera will move to the preset location automatically.
1.4.2
Auto Pan
Set the camera to pan continuously at a set speed.
To setup auto-pan:
1. Use the on-screen arrow keys to navigate to
FUNCTION SETTING
and click
Enter
.
2. Select
AUTO PAN
and click
Enter
.
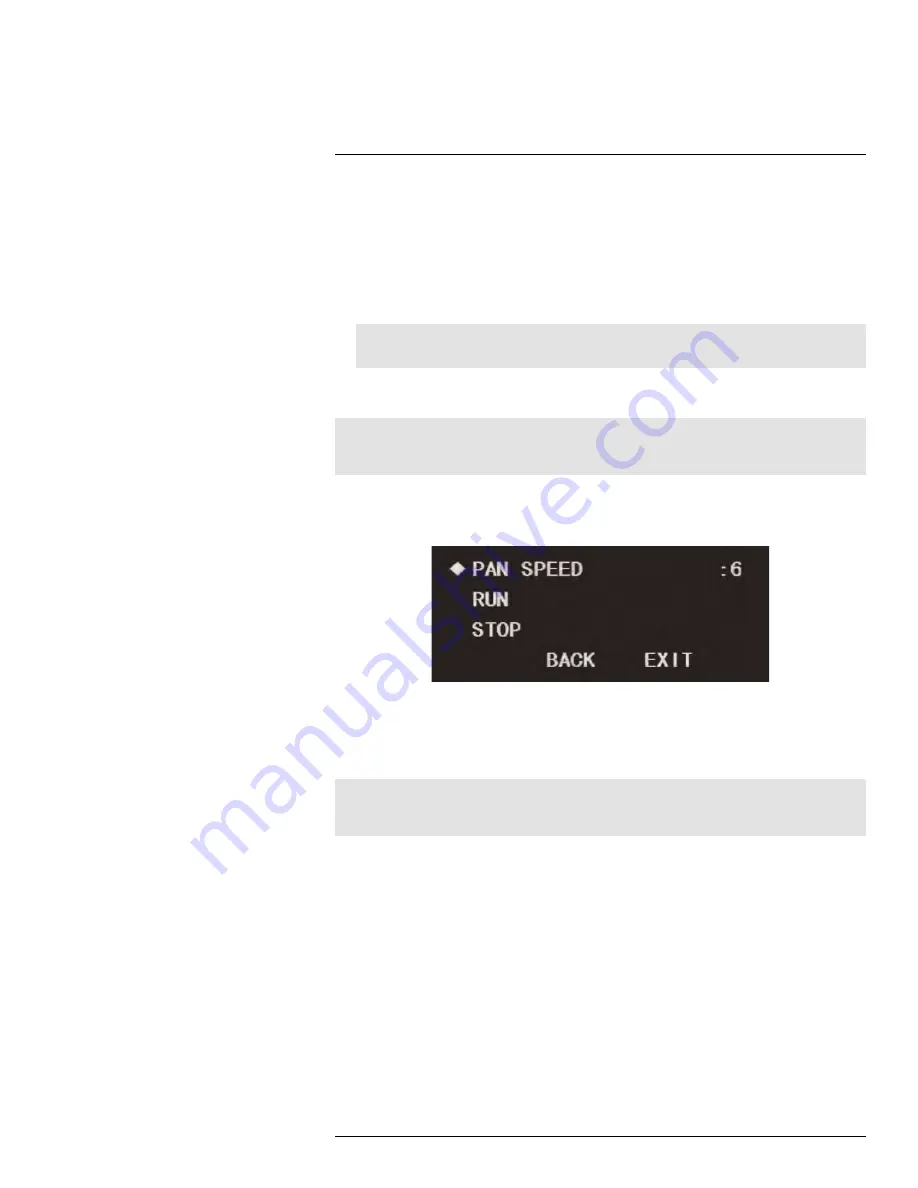
3. Set
PAN SPEED
between
1
(slowest) and
8
(fastest).
Note
If you wish to test auto-pan speed, select
RUN
and click
Enter
. The camera will start continuously pan-
ning at the chosen speed. To stop the test, select
STOP
and click
Enter
.
1.4.3
Auto Scan
An auto scan automatically cycles between a left and right point. You can set up to 5 auto-
scan cycles.
#LX400027; r. 1.0/16996/16996; en-US
23
Содержание LZV1722
Страница 1: ...Instruction Manual LZV1722 HD PTZ Camera On Screen Display OSD Menu ...
Страница 2: ......
Страница 3: ...Instruction Manual LZV1722 HD PTZ Camera LX400027 r 1 0 16996 16996 en US iii ...
Страница 6: ......
Страница 39: ......


