


23
Operation
Recording
The DXR116 offers a variety of flexible recording modes. The unit can be set up to record continually, following a schedule, or
by record events. In addition, the recording speed and resolution is also configurable (
these options are configurable through
the system menu)
. Under the recording status, if power is stopped accidentally, recorded video will still be stored in the HDD
and will be available when the power is restored, and the original recording setup will remain.
When recording, the top line of the display will show the date, time, and the amount of available HDD memory (in GB).
In the example below, the letter “A” represents the alarm trigger and the letters “OW” represents HDD over write.
There are 3 record modes for DXR116: Alarm Record, Timer Record, and Manual Record.
1. Alarm Record
The display will indicate a recording triggered by an Alarm using the letter “A”.
2. Timer Record
The display will indicate a scheduled recording using the the letter “T”.
3. Manual Record
The display will indicate a manual recording (by pressing the REC button) using the letter “M”.
Camera Select (1 - 16):
Press Camera Select (1 - 16) button to select the desired camera to display in full screen mode.
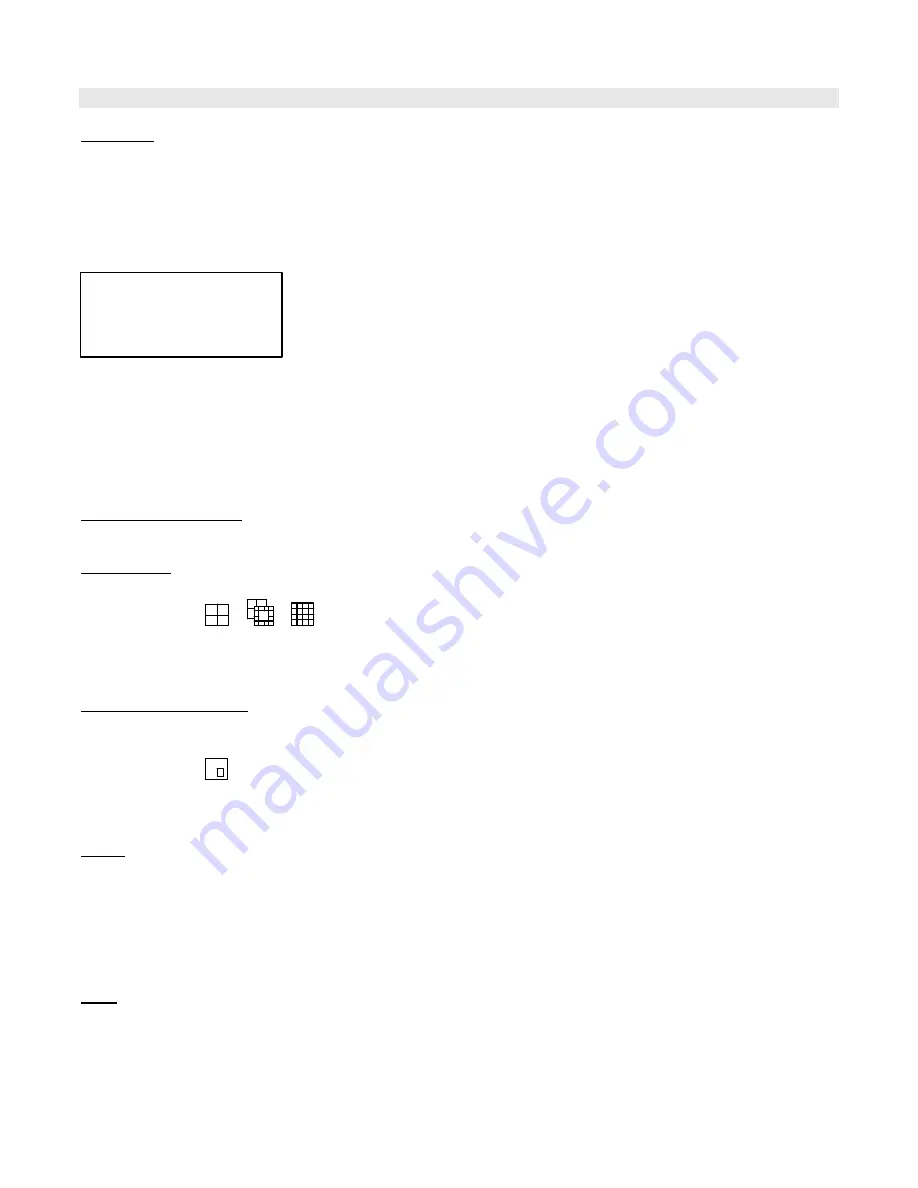
View Select:
This button is used to select the ideal viewing configuration.
1. Press the
button to toggle through the screen configurations.
2. Press
SELECT,
then ? / ? to select a viewing window.
3. Press the
Camera Select (1-16)
to insert the desired camera into the selected window.
4. Press the
MENU
button to save the new configuration and exit.
Picture in Picture (PIP):
This button is used to configure the monitor so a full screen is displayed in the background with a 1/16th size screen
insert.
1. Press the
button to display the PIP mode.
2. Press
SELECT
then ? / ? button to move the insert screen.
3. Press
MENU
to exit
Zoom:
Feature is used to enlarge the display (2X) the size of the main picture. The screen will now display the “zoomed” picture
as the main picture with a small window inserted containing a moveable 1/4 view size of the appointed camera.
1. Select the desired camera by pressing Camera Select (1-16).
2. Press the
Zoom
button to zoom the image on the display.
3. Press the
Zoom
button again to move the zoom pointer.
4. Press
MENU
to exit
Play:
This button is used to select the Play mode. It will play the last recorded video.
2002 – JAN –01 01:02:03
A
?
OW


