


Installing
the
Camera
iv
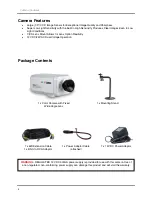
Installing the Camera
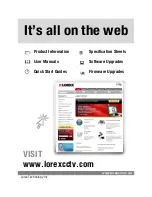
1. Mount the camera stand to the desired mounting
surface.
2. Attach the Camera to the supplied stand at the
connection point located on the bottom of the camera.
Use the Thumbscrew on the stand to adjust the position
and aim of the camera, and tighten the screw to secure
the position.
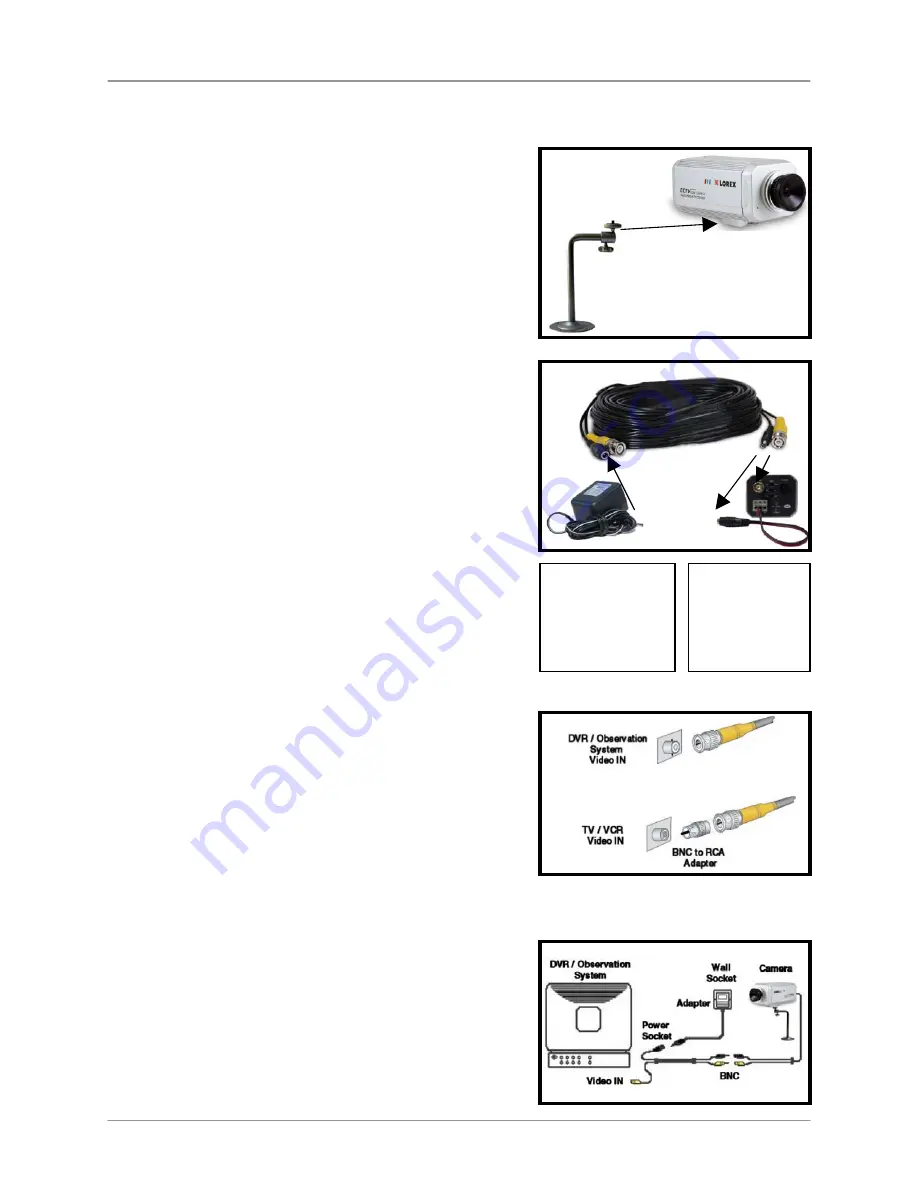
3. Connect the Extension cable to the Camera:
•
Connect the BNC end of the cable to the
Camera
•
Connect the Power Adaptor connector to the AC
Power Cable attached to the camera.
Remember to check the ends of the cable before
permanent installation, as the power connection
ends are different (one side has a female barrel
power connection, and one end has a male power
plug)
4. Connect the BNC end of the Extension Cable to the
DVR / Observation System or to a TV/VCR.
NOTE:
Connect the BNC to RCA Adaptor as needed to
allow for proper connectivity.
5. Connect the A/C Power Adaptor to the Extension
Cable (Black connector). Plug the Power adaptor to a
wall outlet
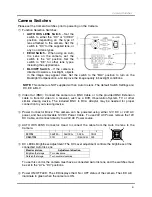
CAMERA
:
Connect the BNC
and Power cables
to the Camera
VIDEO INPUT:
Connect the BNC
cable to the video
input of the monitor,
and connect the
power adaptor to an
outlet.
Camera Setup Diagram
Содержание CVC8001
Страница 7: ...Notes vii Notes...


