28
After saving, the user interface will
direct you to the projects tab where you need
to click the slice button right next to the last
version of the model you prepared to print.
When you click
‘slice’
, it will take you to the
slicing interface where you need to select the
proper slicing profile of the loaded material
with the quality you desire.
200 and 150 micron profiles are more efficient
and stable than the 100 micron profiles. For
faster results use the 200 micron profiles, for
higher quality but slower prints use the 150
micron profiles. If your models have more than
40 degrees angle from the surface, you need
to turn on generate support option which will
automatically generate a break away support
structure wherever needed. When you are
done, select
''Slice &Toolpath''
for preview.
6
7
A new screen will pop up where you
will be able to preview how your print is
going to be done layer by layer. If you are
happy with the results, click
‘Print’
and
select the print button right next to your
printer on the pop up window.
Your printer will download the slice
file and
start heating up
. After heating is
done it will start printing. We suggest you to
observe the first layer of the print to make
sure everything is going well.
8
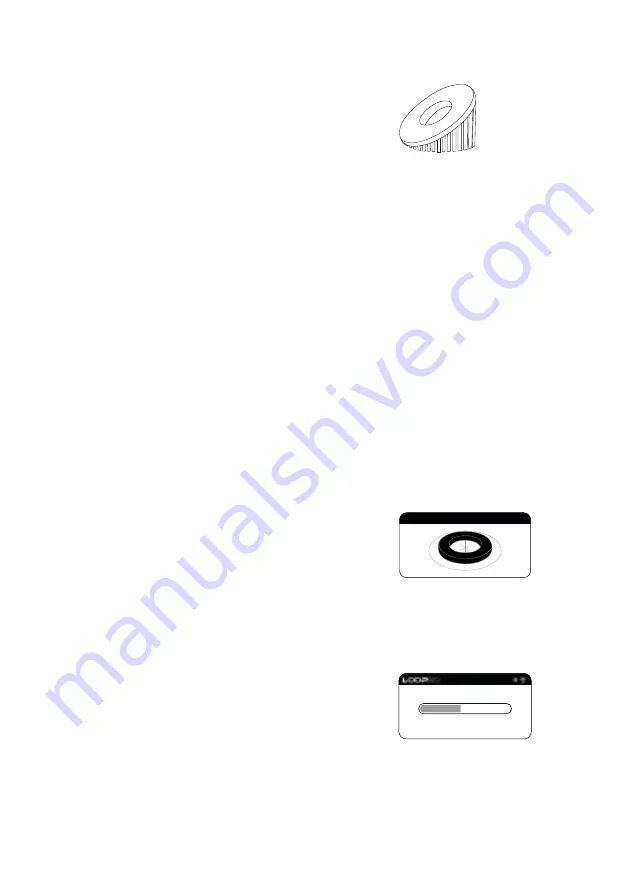
DOWNLOADING...
BUILD PREVIEW
Содержание LOOP PRO X
Страница 1: ...1 Quick Installation Guide...
Страница 3: ...3 Setting up...
Страница 6: ...6 5 Place the cabinet on a rigid and stable ground 4 Carry the rest of the crate away with caution...
Страница 14: ...14 Inside the Box...
Страница 15: ...15 1x Spool Dynamide CF Filament 2 Kg 1x Spool Dynamide GF Filament 2 Kg...
Страница 17: ...17 Registering Activating...
Страница 25: ...25 Getting Started...
Страница 30: ...30...
Страница 31: ...31...
Страница 32: ...32 www loop3dprinter com loop3dprinter loop3d info loop3dprinter com...


