background image

Longevity COM007 Installation Manual V1.3 Issued 2020-5-5

Copyright © Cornick Pty. Ltd. 2019

http://www.cornick.com.au

---- 14 ----

Installation Considerations

Mounting Height:

For optimum performance, make sure a clear line of sight between the

transmitter and receiver. An elevated location is recommended. Obstacles like trees,

buildings and large steel structures will weaken the wireless signal.

Orientation:

Make sure the transmitter and receiver is installed face-to-face to achieve

maximum performance.

FAQs

Q: Do I need a power supply for the transmitter/receiver?

A: No, you don’t. The transmitter/receiver is powered by 48V POE. Use a CAT5e/CAT6

cable, connect one port(Lan1 or LAN2) to a 48V POE network switch or a 48V POE

splitter. Connect the other port to the network device.

Q: WLAN and LAN LEDs don’t turn on when I power up the transmitter/receiver? Why?

A: When power up, it takes about one minute to initialize the device, please wait.

Q: WLAN LED is on now but the signal strength LEDs don’t? Why?

A: The signal strength LEDs will light only when a successful connection is established.

When power up, it takes about three minutes to search the receiver with the same IP

address, please wait.

Q: How to reset the device?

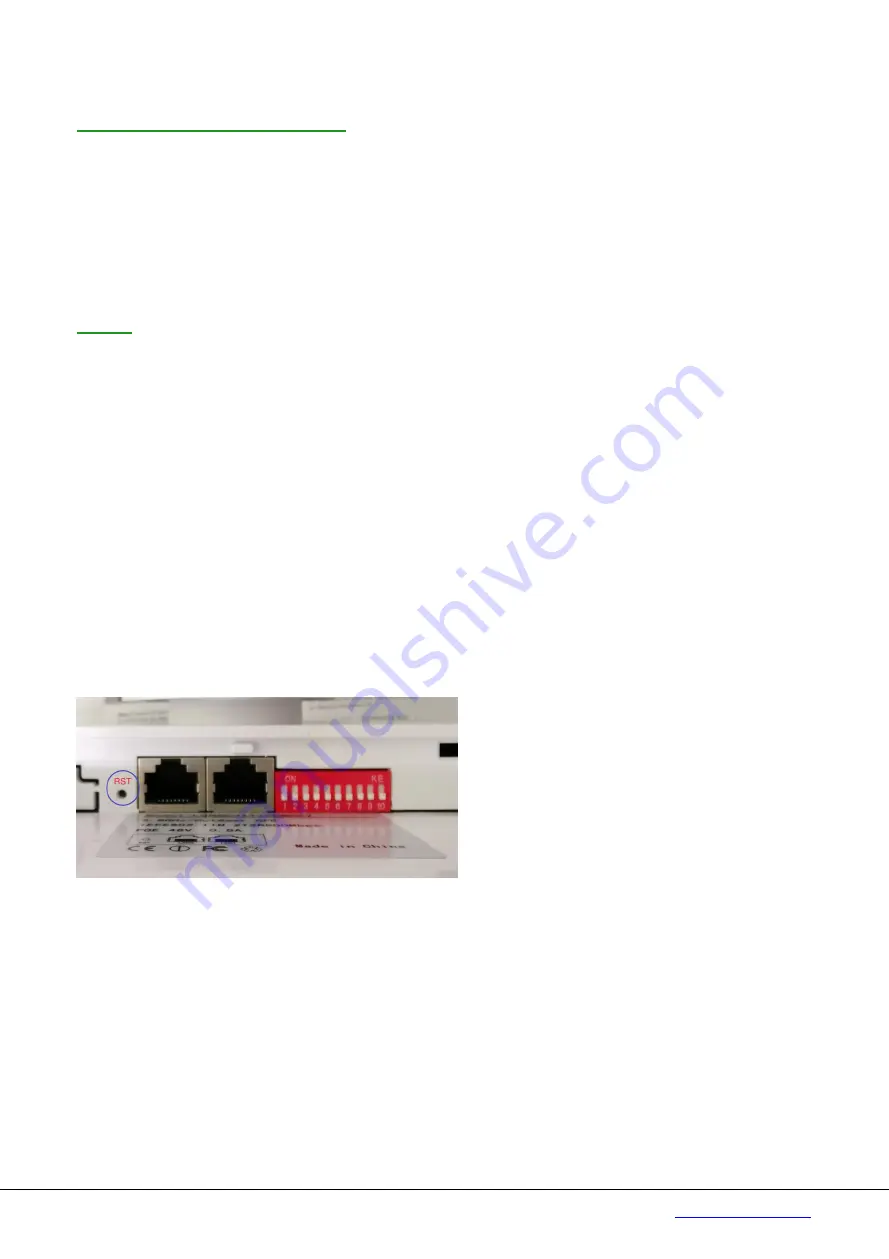
A: Press and hold the RST button for three seconds when power is on.

Q: I connect the CPE as network bridge. How can I test the connection?

A: You can ping both the transmitter and receiver.

For example, if the transmitter address is 172.19.0.1 and those of receiver is 172.19.0.2:

1. Change the IP address of the PC to 172.19.0.xx where xx=6 to 255. Change the subnet

mask to 255.255.0.0

2. Ping the receiver side first (because the receiver is connected to the PC):

In Command mode, type:

ping 172.19.0.2 <ENTER>

If the connection is successful, it will reply as follow:

Содержание COM007

Страница 1: ...Longevity COM007 5 8GHz Wireless Outdoor CPE User Manual...

Страница 2: ......

Страница 3: ...rical Safety Information 1 Notice Information 1 Introduction 2 DIP switch settings 2 LED indicators 3 Recommened frequencies in Australia 4 Application 1 Network Extender 12 Application 2 Network Vide...

Страница 4: ...or serviceable parts inside this equipment Service should be provided only by a qualified service technician Do not use this product in location that can be submerged by water Do not install this prod...

Страница 5: ...up to 4 receivers we need to set different IP address for the receivers as follow DIP switch 1 DIP switch 9 DIP switch 10 Tx Rx IP address ON Transmitter Mode ON ON x x x 1 OFF Receivers Mode OFF OFF...

Страница 6: ...3 LED4 Signal Strength LED indicators LED Status Description Power Red On Power is on Off Power is off WLAN Blue Flashing Wireless LAN is connected LAN1 On LAN1 is connected LAN2 On LAN2 is connected...

Страница 7: ...e allowable channels allowed users and maximum power levels within these frequency ranges The following table lists the available frequencies in Australia DO NOT use frequency which may infringe the r...

Страница 8: ...COM007 Installation Manual V1 3 Issued 2020 5 5 Copyright Cornick Pty Ltd 2019 http www cornick com au 5 172 19 125 x 5200 Indoors only 172 19 1 x 172 19 26 x 172 19 51 x 172 19 76 x 172 19 101 x 172...

Страница 9: ...gevity COM007 Installation Manual V1 3 Issued 2020 5 5 Copyright Cornick Pty Ltd 2019 http www cornick com au 6 5220 Indoors only 172 19 2 x 172 19 27 x 172 19 52 x 172 19 77 x 172 19 102 x 172 19 127...

Страница 10: ...Longevity COM007 Installation Manual V1 3 Issued 2020 5 5 Copyright Cornick Pty Ltd 2019 http www cornick com au 7 5240 Indoors only 172 19 3 x 172 19 28 x 172 19 53 x 172 19 78 x 172 19 103 x...

Страница 11: ...ongevity COM007 Installation Manual V1 3 Issued 2020 5 5 Copyright Cornick Pty Ltd 2019 http www cornick com au 8 5745 Indoors and Outdoors 172 19 20 x 172 19 45 x 172 19 70 x 172 19 95 x 172 19 120 x...

Страница 12: ...ongevity COM007 Installation Manual V1 3 Issued 2020 5 5 Copyright Cornick Pty Ltd 2019 http www cornick com au 9 5765 Indoors and Outdoors 172 19 21 x 172 19 46 x 172 19 71 x 172 19 96 x 172 19 121 x...

Страница 13: ...ongevity COM007 Installation Manual V1 3 Issued 2020 5 5 Copyright Cornick Pty Ltd 2019 http www cornick com au 10 5785 Indoors and Outdoors 172 19 22 x 172 19 47 x 172 19 72 x 172 19 97 x 172 19 122...

Страница 14: ...Outdoors 172 19 23 x 172 19 48 x 172 19 73 x 172 19 98 x 172 19 123 x Table 1 Note You can download the full frequency range DIP switch setting table from https www rhinoco com au file download 3934...

Страница 15: ...Longevity COM007 Installation Manual V1 3 Issued 2020 5 5 Copyright Cornick Pty Ltd 2019 http www cornick com au 12 Application 1 Network Extender...

Страница 16: ...Longevity COM007 Installation Manual V1 3 Issued 2020 5 5 Copyright Cornick Pty Ltd 2019 http www cornick com au 13 Application 2 Network Video Recorder Camera...

Страница 17: ...LEDs don t turn on when I power up the transmitter receiver Why A When power up it takes about one minute to initialize the device please wait Q WLAN LED is on now but the signal strength LEDs don t...

Страница 18: ...from 172 19 0 1 bytes 32 time 1ms TTL 64 Reply from 172 19 0 1 bytes 32 time 1ms TTL 64 Ping statistics for 172 19 0 1 Packets Sent 4 Received 4 Lost 0 0 loss Approximate round trip times in milli sec...

Отзывы: