3. Ensure you've installed the two AA batteries into the
back of your remote.
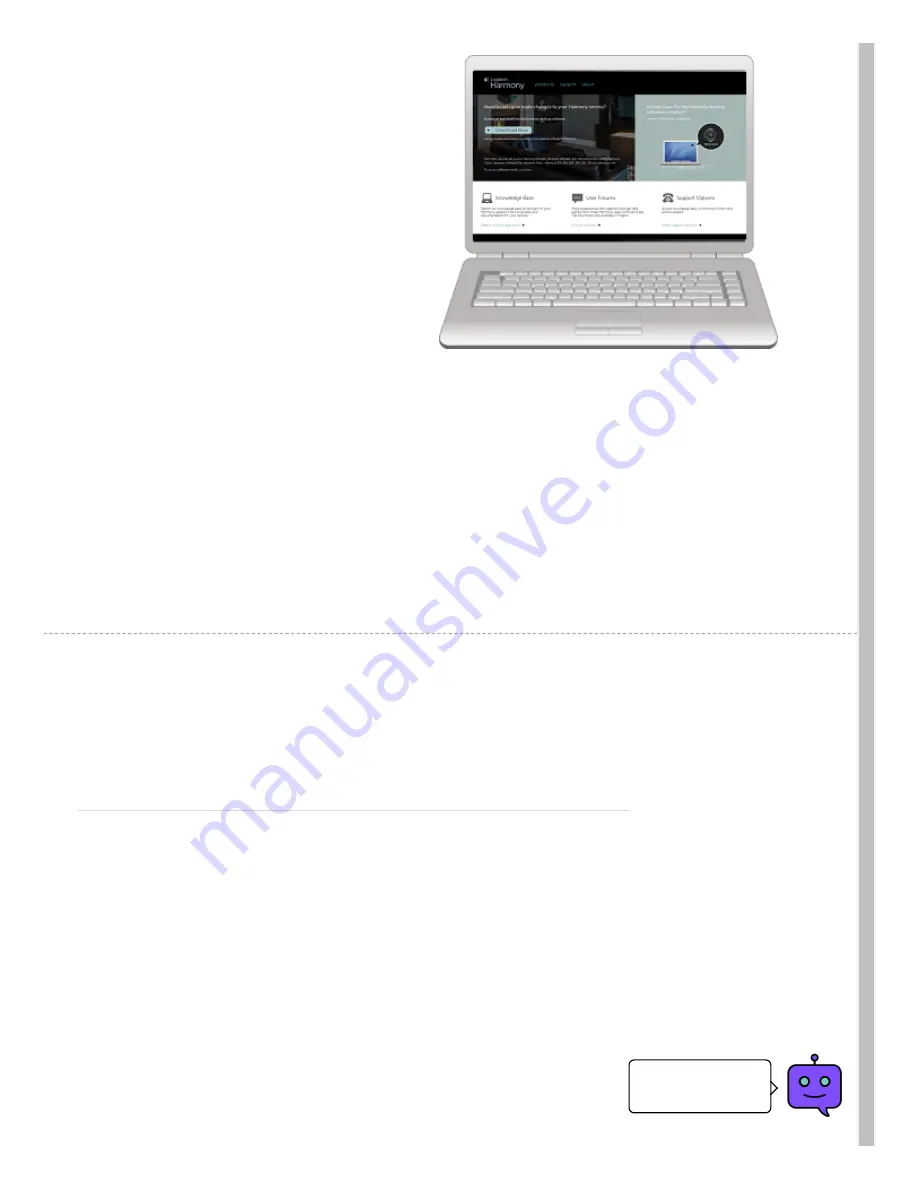
Using the supplied USB cable connect Harmony 350 to
your computer.
4. If this is your rst remote then you'll be prompted to
enter the manufacturer and model for each of your
home entertainment devices.
Learn more about nding your device's model number
(article.htm?faqid=s-a-2105).
Are you upgrading an existing Harmony remote? You
may also choose to import your previous remote
settings (./how-to-copy-a-previous-remote-
con guration-to-a-new-remote).
5. Once all your devices have been entered, the
MyHarmony desktop software will prompt you to
create a Watch TV Activity.
You'll be asked what input each of your devices have to
be on in order for you to see video and hear sound.
Follow the on-screen instructions, or learn more about
creating a Harmony Activity (article.htm?faqid=s-a-
2104).
6. That's it! Click the Sync button to transfer these
settings to your remote.
Product Features
Customize your Harmony
Create your Watch TV Activity
Set up a Watch TV Activity to automatically power on/off devices you
use to watch TV, such as your TV, audio/video receiver, and
cable/satellite receiver. After pressing the Watch TV button, be sure to
keep the remote pointed at your devices until the device buttons turn
off. Press the Watch TV button again to turn off all the devices. Learn
more about customizing the Watch TV button (./article.htm?faqid=s-a-
2133).
Setting up Favorite Channels
Do you need help
finding anything?
Feedback


