background image

(800) 665-3760 

|

 www.logiquip.com 

|


[email protected]

INSTALLATION & USER GUIDE

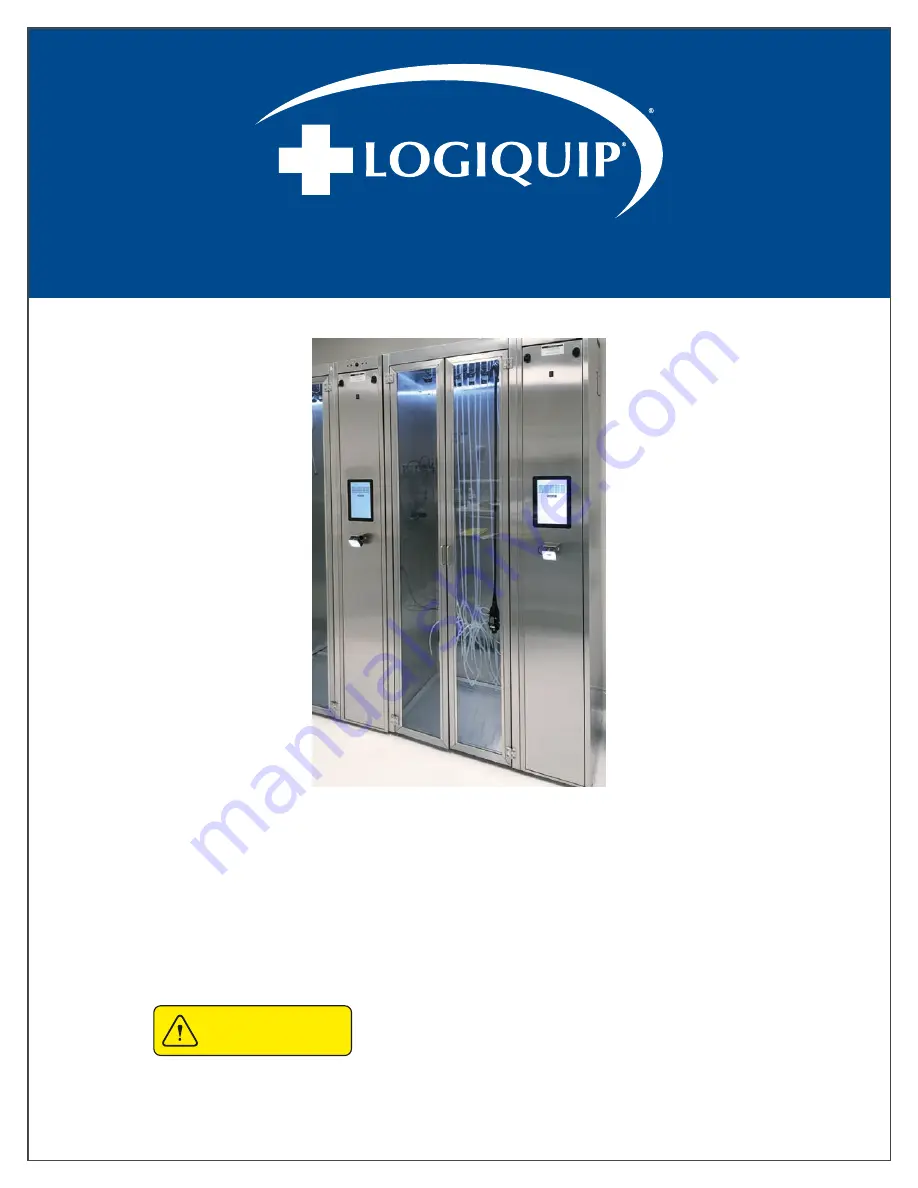
Dri-Stor


INSTALLATION GUIDE


 CAUTION

Read and understand all of the instructions and safety  

information in this document before operating this product.

SAVE THESE INSTRUCTIONS

Содержание DRI-STOR

Страница 1: ...om customersupport logiquip net INSTALLATION USER GUIDE Dri Stor INSTALLATION GUIDE CAUTION Read and understand all of the instructions and safety information in this document before operating this product SAVE THESE INSTRUCTIONS ...

Страница 2: ...pe Hangers 8 EUS Scope Hangers 8 Ultrasound Probe Holders 9 Enteroscope Scope Holders 9 Olympus Small Diameter Videoscope Holders 9 Tee Probe Holders 9 PRE INSTALLATION INSTRUCTIONS 10 11 Site Preparation 10 Indications For Install 10 Tools Required 11 Before Getting Started 11 UNCRATING INSTRUCTIONS TRANSPORTATION 12 14 Uncrating Instructions 12 Transporting Dri Stor Cabinets 13 Confirm Receipt O...

Страница 3: ...Channel Purge Control Box 25 Final Hardware 25 Test Component Functions 26 Component Leveling 26 HEPA HEPA Channel Purge V1 and V2 26 Tracking HEPA HEPA Channel Purge System Tests 26 ENDOTRACK SET UP 27 34 Set Date Time 27 Cabinet Configuration 28 Set Reset HEPA Pre Filter Timers 29 Manually Add a New User 29 Manually Add a New Scope 30 Export User Scope List 30 Import User Scope List 31 Create Sc...

Страница 4: ... family may also provide added functionality such as moisture control scope tracking and other security features Specific configurations include Negative pressure providing HEPA Filtered airflow Channel Purge mechanisms for removing moisture from internal channels Digital tracking and control of scope storage through the addition of EndoTrack with either Barcode Scanner or RFID Reader All reproces...

Страница 5: ...N INSTRUCTIONS The following symbols appear within this manual or on the product to increase visibility of necessary safety precautions instructions and key information as described below IN THE CASE OF HAZARDOUS MALFUNCTION 1 Immediately stop using the device 2 Use the troubleshooting information on pages 35 38 to determine what is causing the issue 3 If it is not possible to identify or eliminat...

Страница 6: ...ip The use of any other accessories is not verified for safety WARNING PERSONAL INJURY Please follow all instruction alongside any all applicable health safety practices Please follow all instruction alongside any all safety protocols and regulations applicable to the location organization and workplace environment WARNING LACERATION Always wear safety goggles safety gloves and safety shoes when l...

Страница 7: ...he main and component Cabinet This is referred to as a Add On Cabinet An additional glass door Cabinet for added storage space for flexible Endoscopes This contains large diameter scope hangers and may be outfitted to include other types of small diameter or specialty scope hanger if required TOP LOAD CABINET The physical housing of a standard Top Component Compartment Endoscope Storage Cabinet mo...

Страница 8: ...he hang time of each Scope DOOR ALARM BUZZER This optional feature notifies a user if the door has been left open for longer than five 5 minutes Compatible Models include HEPA Endoscope Cabinets and HEPA Channel Purge Endoscope Cabinets SMALL DIAMETER SCOPE HANGERS Small diameter scopes may be accommodated for storage with optional mall diameter scope hangers These hangers are located on the back ...

Страница 9: ...binet OLYMPUS SMALL DIAMETER VIDEOSCOPE HOLDERS The Ultrasound Probe Holders are designed to hold both abdominal or inter cavity ultrasound probes They come in two 2 three 3 or five 5 holders TEE PROBE HOLDERS TEE Transesophageal Echocardiography Probes require a specialized hanger setup The setup consists of four 4 parts The transducer connector fits into the custom holder while the transducer ca...

Страница 10: ...with your LogiQuip Sales Representative Discuss all pre installation information with your Sales Representative INDICATIONS FOR INSTALL WARNING PERSONAL INJURY Product may weigh in excess of 750 lbs Ensure adequate personnel and equipment is available to perform uncrating procedures Uncrate on a level floor WARNING LACERATION Always wear safety goggles safety gloves and safety shoes when loading u...

Страница 11: ...th outlets in a duplex are to be used the outlets must be facing opposite directions in order to accept the plugs If the Cabinet has the EndoTrack feature it should be plugged into an outlet on the emergency backup circuit For facilities covered by OSHPD the wall must be prepared prior to installation Record the serial number before standing the unit up WARNING PERSONAL INJURY Avoid injury from fa...

Страница 12: ...screws in the center Set top panel aside 4 Unscrew and remove the three top support braces and place them aside Ensuring supports do not fall on product 5 Once the top braces have been set aside remove the remaining side panels and also set them aside Fig 4 6 Remove packaging Once all the wooden panels and supports have been removed and set aside remove the shrink wrap and tie straps x3 with a uti...

Страница 13: ...at a time 3 Once all Cabinets are at their destination stand up the Cabinet s upright Unscrew and remove the three top support braces and place them aside Ensuring supports do not fall on product 4 Cut Straps securing Cabinet doors 5 Remove the protective film covering the stainless steel 6 Check inside of the Cabinet and remove all contents drip pan and boxes WARNING PERSONAL INJURY It is recomme...

Страница 14: ... 1 10 Scope Hangers In Line HEPA Filter 1 Pump HEPA Channel Purge Control Box HEPA with EndoTrack Primary Package Labeled Box of Components Removable Drip Tray 1 Cabinet HEPA Fan 1 Cabinet APC Battery Backup CPU Power Supply Major Control Box V2 Control Configuration Only HEPA with Channel Purge EndoTrack Primary Package Labeled Box of Components Removable Drip Tray 1 Cabinet HEPA Fan 1 Cabinet Ch...

Страница 15: ... extending from glass Cabinet light bar through corresponding hole in component Cabinet plugging into the power strip in back of component Cabinet Route any other component Cabinet cables and Tubing through the matching holes 4 Bring the Cabinets together and then insert an 8 32 x screw lock washer and washer into the six 6 side panel holes loosely these will be secured firmly in a following step ...

Страница 16: ...ack Right leveling downward will tilt the Cabinet Forward and Left 1 With the glass doors closed on the Cabinet look at the top of the doors to check which way the Cabinet needs to move to be leveled 2 Use a flat head screwdriver to adjust the leveling feet of the Cabinet when top access is available in the interior Fig 7 alternately use a wrench to adjust the nut from the exterior Fig 8 Composite...

Страница 17: ...iver 5 SIDE LOAD Place the HEPA Fan on the bottom shelf of the component Cabinet with the ON OFF switch facing towards the left Fig 13 SIDE LOAD ADD ON CABINET The second HEPA Fan can be placed on the second shelf from the bottom and steps repeated for the second grill duct TOP LOAD Place the HEPA Fan in the top compartment shelf with the ON OFF switch facing towards the left 6 Connect the HEPA Fa...

Страница 18: ...EPA Channel Purge Control Box HEPA with EndoTrack V1 Electrical Plate and CPU Installation APC Battery Back up Set Up V2 APC Battery Back up Set Up Major Control Box Installation HEPA with Channel Purge EndoTrack V1 Install Channel Purge Pumps Without Sensor Kit Electrical Plate and CPU Installation APC Battery Back up Set Up V2 Install Channel Purge Pumps for Sensor Kit APC Battery Back up Set Up...

Страница 19: ...ng for Pump 1 and cut it just above the top shelf using tube cutters or a side cut pliers 4 Slide the butterfly clip onto each end of the Tubing and then insert the tee connector onto the end of each hose 5 Secure the connection using the butterfly clips and then label the Tubing using the provided PUMP1 label 6 Repeat Steps 1 4 for each Tubing 7 Remove the Channel Purge Pumps and In Line HEPA Fil...

Страница 20: ...f control manifold 7 Plug other end of power cable for CPU PS into power adapter PA1 Power cable for CPU is located in the middle of right hand side of control manifold 8 Plug RJ45 Ethernet cable located in back of component compartment into Ethernet port located on front of CPU 9 Plug USB cable P2 located on left side of control manifold into front of CPU 10 Connect the Glass Cabinets light power...

Страница 21: ...cated on component compartment door into female USB P3 coming from lower right hand of control manifold Fig 22 2 Connect video cable from control manifold into touchscreen 3 Plug power adapter PA2 and as applicable touch screen keypad 4 Plug USB cable from barcode scanner BC into front open USB slot on CPU Fig 21 Fig 22 Touchscreen keypad remains hanging from the touchscreen on the component door ...

Страница 22: ...nnector denoted by a on the battery to the positive male connector Fig 25 4 Place the battery back into the UPS and slide the cover back into its original position Once the cover is on place the UPS on SIDE LOAD The right side of the top shelf inside the component compartment TOP LOAD The upper right compartment area Fig 26 5 Plug the UPS s power cord into the component compartment s power bar Fig...

Страница 23: ...trical outlets on the Major Control Box 6 Place the Major Control box into the topmost shelf of the component compartment 7 Connect the Lock cables labeled L1 to the L1 port the Flow sensor cables labeled F1 to the F1 port and the Door Sensor cables labeled D1 to the D1 port 8 Connect the USB cables labeled GPIO32 and Relay8 to the USB ports on the front of the control box 9 If present connect the...

Страница 24: ...r USB cable the USB extension cable labeled as USB 3 0 and the VIDEO cable to the CPU Fig 30 3 Connect the GPIO32 USB cable into one of the 2 USB ports on the back of the CPU Fig 31 4 Connect the RELAY8 USB cable labeled as RELAY8 to the USB Hub and the female end of the USB Extension cable to the USB Hubs USB cable Fig 32 5 Connect the CPU power supply labeled PA1 and Touchscreen Power Supply lab...

Страница 25: ...ol boxes are required repeating steps above to install Fig 34 Fig 35 INSTALL FINAL HARDWARE 1 Return the component compartment panel door to a locked position SIDE LOAD Use the 8mm Allen key to secure the panel in place Fig 36 Place the 8MM Allen key into the grommet on the top of the Cabinet for storage TOP LOAD Use a Phillips head screwdriver to replace screws to secure the panel in place 2 Remo...

Страница 26: ...heck that the component Cabinets power is ON indicated by a red light and that the glass Cabinet storage compart ment light bar illuminates 3 Check that the HEPA Fan is ON and there is airflow into the Glass Cabinet through the duct 4 Open the Glass Cabinet doors and leave them open for 45 seconds Check that the yellow right LED light turns on 5 Step 5 Close the Glass Cabinet doors and check to en...

Страница 27: ...er of the department prior to use These settings may be altered at any time in the future to meet changing functional needs SETTING DATE TIME Go To Supervisor Page 1 From the Main Screen press the Logo located on the Top Left of the screen 2 Enter the Access Code to access the Supervisor page Fig 40 3 Adjust the Date and Time as required Fig 41 on the Settings Tab 4 Press Save Fig 40 Fig 41 ENDOTR...

Страница 28: ...Pass Through models 7 Hangers Left Set the number of scopes for the Main Cabinet Left 8 Hangers Right Set the number of scopes for the Add On Cabinet Right 9 First Number Right Cabinet Set the starting number for the Add On Cabinet 10 HEPA Filter Lifetime Set HEPA Filter timer days Default 730 Days 11 Pre Filter Lifetime Set Pre Filter timer days Default 180 Days 12 Serial Number Set a 4 Digit Ser...

Страница 29: ... the right side of the screen Fig 44 4 Enter User ID under ID by using the keypad on the screen Fig 45 5 Enter the users name under Name by using the keypad on the screen and then press Enter Fig 46 6 The newly added User will appear on the list Repeat steps 1 5 to add more users Reset the HEPA Filter and Pre Filter timers after installation to initialize Reset the HEPA Filter and Pre Filter timer...

Страница 30: ... press Enter or scan the barcode or RFID chip Fig 49 5 The newly added Scope will appear on the list Repeat steps 1 4 for all necessary scopes Fig 47 Fig 48 Fig 49 EXPORT USER SCOPE LIST 1 Plug a USB Flash Drive formatted to FAT32 into the USB Port 2 Go to the Users Tab and press the Export button to export the Users List Fig 50 3 Go to the Scopes Tab and press the Export button to export the Scop...

Страница 31: ...rt button to import the list of users Fig 52 CREATING SCOPE LIST FILE FROM SCRATCH 1 Create a new text file using a text editor such as Notepad Windows or TextEdit Mac Fig 53 2 Save the file as Scope csv without quotations Fig 54 3 On the first line enter the following Scope Type Serial Number and then press the Enter key 4 Enter each Scope ID and Scope Model on a new line using the following form...

Страница 32: ... any changes made Fig 56 Fig 55 FORMATTING A USB FLASH DRIVE TO FAT32 Format USB to FAT32 1 Plug a USB Flash Drive into your devices USB port 2 Once the USB has been recognized right click on the USB drive and then click on Format Fig 57 3 Change the File System to FAT32 and then press Start to format the USB to FAT32 Fig 58 4 Copy Cut the Employee csv and Scope csv files to the formatted USB Fig ...

Страница 33: ...utton Fig 61 4 Press Remove All to remove all users Fig 62 REMOVE ALL SCOPES 1 From the Main Screen press the Logo Icon located on the Top Left of the screen 2 Enter the Access Code to access the Supervisor page 3 Press the Scopes Tab and then press the Remove All button Fig 63 4 Press Remove All to remove all scopes Fig 64 Fig 61 Fig 62 Fig 63 Fig 64 ENDOTRACK SET UP CONFIGURE ENDOTRACK TRACKING ...

Страница 34: ...remove the individual user from the list 5 Press the Scopes Tab and then select the scope needs to be removed from the list 6 Press the Remove button to remove the individual scope from the list A confirmation box will appear if the Remove All button has been pressed accidentally Fig 65 Fig 66 ENDOTRACK SET UP CONFIGURE ENDOTRACK TRACKING SOFTWARE SETTINGS CONTINUED WARNING Prior to Using Your Dry...

Страница 35: ...ubbing between bottom of door near hinge and bottom of door frame Top of right door is sticking out Raise back left Cabinet leg Lower front left Cabinet leg Raise front right Cabinet leg Lower back right Cabinet leg Top of left door is too high or is rubbing against top of door frame Top of right door is too low Bottom of the right door is sticking out Lower front right Cabinet leg Raise back righ...

Страница 36: ...mation and steps within the scope of approved operating instructions only Contact LogiQuip Customer Support prior to action outside the scope of operating instruction in all cases NOTIFICATION INTENDED COMMUNICATION TROUBLESHOOTING STEPS HEPA Filter Expiring Soon There is 14 days or less to HEPA filter counter Schedule replacement of HEPA filter HEPA Filter Expired HEPA filter needs replaced Pre F...

Страница 37: ...ration of Channel Purge pump Sensor failure Replace sensor Left Channel Purge 2 Sensor Low Channel Purge sensor PL2 does not detect pressure or a change in pressure when Channel Purge Pump 2 to main storage Cabinet is activated Right Channel Purge 1 Sensor Low Channel Purge sensor PR1 does not detect pressure or a change in pressure when Channel Purge Pump 1 to Add On storage Cabinet is activated ...

Страница 38: ...ode In Use Supervisor is trying to add a new scope and scope ID is already in Cabinet library Change scope ID to an unused ID Unable To Add New User No Scan Code Supervisor is trying to add a new user and does not enter a valid user ID Enter a user with a valid User ID Unable To Add New User Scan Code In Use Supervisor is trying to add a new user and user ID is already in Cabinet library Change Us...

Страница 39: ... product Visit LogiQuip com Warranty for more details CUSTOMER SERVICE If you have any problems with your Dri Stor Cabinet please contact our Customer Service Department at PHONE 800 665 3760 EMAIL CustomerSupport LogiQuip net ABOUT US Healthcare exclusive since 1992 LogiQuip s Inventory Management Solutions are designed for Healthcare Professionals looking for a better way to manage supply chain ...

Отзывы: