


- 20
english
AAA
LR03
AAA
LR03
Initial installation
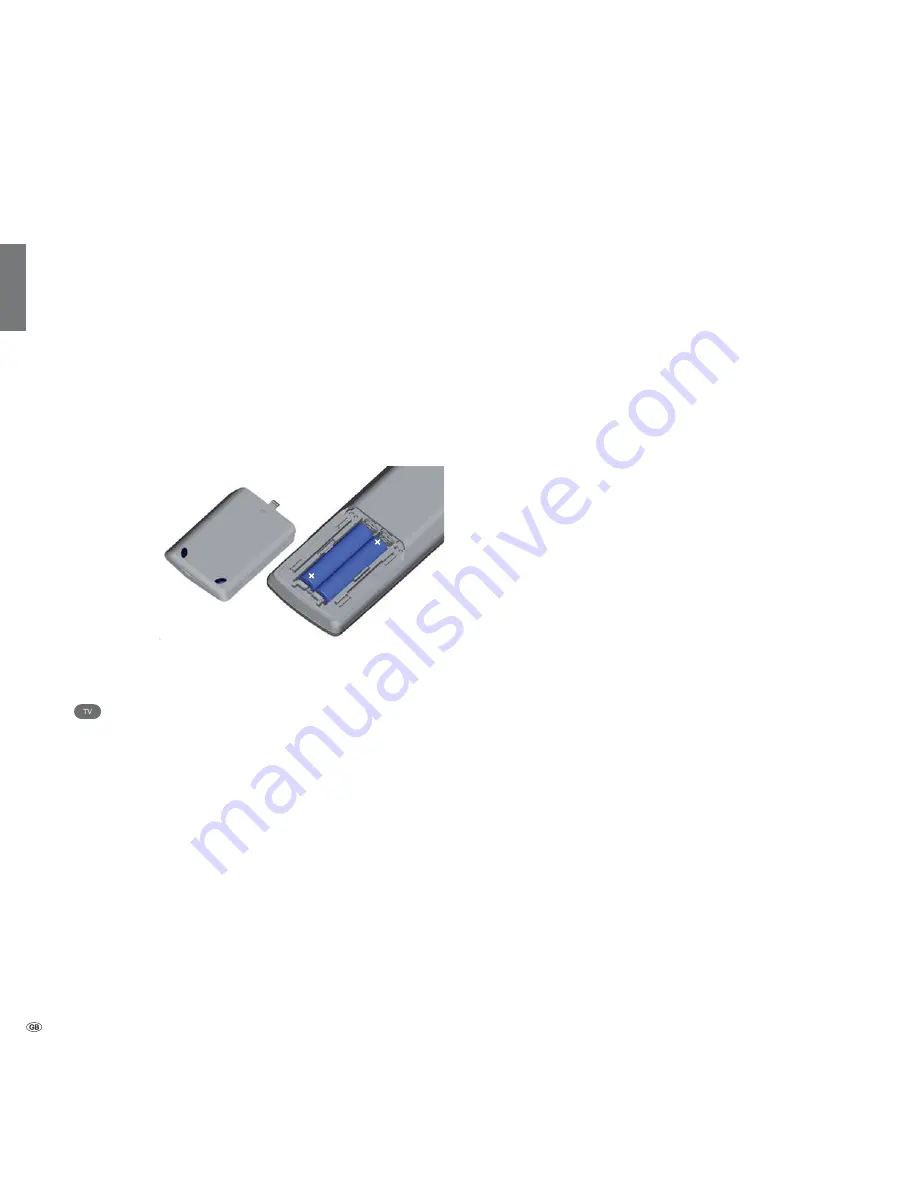
Preparing the remote control unit
Inserting or replacing batteries
Press on the embossed arrow whilst pushing the battery cover down.
Only use leak-proof micro-cells of the LR 03 (AAA) Alkali-Manganese type.
Do not use different types of batteries and old and new batteries together.
Pay attention to the correct polarity of + and – when inserting the bat-
teries.
If the batteries are too weak after longer use, the TV set prompts you
to change the batteries.
Dispose of used batteries in an environmentally friendly way (see page 106).
Push the cover back on from below after inserting the batteries.
Adjusting the remote control for operating the TV set
Press the
TV button
.
See page 94 for how to operate other Loewe appli-
ances and how to reprogramme the remote control
buttons.
Содержание Connect 22 SL
Страница 1: ...Operating instructions Connect TV Connect 26 SL Connect 22 SL 233 35021 020...
Страница 114: ...114 english EC Declaration of Conformity...
Страница 118: ...118...
Страница 119: ...119...
Страница 120: ...120...


