background image

2


5713407COM
3


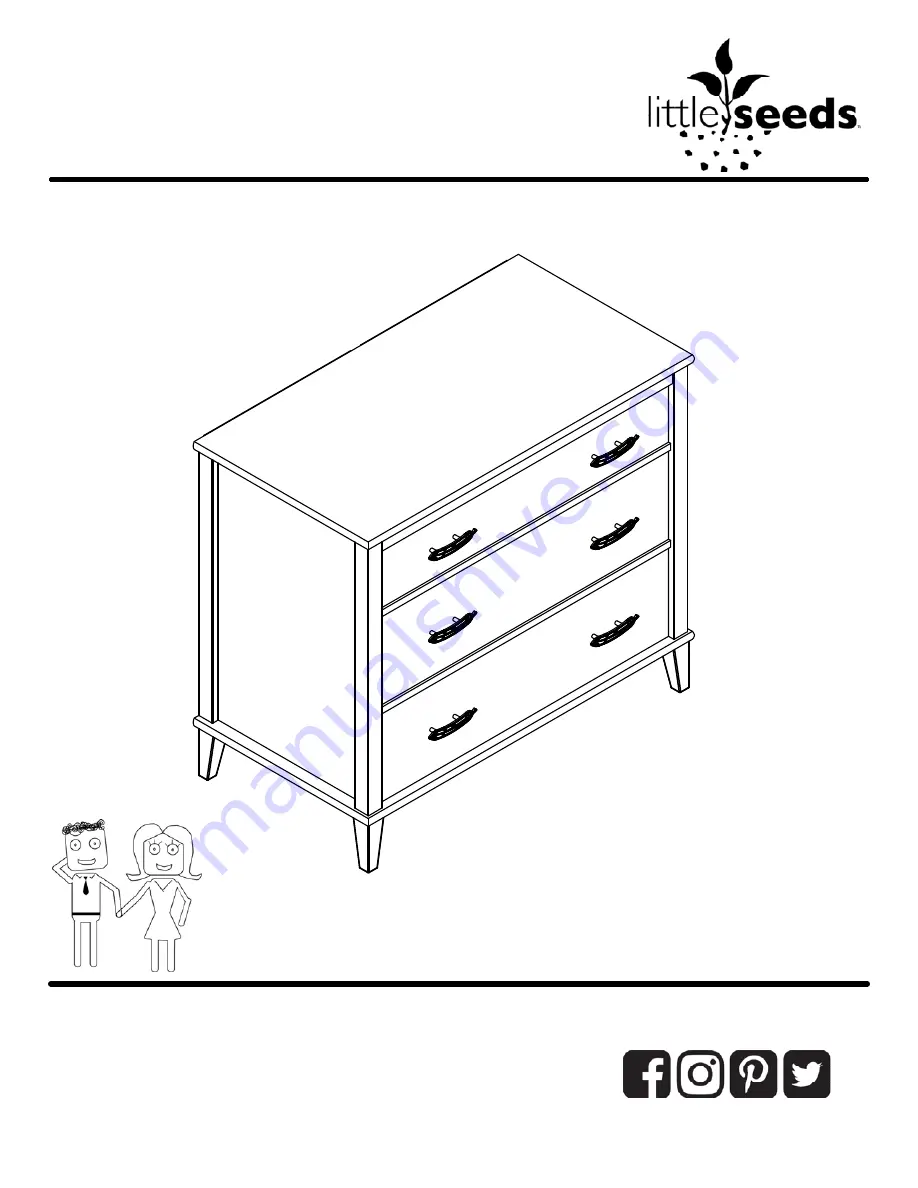
Drawer


Dresser

Keep


this


Assembly


Manual


for


future


reference.

Two adults

recommended

for assembly

Do NOT return this product.


For missing or broken parts

 - Visit littleseedskids.com

 - Call 1-800-489-3351

Follow


little


seeds


on

This


product


is


not


intended


for


commercial


use.

Las


traducciones


en


español


se


encuentran

al


final


de


este


manual.

Vous


trouverez


les


traductions


en


français


à


la


fin


de


ce


manuel.


Содержание 5713407COM

Страница 1: ...B345713407COM1 Date of Purchase ____ ____ ____ Lot Number ...

Страница 2: ...embly Do NOT return this product For missing or broken parts Visit littleseedskids com Call 1 800 489 3351 Follow little seeds on This product is not intended for commercial use Las traducciones en español se encuentran al final de este manual Vous trouverez les traductions en français à la fin de ce manuel ...

Страница 3: ...the point on the top of the Cam Lock towards the outer edge Use all the nails provided for the back panel and spread them out equally Back panel must be used to make sure your unit is sturdy Do NOT use harsh chemicals or abrasive cleaners on this item Never push pull or drag your furniture Assembly Tips Contact our friendly customer service team first for help Do NOT return this product Visit litt...

Страница 4: ...el 35713407020 Top 35713407030 Bottom 35713407040 x2 Brace 35713407050 Apron 35713407060 x3 Drawer Bottom 36828331201 Upper Drawer Front 35713407090 x3 Drawer Brace 35538000121 x2 Drawer Front 35713407100 x2 Front Leg 35713407070 A B C D L x2 Rear Leg 35713407080 E F G H I J T ...

Страница 5: ...0346200C Back Panel K682700000 This piece is paperboard construction It is not made from wood but is required for the assembly of your unit x4 Drawer Side 39991167346200C Small Drawer Back 39991120075850B x2 Drawer Back 39991167075850B DWR BACK DWR SIDE DWR SIDE DWR BACK Z ...

Страница 6: ... Identification This piece is paperboard construction It is not made from wood but is required for the assembly of your unit Drawer Upper Drawer A B C D E E F G G H I J T T Z DWR BACK DWR BACK DWR SIDE DWR SIDE DWR SIDE DWR SIDE ...

Страница 7: ...n head x8 A12820 1 flat head x18 A21970 drive fastener x12 A17400 7 8 bolt x11 A22610 cam bolt x11 A22620 cam lock x3 A13410 1 3 4 flat head x8 A23030 2 flat head x6 A21660 6mm x 30mm wood dowel x3 A21520 compression dowel Actual Size x28 A21110 nail 1 2 3 4 5 6 7 10 11 12 13 8 x12 A17300 3 4 bolt 21 9 ...

Страница 8: ...de package x1 A84050 safety bracket kit x4 A44385 leg x2 A54510 drawer bracket x6 A52245 handle x4 A54520 drawer bracket x6 A52255 handle left cabinet member right cabinet member left drawer runner right drawer runner 14 14a 14b 14c 14d 15 15a 15b 15c 15d 16 17 18 19 20 ...

Страница 9: ...nd follow the proper order Separate and count all your parts and hardware Give yourself enough room for the assembly process Have the following tools Flat Head Screwdriver 2 Phillips Head Screwdriver and Hammer Caution If using a power drill or power screwdriver for screwing please be aware to slow down and stop when screw is tight Failure to do so may result in stripping the screw ...

Страница 10: ...10 littleseedskids com Step 1 C x3 A13410 x4 A22610 x1 A84050 finished surface Do not fully tighten this screw in this step finished edge 7 7 10 10 10 15a 15a 15b 15b F ...

Страница 11: ...11 littleseedskids com Step 2 x4 A22620 x4 A21660 x2 11 11 11 E Proper orientation of CAM LOCK Tip Assembly Quick 9 9 9 ...

Страница 12: ...12 littleseedskids com Step 3 A x3 A56750 x9 A11080 finished edge Please Notice You will use the smallest holes to attach the left cabinet member 14a 14a 2 2 marked with a L ...

Страница 13: ...13 littleseedskids com Step 4 A x2 A22620 x2 A22610 x1 A21660 10 10 11 11 9 9 Proper orientation of CAM LOCK Tip Assembly Quick ...

Страница 14: ...14 littleseedskids com Step 5 A x4 A12820 Notice pilot holes inside finished edge 4 4 4 G H ...

Страница 15: ... x4 A12820 Assemble the right panel component the same as the left in steps 3 4 5 finished edge Please Notice You will use the smallest holes to attach the right cabinet member marked with a R 14b 14b 2 2 10 10 11 11 4 4 4 4 G H Proper orientation of CAM LOCK Tip Assembly Quick 9 9 ...

Страница 16: ...e holes Top Surface less holes Note If needed you may need to loosen screws if the holes in the leg do not line up with the three holes in the bottom surface After screws are secure retighten screws x4 A23030 x4 A44385 1st 2nd x12 A12420 8 16 16 8 3 3 16 ...

Страница 17: ...17 littleseedskids com Step 8 A D x2 A23030 finished edge 8 8 ...

Страница 18: ...18 littleseedskids com Step 9 A D finished edge E E UNLOCK LOCK ...

Страница 19: ...19 littleseedskids com Step 10 B D Attach the right panel B to the two braces E then fasten to the bottom D with two screws x2 A23030 8 8 E E UNLOCK LOCK ...

Страница 20: ...20 littleseedskids com Step 11 B A C UNLOCK LOCK ...

Страница 21: ...m corner to corner must be equal as shown Align the bottom edge of the back panel with the lower edge of the bottom shelf D Align side edges with edge of left and right panels A B and nail straight into back edges as shown IMPORTANT THE BACK PANEL IS A STRUCTURAL PART OF THIS UNIT AND MUST BE INSTALLED PROPERLY Back panel notch location here D A x28 A21110 13 13 ...

Страница 22: ...x2 A54510 x4 A54520 x2 x2 Attach a drawer bracket to a drawer side with the screws shown The smaller drawer bracket will attach to the smaller drawer side 17 18 1 x12 A12120 17 17 18 18 1 1 1 1 1 1 DWR SIDE DWR SIDE DWR SIDE DWR SIDE ...

Страница 23: ...23 littleseedskids com Step 14 L x3 A22620 x3 A21520 x3 12 12 9 9 Proper orientation of CAM LOCK Tip Assembly Quick ...

Страница 24: ...16 17 18 You will have 2 larger drawers as shown You will assemble these drawers in steps 15 16 17 18 Make sure groove in drawer sides are centered with the groove in the drawer front x12 A12120 x3 A22610 x2 1 1 1 1 1 DWR SIDE DWR SIDE DWR SIDE DWR SIDE 10 10 10 Smaller drawer sides go on upper drawer front I I J ...

Страница 25: ...25 littleseedskids com Step 16 L L x2 DWR SIDE DWR SIDE DWR SIDE DWR SIDE J I UNLOCK LOCK ...

Страница 26: ...26 littleseedskids com Step 17 T T x18 A21970 x2 finished surface finished surface DWR SIDE DWR SIDE DWR SIDE DWR SIDE 5 5 5 5 5 5 5 You will need to tap with a hammer to fasten DWR BACK DWR BACK J I ...

Страница 27: ...tach handle A52255 20 and longer bolt A17400 6 to attach handle A52245 19 x6 A52255 x6 A52245 x12 A17400 x12 A11080 x3 each A56750 14c 14d 2 6 Attach the handles after the slides are mounted I J DWR SIDE DWR SIDE DWR SIDE DWR SIDE 2 2 2 2 2 2 14c 14c 14d 14d 2 2 6 6 6 6 19 20 20 20 20 20 x2 21 x12 A17300 marked with a L marked with a L marked with a R ...

Страница 28: ...and mark the wall through the safety bracket then move your unit aside Drill a 3 16 diameter hole 5mm into the wallboard Tap the wall anchor into the hole until it is flush Move your unit into location and fasten the wall bracket to the wall anchor with the screw Tighten the screw that was not fully tightened in step 1 For Masonry Concrete or other wall materials Consult your local hardware store ...

Страница 29: ...e slotted Drawer fronts can be adjusted by loosening screws making needed adjustments and retightening screws I corredera de mueble cabinet member rodillo roller drawer runner deslizador de cajón roller rodillo coulisse du cabinet rouleau coulisse du tiroir rouleau J ...

Страница 30: ...use with a television 50 lbs 22 6 kg 35 lbs 15 8 kg Certificate of Conformity 1 This certificate applies to the Dorel Home Furnishings Inc product identified by this instruction manual 2 This certificate applies to compliance of this product with the CPSC Ban on Lead Containing Paint 16 CFR 1303 3 This product is distributed by Dorel Home Furnishings Inc 410 East First Street South Wright City MO ...

Страница 31: ...deals and discount codes Quick and easy replacement part service To register your product visit littleseedskids com Visit your local retailer s website rate your purchased product and leave us some feedback We would like to extend a big Thank You to all of our customers for taking the time to assemble this Little Seeds product and to give us your valuable feedback ...

Страница 32: ...ste artiulo Nunca empuje tire ni arrastre los muebles Lea cuidadosamente cada paso y siga el orden correcto Separar y contar todas sus piezas y hardware Dése suficiente espacio para el proceso de ensambe Tenga las siguientes herramientas destornillador de cabeza plana cabeza Phillips destornillador y martillo Sistema ce fijar el bloqueo de leva página 9 Este sistema de fijar el bloqueo de leva ser...

Страница 33: ...aneles de soporte E y fije a la parte de abajo D con los dos tornillos Paso 12 2 personas se requieren para este paso Cuidadosamente voltee la unidad sobre la parte de enfrente hacia abajo como se muestra Asegurese que el unidad este cuadrada La distancia de esquina a esquina debe ser igual como se muestra Nuevo panel de ubicación muesca aquí Alinee el borde deabajo del panel de atras con el borde...

Страница 34: ...y 18 Tendrá un cajón para el medio y un cajón para abajo inferior como se muestra La única diferencia es el color de los frentes de los cajones I J Usted montará estos cajones en los pasos 15 16 17 y 18 Asegúrese de que la ranura en los lados del cajón esté centrada con la ranura en el frente del cajón Paso 18 Se han proporcionado dos manijas diferentes Fije su preferencia con pernos Usted usará e...

Страница 35: ...guridad de antivolqueo reduce pero no elimina el riesgo de volqueo OPCION 1 Para asegurar en una viga de la pared método preferido Use un detector de vigas localice la viga en la pared Coloque la unidad contra la pared y alinee con el soporte de seguridad en esta ubicación Para hacer este proceso más fácil se puede perforar un agujero piloto de 1 8 de diámetro 3mm a través del soporte de seguridad...

Страница 36: ...dskids com Paso 20 Tenga en cuenta los agujeros de los soportes de cajón están ranurados Frentes de los cajones pueden ajustarse aflojando los tornillos hacen los ajustes necesarios y vuelva a apretar los tornillos ...

Страница 37: ...t taraudés avec un Marteau Les glissières sont marquées d un R droit et d un L gauche pour un bon placement Assurez vous toujours de faire face la pointe situé sur le haut de la Serrure de Came vers le bord extérieur Utiliser tous les clous fournis pour le panneau arrière et les répartir également Le panneau arrière doit être utilisé pour vous assurer que votre appareil est robuste N utilisez pas ...

Страница 38: ...upports E puis fixez le au fond D à l aide de deux vis Étape 12 2 personnes sont nécessaires pour cette étape Tournez soigneusement le meuble sur le devant comme montré Assurez vous que le meuble est à égalité La distance de coin en coin doit être égale comme montré Emplacement de l encoche du panneau arrière ici Alignez le bord inférieur du panneau arrière avec le bord inférieur de l étagère infé...

Страница 39: ...18 Vous aurez un tiroir du milieu et un tiroir inférieur comme montré La seule différence est la couleur des façades des tiroirs I J Vous allez monter ces tiroirs aux étapes 15 16 17 et 18 S assurer que les rainures des côtés du tiroir sont centrées avec la rainure dans l avant du tiroir Étape 18 Deux poignées différentes ont été fournies Fixez votre préférence avec des boulons Vous utiliserez le ...

Страница 40: ...puis déplacez votre meuble de côté Percez un trou de 3 16 de diamètre 5 mm dans le mur Enfoncez l ancrage mural dans le trou jusqu à ce qu il soit égal Déplacez votre meuble dans l emplacement et fixez le support mural à l ancrage mural avec la vis Serrer la vis qui n a pas été complètement serré à l étape 1 ATTENTION Blessures par écrasement graves ou mortelles peuvent se produire par le renverse...

Страница 41: ...littleseedskids com Étape 20 Remarquez les trous des supports de tiroir sont fendus Les façades de tiroirs peuvent être ajustées en desserrant les vis faire les ajustements nécessaires et resserrer les vis ...

Отзывы: