Page 21
OSD menu
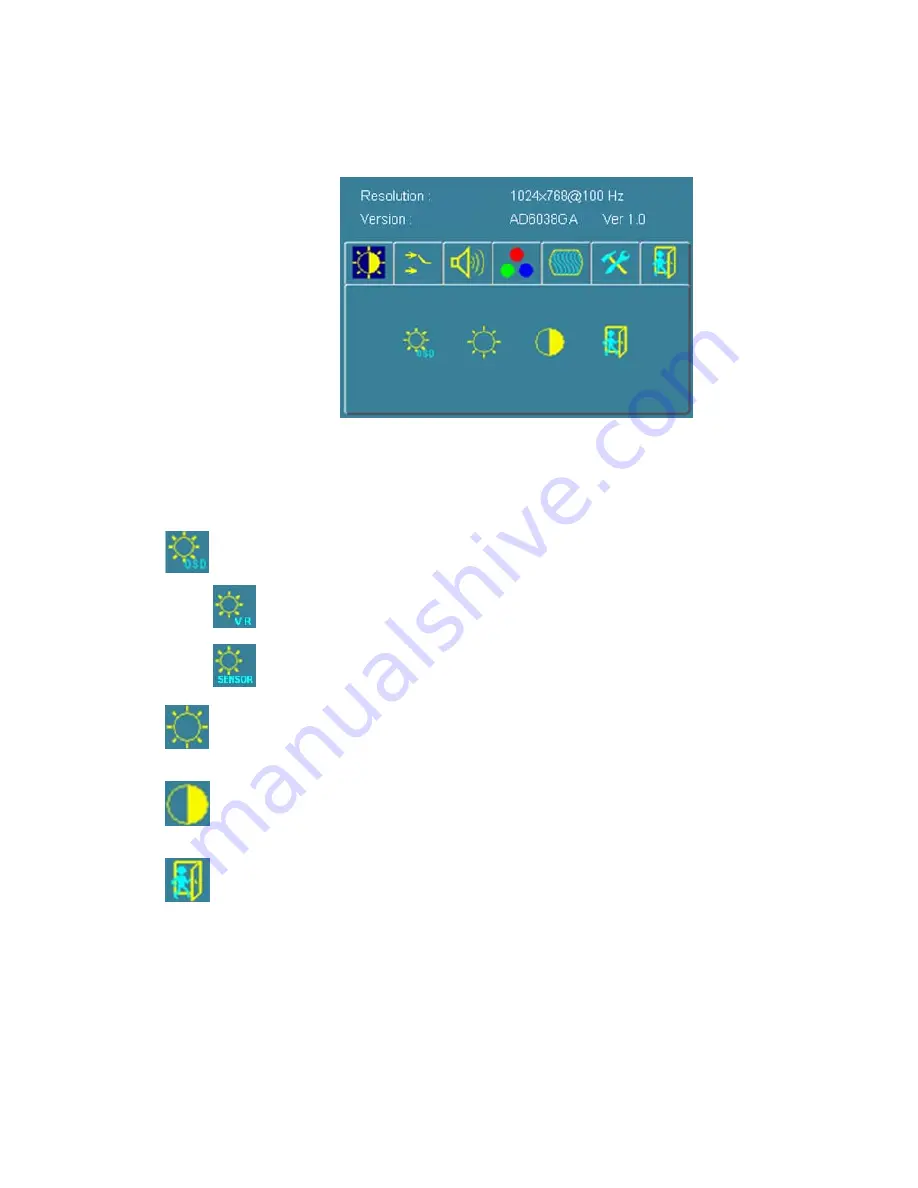
By pressing the “menu” button, you will see the below picture. Across from timing you
will see resolution, frequency, and V-frequency of the panel. Version shows the
firmware control version. These cannot be altered by the user.
There are 7 sub menus within the OSD user interface:
Brightness, Signal Select, Sound, Color, Image, Tools, and Exit.
When you press the “menu” button, you enter the “Brightness” sub directory. In this
directory, you will see 4 selections:
press ’’right’’ key, you can go into the
OSD Brightness
.
press “menu” onc, you can go into the
Potentiometer
or the
Ambient light sensor
.
Potentiometer:
press this Icom, adjust VR function.
(OPTION)
Ambient light sensor:
press this Icon,must to accompany with Litemax ambient light sensor to auto
dimming.
(OPTION)
OSD Brightness
:
Press the “menu” once, to adjust the brightness. Press “left” to dim down the brightness to “0”,
press “right” to increase the brightness to “100”
Contrast
:
Press “menu” and “right” buttons to adjust the contrast from “0” to “100”. To adjust from “100” to “0”,
press “menu” and the “left” buttons.
Exit:
back to the beginning menu.
Содержание SSF 0822
Страница 5: ...Page 5 2 0 ELECTRICAL CHARACTERISTICS 2 1 TFT Block Diagram...
Страница 6: ...Page 6 2 2 Relationship Between Displayed Color and Input...
Страница 7: ...Page 7...
Страница 8: ...Page 8 2 3 Electrical Characteristics...
Страница 9: ...Page 9...
Страница 10: ...Page 10...
Страница 11: ...Page 11...
Страница 17: ...Page 17 AD6038GM 114mmX40mm...
Страница 20: ...Page 20 CN1 RS232 Connector Pin No Function Pin No Function 1 5v 2 UART TX 3 UART RX 4 GND...


