A fully discharged battery pack should take approx. 1.25 hours to be fully charged. It is safe to
leave the unit always connected for a charge. After fast charge, the battery will trickle charge at a
rate of C/50 which is (1/50 x 1.3aH) or 26 milliamps.
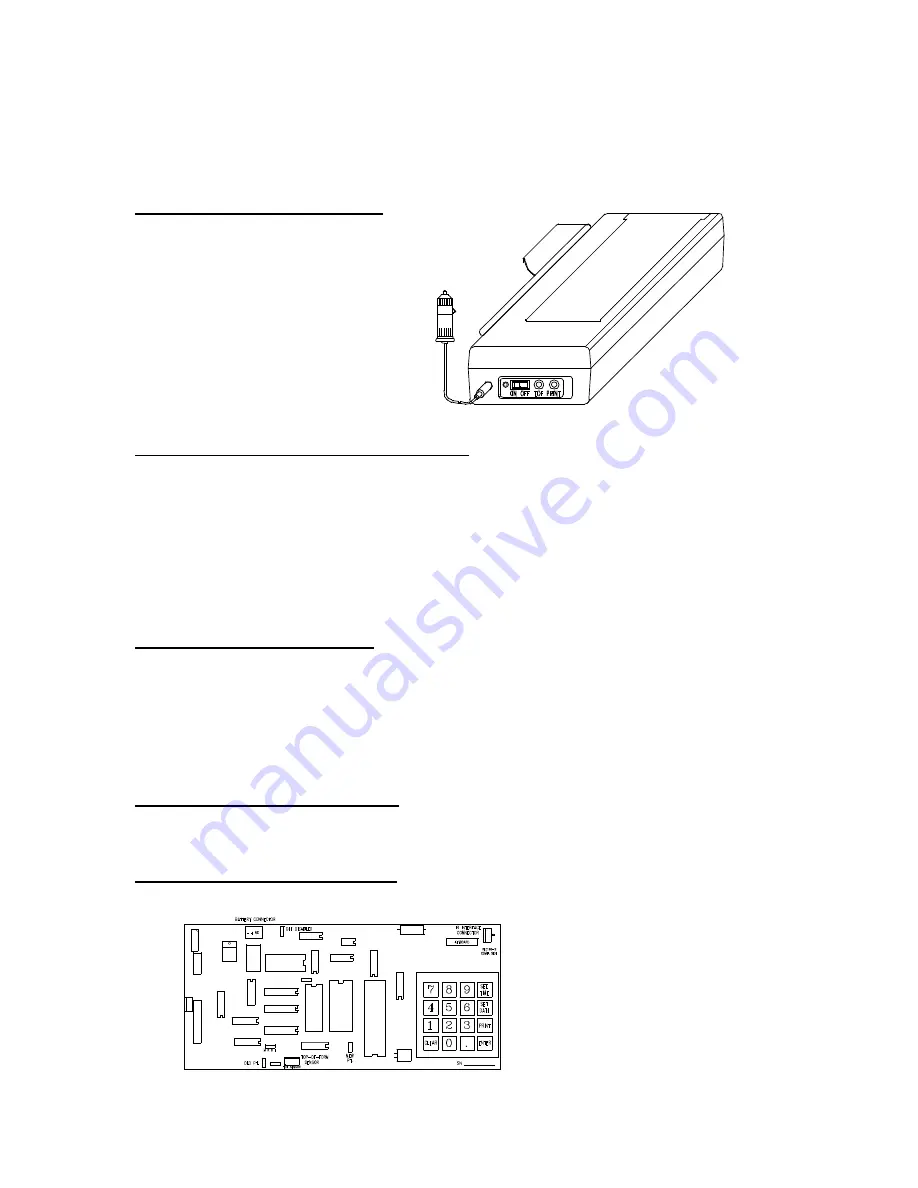
RECHARGING THE PRINTER
Insert 12VDC Probe into
lighter outlet
TOP OF FORM PUSHBUTTON (BLACK)
The TOP OF FORM pushbutton will cause the paper to advance to the top of the next form. Once
this button is pressed the paper will advance until the TOP OF FORM mark is detected. During
the paper advancement, the print head is constantly moved across the paper to help prevent the
paper from getting caught under the print head. Once the TOF mark is detected and the
pushbutton is released, the printer will home the print head and is then ready to operate normally.
TOP OF FORM is detected by the top of form sensor located at the right side of the paper tray
under the drag bar. The threshold of the sensor is factory calibrated.
PRINT PUSHBUTTON (RED)
The PRINT pushbutton will cause a ticket to be printed as long as the printer is receiving a signal
from the T675 and the RED STATUS LED is flashing rapidly. First, the ticket information is stored
in the ticket storage memory. Next the paper advances to the top of form (if it is already at top of
form, the paper will back up slightly then advance forward so that the ticket is aligned with the
upper edge of the top of form mark). Finally, the print head returns to home (leftmost) position,
and the ticket is printed. The paper is then advanced to the top of the form position so the ticket
can be easily removed from the printer.
SETTING THE TIME AND DATE
The time and date are received from the T675 and therefore must be changed in the T675 in
order to be changed on a ticket.
PRINTER CONROL PC BOARD


