Chapter 3
Advanced Configuration
19
RangePlus Wireless Router
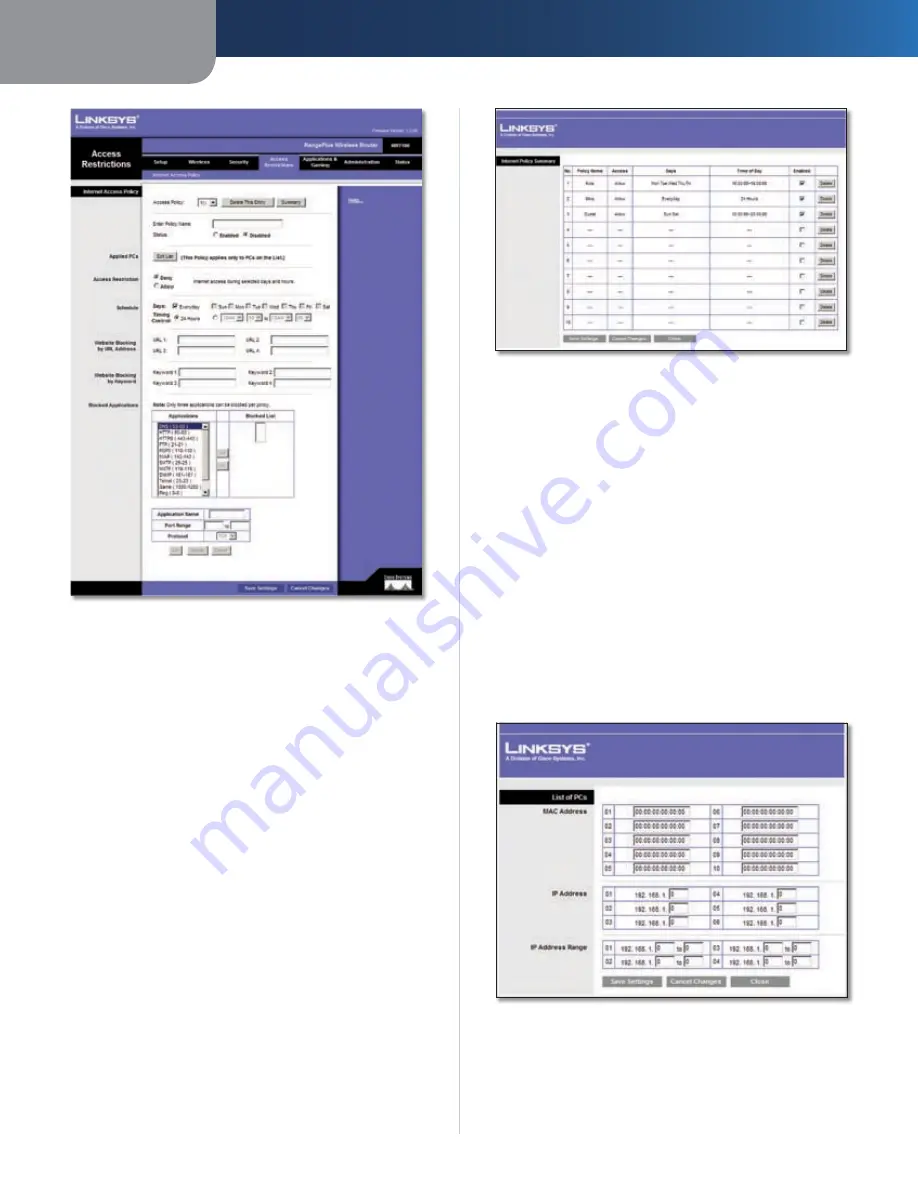
Access Restrictions > Internet Access Policy
Internet Access Policy
Access Policy
Access can be managed by a policy. Use the
settings on this screen to establish an access policy (after
Save Settings
is clicked). Selecting a policy from the drop-
down menu will display that policy’s settings. To delete a
policy, select that policy’s number and click
Delete This
Policy
. To view all the policies, click
Summary
.
Summary
The policies are listed with the following information: No.,
Policy Name, Access, Days, Time, and status (Enabled). To
enable a policy, select
Enabled
. To delete a policy, click
Delete
. Click
Save Settings
to save your changes, or click
Cancel Changes
to cancel your changes. To return to the
Internet Access Policy
screen, click
Close
.
Summary
Status
Policies are disabled by default. To enable a policy,
select the policy number from the drop-down menu, and
select
Enabled
.
To create a policy, follow steps 1-11. Repeat these steps to
create additional policies, one at a time.
Select a number from the
1.
Access Policy
drop-down
menu.
Enter a Policy Name in the field provided.
2.
To enable this policy, select
3.
Enabled
.
Click
4.
Edit List
to select which PCs will be affected by
the policy. The
List of PCs
screen appears. You can
select a PC by MAC address or IP address. You can also
enter a range of IP addresses if you want this policy to
affect a group of PCs. After making your changes, click
Save Settings
to apply your changes, or click
Cancel
Changes
to cancel your changes. Then click
Close
.
List of PCs
Select the appropriate option,
5.
Deny
or
Allow
,
depending on whether you want to block or allow
Internet access for the PCs you listed on the
List of PCs
screen.


