INSTALL INSTRUCTIONS
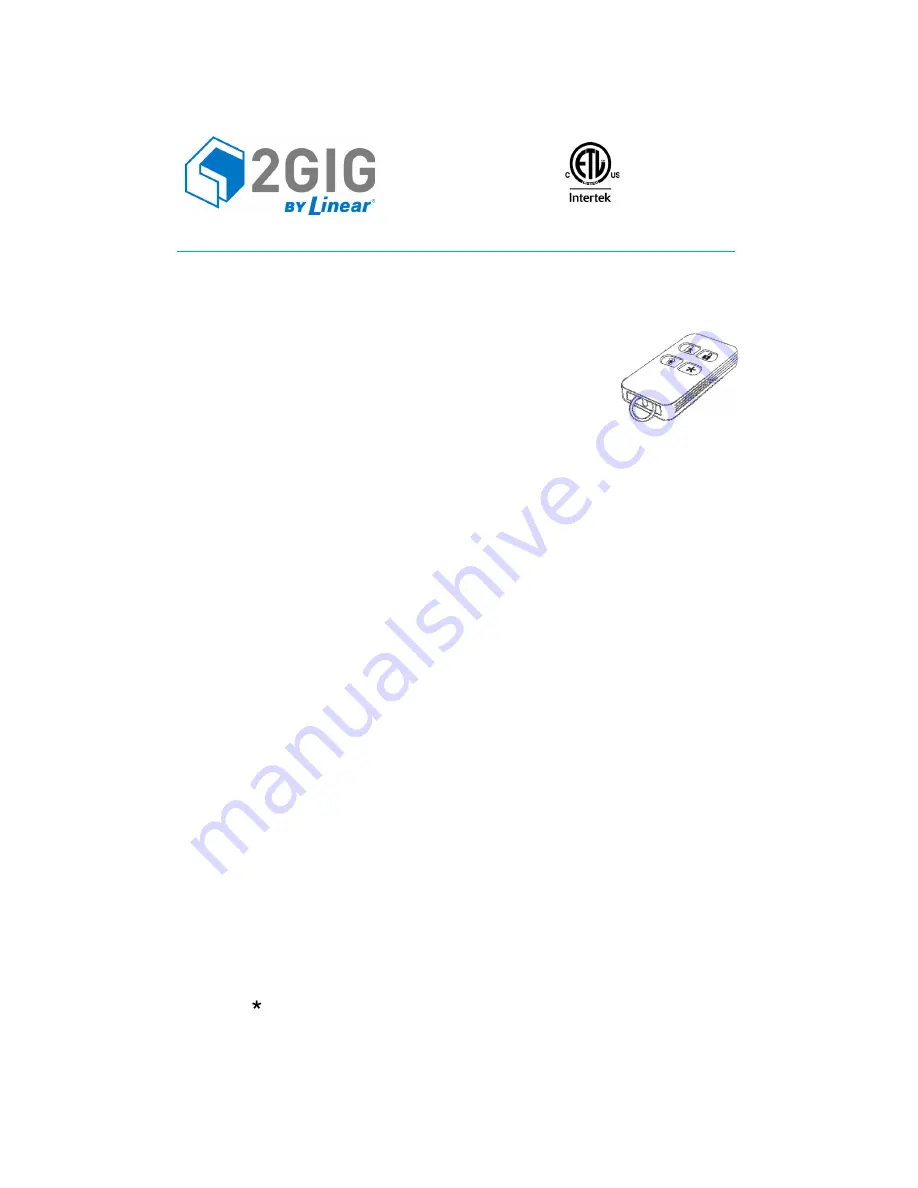
The
2GIG
Ͳ
KEY2
Ͳ
345
is
a
4
Ͳ
button
key
ring
remote.
The
key
fob
enables
you
to
turn
the
2GIG
system
on
and
off
before
entering
the
home
or
after
exiting.
If
there
is
an
emergency,
you
can
turn
on
the
siren
and
automatically
call
the
central
monitoring
station.
If
lamp
modules
have
been
installed,
you
can
use
the
key
fob
to
turn
all
system
Ͳ
controlled
lights
on
or
off
via
the
open
collector
output.
Use
with
the
2GIG
Ͳ
GDR1
Ͳ
345
to
open
a
garage
door.
The
key
fob
is
a
lithium
coin
battery
Ͳ
powered,
wireless
key
fob
designed
to
fit
on
a
keychain,
in
a
pocket,
or
in
a
purse.
It
provides
a
convenient
option
for
the
following
system
operations:
•
Arm
the
system
(doors,
windows,
and
motion
sensors)
•
Arm
the
system
with
no
entry
delay
(if
programmed)
•
Disarm
the
system
•
Trigger
panic
alarms
•
Turn
system
Ͳ
controlled
lights
on
or
off
(via
the
open
collector
output)
•
Other
open
collector
output
functions
(if
applicable)
•
Use
with
the
2GIG
Ͳ
GDR1
Ͳ
345
to
open
a
garage
door
(see
the
2GIG
Ͳ
GDR1
Ͳ
345
Install
Instructions
)
Box Contents
•
Key
fob
•
Key
ring
•
Lithium
battery
(included)
Programming
The
following
steps
are
for
programming
(learning)
the
sensor(2GIG
Ͳ
KEY2
Ͳ
345)
into
the
2GIG
Control
Panel.
Scroll
between
options
using
the
і
and
ї
arrows.
Move
to
the
previous
or
next
prompt
by
pressing
the
ј
and
љ
arrows.
1
Go
to
Q3:
Select
fob
#
(1
to
8).
2
Fob
used
(0
to
1)
or
Fob
enabled
(0
to
1).
(0)
unused
(1)
used
(0)
disabled
(1)
enabled
3
Select
RF
sensor
equipment
code.
Enter
0866
for
the
2GIG
Ͳ
KEY2
Ͳ
345
4
Ͳ
button
Key
Ring
Remote.
4
Enter
RF
sensor
serial
number
(7
digits).
Manual
Entry:
Type
in
the
last
7
digits
of
the
TX
ID
that
is
found
outside
of
the
box
or
on
the
back
of
the
device.
Auto
Entry:
With
the
panel
in
Learn
Ͳ
in
mode
(press
Shift
then
Learn
).
The
correct
TX
ID
should
appear.
Accept
the
correct
TX
ID
by
pressing
OK
.
Remember
to
press
the
љ
arrow
to
con
Ɵ
nue
going
through
the
2GIG
system
con
fi
gura
Ɵ
on
prompts.
5
Select
RF
sensor
equipment
age
(0
to
1).
(0)
new
(product
is
new)
(1)
existing
(product
already
exists)
6
Select
fob
emergency
key
(0
to
4).
(0)
disabled
(1)
auxiliary
alarm
(2)
audible
alarm
(3)
silent
panic
(4)
fire
7
Select
fob
key
2
can
disarm
(0
to
1).
(0)
disabled
(1)
enabled
8
Construct
RF
sensor
voice
descriptor.
Press
Insert
then
press
any
number
between
002
and
255
to
add
a
word.
For
example,
if
you
wanted
to
name
this
Key
Ring
Remote
as
“main
key
remote,”
press
Insert
then
press
138
for
MAIN
.
Press
Insert
then
press
121
for
KEY
.
Press
Insert
then
press
183
for
Remote
.
9
Select
fob
arm
no
delay
(0
to
1).
(0)
disabled
(1)
enabled
10
Select
fob
key
4
output
(0
to
2).
(0)
disabled
(1)
toggle
output
(2)
momentary
output
11
To
program
another
sensor
click
next
.
12
To
exit
programming,
click
skip
then
end
and
exit
.
Upon
exit,
the
panel
takes
a
several
seconds
to
reboot.
TIP:
Each
key
fob
that
is
learned
in
uses
one
of
the
available
fob
sensor
numbers
as
programmed
in
step
1.
Programming Key Fobs into the 2GIG-GDR1-345
1
Press
and
release
the
learn
button
(the
learn
indicator
will
light
if
there
is
room
in
memory.
2
Activate
the
(Auxiliary)
button
on
the
key
fob
while
the
indicator
is
lit
(within
15
seconds).
The
Receiver
(2GIG
Ͳ
GDR1
Ͳ
345)
indicator
flashes.
(repeat
steps
for
additional
key
fobs
(up
to
10).
FCC
ID:
WDQ
Ͳ
KEY2345
Industry
Canada
ID:
7794A
Ͳ
KEY2345
4-BUTTON KEY RING REMOTE


